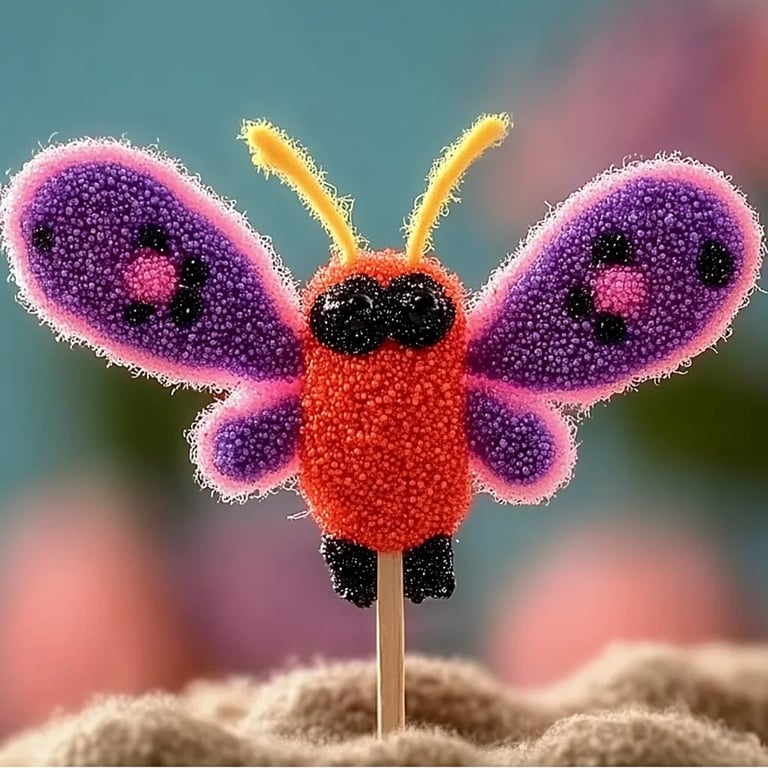
How to Make Adorable Popsicle Stick Love Bugs: A Step-by-Step Guide
Hello fellow crafters! Today, I’m excited to share with you a delightful project that combines creativity, fun, and a bit of love — Popsicle Stick Love Bugs! These charming little critters are not only easy to make, but they also add a burst of joy to any occasion. Whether you’re preparing for a classroom Valentine's Day party, decorating your home, or simply looking for a fun and engaging activity with your kids, these love bugs are perfect. They're fun to create and a great way to express affection in a crafty format!
Why Make Popsicle Stick Love Bugs?
Popsicle Stick Love Bugs are a popular craft among both kids and adults because they tap into our innate need to create and share. Each bug can be personalized with colors and designs that reflect our personalities, making them unique tokens of love. Plus, crafting these little guys can foster bonding time with family or friends, making every made bug a cherished memory.
What You’ll Need
Before we dive into the crafting process, gather these accessible materials:
- Popsicle sticks (also known as craft sticks) – You’ll need about 3 for each bug.
- Acrylic paint in various colors (red, pink, black, white).
- Paintbrushes – A couple of sizes will work best.
- Googly eyes – Essential for character!
- Pipe cleaners (in your choice of colors) – For antennas.
- Hot glue gun and glue sticks – Please handle with care!
- Scissors – For cutting the pipe cleaners.
- Markers (optional) – For adding details.
- Paper plate or palette for mixing colors.
- Paper towels – To clean your brushes or for any spills.
Step-by-Step Tutorial
Step 1: Prepare Your Workspace
First things first! Set up a clean, comfortable workspace. I like to cover my table with newspaper or a crafting mat to protect it. This is a vital step as crafting can get messy!
What Could Go Wrong: If you skip this step, you might accidentally spill paint or glue on your favorite table. Trust me, that’s a hassle you don’t need!
Step 2: Paint the Popsicle Sticks
Take your popsicle sticks and paint them your desired color! I usually go for a vibrant pink or red for the body — it adds that lovey-dovey vibe. Use a paintbrush to apply an even coat. Depending on the color, you may need to apply a second coat after the first has dried.
Why This Step Matters: The color selection lays the foundation for your bug’s personality. If you're using lighter colors over a darker base, you might need multiple layers.
Tip: While the paint is drying, tidy up your workspace. You can use this time to prepare for the next steps!
Step 3: Add the Antennae
After your sticks have fully dried, take a pipe cleaner and cut it to your desired length—around 5-6 inches often works well. Bend the ends to create little curls, attaching these antennae to the top of your love bug's body using a hot glue gun.
What Could Go Wrong: If you apply too much glue, it can ooze out and create a messy look. Start with a small amount and add more if necessary.
Safety Warning: Always handle the hot glue gun with care, and supervise children closely while they’re using it!
Step 4: Attach Googly Eyes
Next, grab your googly eyes and use hot glue to attach them on the top part of the body. I usually choose eyes of various sizes to give each bug a unique personality.
Tip: You can also use markers to add eyelashes or a smile for an added touch that makes the bugs come alive!
Step 5: Creating the Legs
To make adorable little legs, cut four smaller pieces of pipe cleaner for each bug. Attach two on either side using hot glue. For a fun twist, consider folding them in a zig-zag shape before gluing to add some flair.
What Could Go Wrong: Ensure that the legs are attached securely. If they feel loose, reinforce with additional glue.
Step 6: Final Touches
Now it’s time for the fun embellishments! Use markers to draw hearts, dots or any additional designs you like on the body of the bug. This is where your creativity shines—don’t hesitate to personalize!
Tip: For an interactive element, you could even write short love notes or messages on paper and attach them to the body of your love bug as wings or decorations.
Step 7: Let it Dry!
Once everything is glued on and decorated to your satisfaction, set your Popsicle Stick Love Bugs aside to dry completely.
What Could Go Wrong: Rushing the drying process might cause items to shift or fall off. Patience is key!
Personal Anecdote on Crafting
I remember the first time I made these love bugs with my niece. She painted hers bright pink with glittery markers, and I opted for a classic red. Seeing her light up with creativity was the best part of the day—the laughter, shared stories, and the sheer joy of crafting together is so memorable. That’s the magic of crafting; it transcends the project and connects hearts.
Creative Variations
Feeling adventurous? Here are some variations you could explore:
- Seasonal Bugs: Change the colors or designs based on the time of year. Pastel colors for Easter, autumn hues for Halloween, or winter blues for the holidays.
- Different Bugs: Expand your crafting by creating different types of bugs, such as butterflies or beetles, using similar techniques.
- Party Decorations: Create a swarm of love bugs for a party decoration or as table centerpieces.
Conclusion
Making Popsicle Stick Love Bugs is an easy, fun, and interactive crafting experience. Whether you’re young or just young at heart, these little creations are an excellent way to express your love, brighten someone’s day, or add a pop of color to your home decor. So grab your materials, summon your inner artist, and let’s spread some love!
Happy crafting, everyone! I can't wait to see your adorable creations. Share your love bug stories and tips below; I’d love to hear how you made them uniquely yours!