How to Make Adorable Pom Pom Bookworm Kids Craft: A Step-by-Step Guide
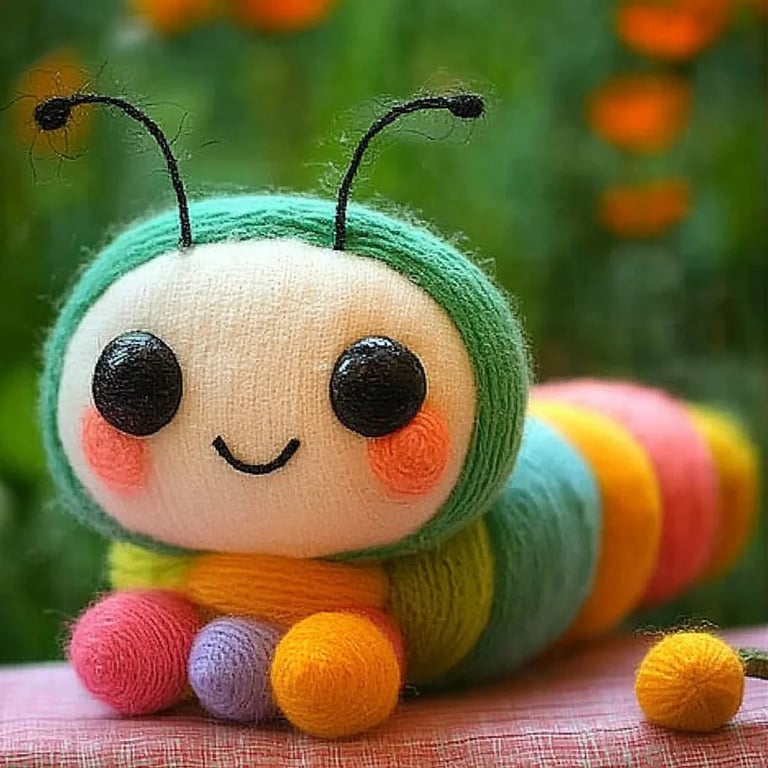
As a lifelong crafting enthusiast and a self-proclaimed DIY mentor, I’m excited to share one of my favorite projects that has brought endless smiles and creative joy: the Pom Pom Bookworm craft! This playful project combines creativity and fine motor skills while creating a whimsical creature perfect for kids and the young at heart. Whether you’re looking for a fun activity for an afternoon at home, a birthday party project, or a crafts day at school, the Pom Pom Bookworm is a delightful way to inspire a love for reading and crafting.
Why Make a Pom Pom Bookworm?
The Pom Pom Bookworm is an engaging, versatile craft that encourages children to express their creativity while developing essential skills like hand-eye coordination. These adorable little bookworms can be used as bookmarks, desk decorations, or even party favors! In an era where digital screens dominate, this craft helps children connect to their books in a fun way. Plus, they make great companions for reading time!
Now let’s get to the fun part — making your very own Pom Pom Bookworm!
What You'll Need
Before diving into the crafting process, ensure you have all the materials ready. Here’s what you’ll need:
Materials:
- Yarn (green, purple, or any other fun colors)
- Googly eyes
- Pipe cleaners (optional for adding bendable antennas)
- Scissors
- Hot glue gun (with adult supervision)
- Cardboard (for making a bookworm body and mouth structure)
- Pencil
- Optional: markers or glitter for decoration
Step-by-Step Tutorial
Step 1: Creating the Pom Poms
*WhyThis Step Matters:* Pom poms form the body of your bookworm, so getting their size and fluffiness right is essential.
Instructions:
- Wrap the Yarn: Start by selecting your yarn color. Hold one end and begin wrapping the yarn around your fingers (or a pom pom maker) about 50-60 times. More wraps provide a fluffier pom pom!
- Secure the Center: Carefully slide the yarn off your fingers, keeping the wraps in place. Tie a small piece of yarn around the center tightly. This step is crucial for keeping your pom pom intact!
- Cut the Loops: Snip the loops on both ends to create the fluffy pom pom. Fluff it out with your fingers — this is where the magic happens!
- Repeat: Make several pom poms in different sizes for the body of the bookworm. A larger one for the head, followed by smaller sizes for the body segments.
*Tip:* If you find pom poms a little tricky to make, consider using a pom pom maker, which can simplify the process significantly.
Step 2: Assembling the Bookworm
*Why This Step Matters:* Proper assembly ensures your bookworm is sturdy and has personality.
- Connect the Pom Poms: Using your hot glue gun, stack and glue the pom poms together to form the bookworm. Start with the larger pom pom as the head and glue smaller ones for the body segments, creating the desired length.
- Add Googly Eyes: Take your googly eyes and glue them onto the head pom pom. This adds character and fun!
- Create a Mouth: Cut a small piece of cardboard in a half-moon shape. Paint or color it as desired and glue it under the eyes to create a smiling mouth.
*What Could Go Wrong?* If the pom poms don't stick well, the glue may not have dried fully. Simply reapply glue and hold the pieces together until secure.
Step 3: Adding Antennas and Legs
*Why This Step Matters:* Antennas and legs add unique features to your bookworm, making each one different and exciting.
- Use Pipe Cleaners: Cut two lengths of pipe cleaners (about 6 inches each) for antennae. Twist them into a curly shape for character and poke them into the top of the head pom pom.
- Feet Optional: For extra detail, twist small pieces of pipe cleaner into “legs” and glue these onto the body, showcasing your bookworm as it “wiggles” amidst the pages.
*Alternative Methods:* If you don’t have pipe cleaners, you can use string or even dried pasta for a quirky touch.
Step 4: Personalizing Your Bookworm
*Why This Step Matters:* Personalization is what makes crafting meaningful. Encourage kids to express themselves!
- Decorate the Body: Use markers to draw patterns, spots, or stripes on the body of your bookworm. Add sparkle by sprinkling glitter onto wet glue for a shimmering effect.
- Attach a Bookmark Tab: To transform your bookworm into a bookmark, cut a strip of sturdy cardstock and glue it to the bottom of the bookworm. Kids can write their name or draw fun designs on it!
Final Thoughts: Celebrating Your Craft
Take a moment to admire your creation! Encourage the kids to display their bookworms, share their stories, and perhaps even create a “book world” where their bookworms can thrive.
Safety Warnings
- Always supervise young crafters when using scissors and hot glue guns.
- Be mindful of small parts like googly eyes; for younger children, consider using felt or paper for eyes to avoid choking hazards.
Creative Variations
Feel free to experiment! Here are some unique twists you can try:
- Different Colors and Sizes: Make a rainbow bookworm or create a family of bookworms in varying sizes.
- Themed Bookworms: Match them to holidays or favorite book characters!
- Interactive Bookworms: Write fun reading prompts on the bookmark tab to encourage kids to dive into a new book.
Conclusion
Crafting Pom Pom Bookworms is not just a fun and creative endeavor but also an opportunity to bond with your children over stories and books. I hope this process gives you the confidence and inspiration to dive into crafting with joy. Remember, the most important part is to have fun and let your imagination run wild. Happy crafting, and may your reading adventures be enriched with your delightful new companions!