How to Make a Super Bouncy Ball: Your Ultimate Guide to Crafting Fun!
Hey there, fellow crafting enthusiasts! Today, I'm excited to guide you through the delightful process of making your very own super bouncy ball. As someone who has spent countless hours on various crafting projects, I can tell you that this is not just a simple DIY—it's an adventure filled with science, creativity, and a touch of nostalgia. Whether you're looking for a fun project to do with your kids, a way to channel your inner inventor, or just a unique activity to share with friends, making your super bouncy ball is endlessly enjoyable and incredibly rewarding.
Why Are Super Bouncy Balls So Popular?
Before we dive into the nitty-gritty of crafting, let’s talk a bit about why these colorful little spheres have captured hearts (and hands!) across the globe. Super bouncy balls are not only entertaining to play with but also a fascinating blend of chemistry and creativity. You can use them in games, as stress relievers, or simply to watch them soar and bounce against various surfaces. And let’s be honest, there’s something inherently satisfying about watching something you’ve created perform with such joyful energy!
What You’ll Need
The beauty of this project lies in its simplicity. Most of the materials are either already in your home or can be found at your local craft store or online. Here’s what you’ll need:
- School glue (PVA or white glue): This is the primary ingredient, giving structure to your ball.
- Borax: A laundry booster that acts as a crosslinking agent. If you don't have Borax, I'll share an alternative later.
- Hot water: For dissolving the Borax solution.
- Food coloring (optional): To add a fun splash of color.
- Small mixing bowl: For combining ingredients.
- A measuring cup and spoon: For accuracy in your measurements.
- Rubber gloves (optional): To keep your hands clean (and for added fun).
Step-by-Step Instructions
Step 1: Prepare the Borax Solution
Why This Matters: The Borax solution is crucial because it helps the glue form the elastic structure of the ball.
- In a small mixing bowl, add 1 teaspoon of Borax.
- Pour in 1/2 cup of hot water, then stir the mixture until the Borax is completely dissolved. Ensure the water is hot but not boiling to prevent burns.
Common Pitfall: Not dissolving the Borax fully can lead to a grainy texture. If you see any undissolved grains, continue to mix until they are gone.
Step 2: Mix the Glue
Why This Matters: The glue is the heart of your bouncy ball. By adjusting the amount you use, you can influence the ball's firmness and bounciness.
- In another bowl, mix together 1/2 cup of school glue and the food coloring, if you're using it. Keep in mind that the color will be diluted when combined in the next step.
*Tip*: Start with a few drops of food coloring; you can always add more if you want a more vibrant ball!
Step 3: Combine the Mixtures
Why This Matters: This step combines the glue and Borax, causing a chemical reaction that forms a thick, rubbery substance.
- Slowly pour your Borax solution into the glue mixture while continuously stirring.
- You'll notice a clump beginning to form—this is exactly what you want! Keep stirring until it starts resembling a solid mass.
*Warning*: The mixture may feel tacky initially; don’t worry, this is normal.
Step 4: Knead the Ball
Why This Matters: Kneading develops the elasticity of the ball, so this step really influences how satisfying your finished product will be.
- Once it’s cool enough to handle, take the ball out of the bowl and begin kneading it between your fingers. If it feels too sticky, dust your hands with a little Borax or cornstarch.
- Knead for about 5-10 minutes until you achieve a nice, smooth texture.
*Alternative Method*: If you want to experiment, you can also try different types of glue (like glitter glue) for unique textures and appearances.
Step 5: Shape Your Ball
Why This Matters: The shape directly influences the bounciness. A well-shapen ball bounces better!
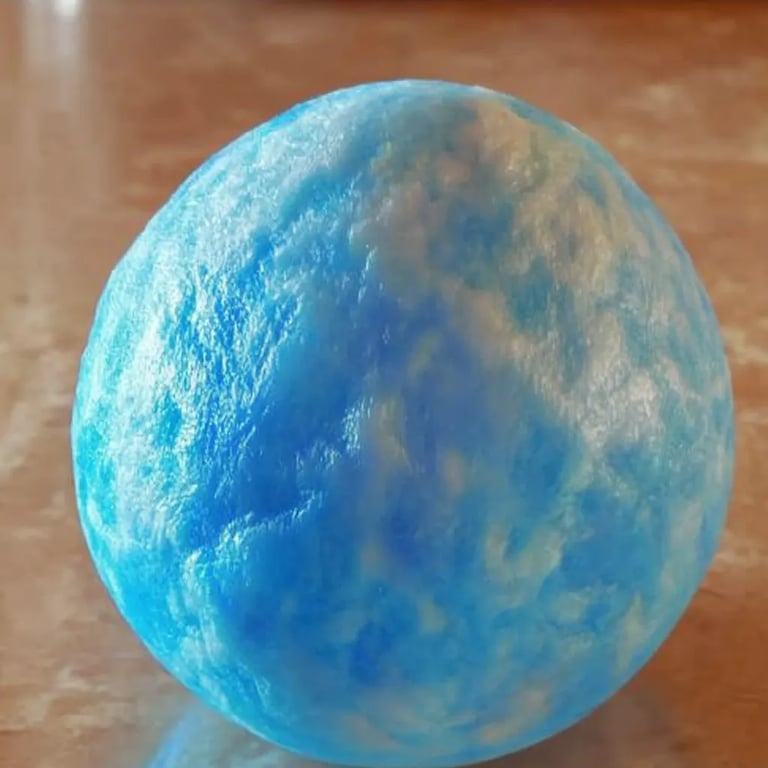
- Roll the kneaded mixture in your hands to form a perfectly round ball.
- Aim for a diameter of about 1-2 inches.
Tips and Troubleshooting
- Too Sticky?: If your ball is still too tacky after kneading, don’t be shy to sprinkle a little more Borax or cornstarch onto it and continue kneading.
- Too Firm?: If you want your ball to have a softer touch, know that using less Borax will give you a squishier result.
- Bouncing Issues?: Not all bounces are created equal. If your ball isn’t bouncing as you’d like, try adjusting the size; smaller balls typically bounce better.
Storage and Usage
Once your bouncy ball is complete, store it in a cool, dry place. Make sure to avoid extreme temperatures, as they can alter the ball's texture and bounce. A simple ziplock bag works wonders for keeping your bouncy treasures safe.
Creative Variations
Here are a few fun ideas to take your bouncy ball game to the next level:
- Glow-in-the-Dark Ball: Use glow-in-the-dark paint instead of food coloring for a whimsical nighttime effect.
- Scented Balls: Add a few drops of essential oil to the glue mixture for delightful scents when you bounce them.
- Texture Variants: Incorporate metallic or glitter glues for a sparkling appearance.
Final Thoughts
Making a super bouncy ball can be a magical experience filled with learning and laughter. As you can see, this is not only a fun craft but also an engaging science experiment. You can experiment endlessly with colors, sizes, and texture while also discussing concepts like elasticity and chemical reactions.
I truly hope this guide inspires you to make your very own super bouncy ball. Gather your loved ones, enjoy the process, and let the bouncing create joyful memories. Happy crafting!