How to Make a Salt Volcano Experiment: A Fun DIY Science Project
Hello, fellow crafting enthusiasts! Today, I’m excited to share one of my absolute favorite projects that combines science with a dash of fun—the Salt Volcano Experiment. This captivating display not only intrigues kids but can also serve as an engaging science lesson. I've found it to be a popular choice at family gatherings, science fairs, and even as part of home-schooling curricula. Whether you’re looking to impress a roomful of kids or just want to explore the wonders of chemistry yourself, this project will surely ignite your curiosity!
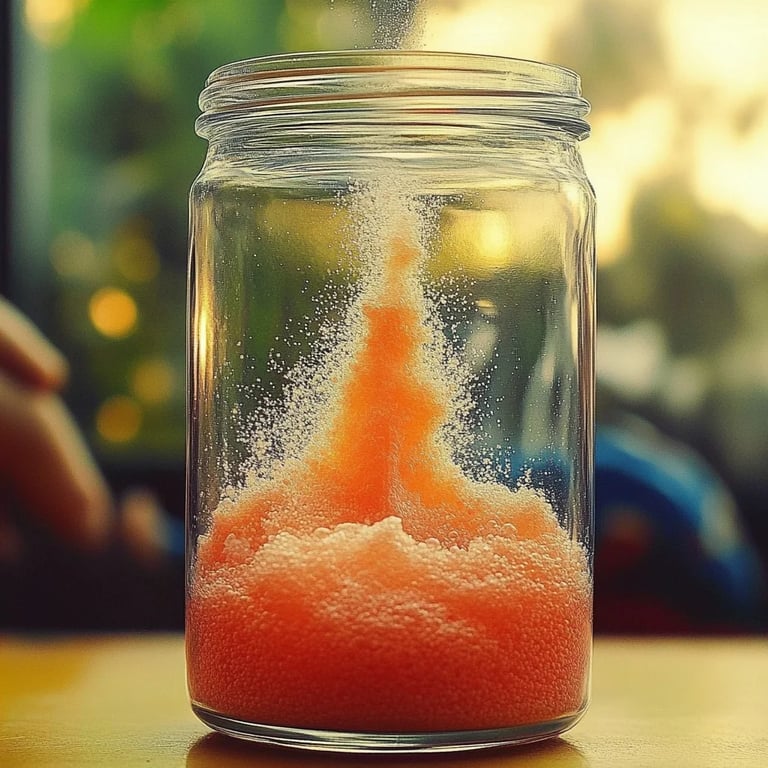
The Salt Volcano is an eye-catching demonstration of chemical reactions and an exploration of how sodium bicarbonate interacts with an acid, all while incorporating some colorful and delightful splashes. Plus, it’s incredibly simple to make with just a few household items. So let’s get started!
What You Will Need
Before diving into the step-by-step process, let’s gather our materials. Here’s what you’ll need for the Salt Volcano Experiment:
Materials:
- Baking soda (sodium bicarbonate) – This will be the base for our reaction.
- Vinegar (white or apple cider works well) – An acid that reacts with the baking soda.
- Salt – This is crucial for our “volcano” effect.
- Food coloring (optional) – For a visually spectacular eruption!
- A container or small bowl (such as a plastic or paper cup) – This will hold your mixture.
- A tray or large dish – To catch the overflow and keep your workspace clean.
- Spoon or stick – For mixing.
- Measuring spoons – For precise measurements.
Safety Precautions:
- While baking soda and vinegar are safe to handle, ensure that children are supervised to avoid spills. It's also good practice to wear an apron or old clothes, as things can get messy!
Step-by-step Guide
Step 1: Prepare Your Work Area
Before you get started, find a spacious area with plenty of room to work. I suggest laying down some old newspaper or using a tray to catch any spills. Trust me, this step is crucial—my first experiment ended up decorating my kitchen countertop rather than the volcano!
Step 2: Create the Volcano Structure
Using your container (or upside-down cup), create a volcano shape by building it up around the base with salt. This will not only provide the structure for your volcano but will also create a dramatic effect when it erupts. Here’s how I typically layer it:
- Pour a generous amount of salt into the center of the tray or dish, shaping it into a cone-like mound.
- Use your spoon to carve out a small crater at the top.
Why This Step Matters:
The salt forms the critical structure that will erupt, allowing for a more controlled and directed flow. If the mound isn’t tall enough, the reaction might spill over uncontrollably.
Step 3: Prepare the Baking Soda Mixture
In a separate bowl, measure out about 1-2 tablespoons of baking soda and pour it into the crater of your salt volcano. This is where the magic begins!
Insider Tip:
Don’t be stingy with the baking soda. A nice heaping tablespoon can yield a luxurious eruption!
Step 4: Add the Food Coloring (Optional)
If you’re going for a dramatic effect, now’s the time to add a few drops of food coloring directly into the baking soda. It will create a vibrant explosion that kids absolutely love. Personally, I enjoy using red for a lava-like effect, but you could also try green or blue for a more creative look.
Step 5: Initiate the Eruption
Now for the fun part! Slowly pour vinegar over the baking soda in the crater. Watch in awe as a magnificent reaction begins!
What’s Happening?
As the acid in the vinegar interacts with the sodium bicarbonate, carbon dioxide gas is produced, creating bubbles and causing the colorful mixture to overflow dramatically from the volcano.
Tips for a Bigger Eruption:
- For a more violent eruption, increase the amount of vinegar you use. Just remember to do it gradually to avoid unintended spills.
Step 6: Observe and Discuss
As the potion bubbles and flows down the sides of your salt volcano, observe the reaction. This is a fantastic opportunity to discuss with the kids what they are witnessing. Ask questions like:
- What do you see happening?
- Why do you think the bubbling is happening?
- What colors mix together and what does that remind you of?
Cultivating curiosity at this stage makes the experiment not only educational but also memorable!
What Could Go Wrong?
If the eruption isn't as grand as you expected, don’t worry! Here’s how to troubleshoot:
- Too little vinegar: If you notice minimal reaction, try adding more vinegar.
- Too much salt: Excess salt can absorb the vinegar. Keep a higher ratio of baking soda to salt.
- Crater too small: If the crater is not deep enough, it may overflow too rapidly or not at all. Adjust as necessary.
Creative Variations
Once you’ve mastered the basic Salt Volcano, why not get creative?
- Change the base: Use baking powder instead of baking soda for a different effect!
- Add glitter to your mixture before the eruption for a sparkling volcano.
- Erupting colors: Layer different colors of food coloring to see how they blend as they flow out.
- Mix in essential oils for a lovely aroma; just a drop can create a pleasant scent during your experiment!
Personal Anecdote
The first time I did this experiment for my niece’s birthday party, I was a little anxious. Would I have everything? Will it work? But once I saw their faces light up at the colorful eruption, my heart soared. It’s moments like these that reinforce just how delightful and engaging hands-on experiences can be for kids (and adults too!).
Conclusion
In summary, the Salt Volcano Experiment is a delightful, engaging project that encourages curiosity and scientific exploration while providing a dazzling display. The materials are accessible, and the process is relatively mess-free if you prepare appropriately.
I hope you feel inspired to embark on this crafting adventure. Remember, no matter how it turns out, the journey of discovery is the real reward. Happy crafting, and may your volcanoes erupt wonderfully!