How to Make a Salt Volcano: A Comprehensive Guide for Every Crafter
As an experienced crafter, one of my favorite projects to share with kids (and equally curious adults) is making a Salt Volcano. This delightful activity combines the magic of science with the joy of crafting, making it a perfect project for education-focused play, classroom demonstrations, or even an enthralling family activity at home. Salt Volcanoes are not just fun; they foster creativity, curiosity, and a bit of chemical reaction excitement. They are especially popular among parents and teachers looking for engaging ways to teach concepts such as volcanic eruptions, chemical reactions, and geology—making them a winning option for all ages.
What is a Salt Volcano?
Simply put, a Salt Volcano mimics the explosive eruption of a volcano using simple ingredients easily found in your kitchen. By combining salt, water, an acid like vinegar, and baking soda, we can create an engaging visual spectacle that bubbles, fizzes, and erupts—just like a real volcano! This project is not only entertaining but also serves as a great hands-on lesson about chemical reactions and the earth's geology.
Why Is It Popular?
The Salt Volcano is widely favored due to its accessibility, simplicity, and the blend of art and science. It doesn’t require a complex setup, and it can be done indoors or outdoors, making it perfect for birthday parties, science fairs, or simply a fun afternoon at home. Plus, it encourages kids to ask questions and explore, making it a wonderful bonding experience.
When and How Can It Be Used?
You can create your Salt Volcano during various occasions:
- Science Class Demonstrations: Illustrating chemical reactions in a fun way.
- Birthday Parties: An exciting centerpiece for an enchanting adventure theme.
- Family Craft Days: A delightful way to spend quality time with loved ones.
- Rainy Days: An approved indoor activity that keeps boredom at bay!
What You’ll Need
Before we dive into the details, gather the following materials:
Basic Ingredients
- Salt (about 1 cup)
- Baking soda (1-2 tablespoons)
- Vinegar (1 cup)
- Food coloring (optional, for visual appeal)
- Water (enough to mix with salt)
- Dish soap (1 tablespoon)
Tools and Containers
- Container (a shallow bowl, tray, or even a bottle to simulate a volcano shape)
- Spoon (for mixing)
- Measuring cups and spoons
- Protective gloves (optional, but recommended for younger crafters)
Step-by-Step Tutorial
Now that we have everything ready, let’s get started on creating our Salt Volcano!
Step 1: Create the Base
- Set the Stage: Place your shallow bowl or tray in a location where you don’t mind a bit of mess. I recommend putting down some newspaper or an old tablecloth to catch any overflow.
Why This Matters: This is where your volcano will "erupt," so having a container with a raised edge helps contain the reaction.
Step 2: Mix the Salt and Water
- Salt Mixture: In a bowl, mix the salt (1 cup) with enough water until you reach a thick paste-like consistency. You want the mixture to be moldable but not too wet.
Tip: You can add a splash of food coloring here to color your volcano. I often use red or brown to mimic lava!
Step 3: Shape the Volcano
- Forming the Volcano: Once the paste is ready, mold it into a volcano shape in the center of your container. Make sure to build up the sides, leaving space in the middle for the eruption.
Why This Matters: The structure of your volcano will dictate how impressively it erupts. If the shape is too flat, the explosion might not be as captivating.
Step 4: Prepare the Action Ingredients
- Baking Soda Preparation: In a separate bowl, mix 1-2 tablespoons of baking soda with a splash of dish soap. This combination produces extra bubbles and enhances the eruption effect.
Tip: If you want your volcano to erupt with even more fizz and color, you can mix in another drop of food coloring now.
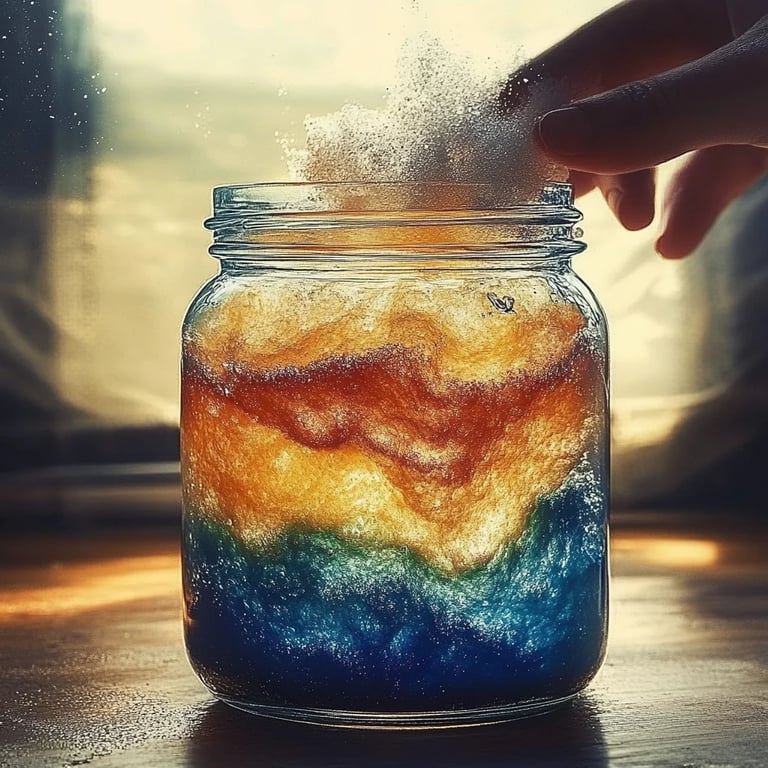
Step 5: The Eruption!
- Adding the Eruptive Ingredients: Pour your baking soda mixture into the top of your Salt Volcano. Then, slowly pour in the vinegar to trigger the reaction.
Important Note: Step back and watch the action unfold! The reaction between baking soda (a base) and vinegar (an acid) creates carbon dioxide gas, which will cause your “lava” to bubble and flow down the sides.
What Could Go Wrong: If nothing happens, it might be due to insufficient vinegar or baking soda. Check to make sure you’ve added enough, and pour gently to observe the reaction.
Step 6: Cleanup and Reflection
- Cleaning Up: When you’re done, carefully dispose of the remnants. The leftover salt and baking soda mixture are harmless, but cleanup is essential to prevent a sticky mess.
Why It Matters: While the fun is in the eyecandy spectacle, ensuring the workspace is tidy makes for a more enjoyable crafting experience.
Tips for a Successful Salt Volcano
- Experiment with Ratios: If you’re looking to experiment, try varying the amounts of baking soda and vinegar to see how it changes the eruption.
- Substitutions: You can replace salt with cornstarch for a smoother "lava" or add small plastic dinosaurs or toys for added fun!
- Alternative Methods: Instead of vinegar, you can experiment with other acidic liquids like lemon juice or soda—just remember to document your observations!
Safety Warnings
Always supervise children during this process, especially when using vinegar as it can be irritating to the eyes and skin in concentrated amounts. Although our materials are generally safe, it’s a good practice to wear gloves, particularly for younger kids.
Personal Anecdotes
I remember the first time I did this with my niece; her laughter filled the room as the red "lava" cascaded down the sides of our makeshift volcano. It sparked her curiosity about how real volcanoes work—leading to hours of research and talking about nature! These moments are what make crafting so special—big or small, every project brings us together and opens up the doors to further knowledge and wonder.
Creative Variations
- Rainbow Volcano: Use different colors of vinegar (with food coloring) at different times for multi-colored eruptions.
- Mini Salt Volcanoes: Use bottle caps or small containers to create mini versions for a fantastical diorama display.
- Expanded Dioramas: Create a scene around your volcano, incorporating clay figures or drawings to illustrate the volcanic landscape.
Conclusion
Creating a Salt Volcano is not just about crafting; it’s about nurturing curiosity, developing fine motor skills, and making lasting memories with loved ones. Whether you’re a beginner or an experienced crafter, I encourage you to give this project a try. It’s fun, educational, and, best of all, it delivers a spectacular visual experience that will keep everyone captivated! So, gather your materials, unleash your creativity, and let your Salt Volcano erupt—enjoy the fizz, the bubbles, and the laughter! Happy crafting!