How to Make a Rain Cloud in a Jar: A Fun DIY Activity for All Ages
Hello, fellow crafters! Today, I'm excited to share with you one of my absolute favorite DIY science crafts: making a Rain Cloud in a Jar. This simple yet magical project has been a hit in my home, capturing the wonder of weather and providing an educational experience for kids and adults alike. Whether you're looking to engage little ones during a rainy afternoon, teach a science lesson, or just create a beautiful centerpiece, this project is sure to delight.
Why is the Rain Cloud in a Jar So Popular?
"Rain Cloud in a Jar" is more than just a captivating visual experience; it teaches principles of weather, density, and the water cycle. In our fast-paced lives, we often overlook the wonders of the natural world around us. This DIY project not only encourages curiosity but also provides a hands-on way to explore scientific concepts. Plus, it’s incredibly easy to put together with everyday materials, making it accessible for all.
You can use it for home science experiments, educational demonstrations, or just a fun activity on a rainy day. And let me assure you, the look of wonder on a child's face as they see swirling clouds and raindrops is priceless!
What You’ll Need
Before we get started, let’s gather our materials. The good news is that you likely have most, if not all, of these items around the house:
Materials:
- A clear glass or jar (any size works, but wider ones show off the cloud effect better)
- Water (warm or room temperature)
- Shaving cream (the gel kind works best)
- Food coloring (blue, purple, or even red for creative variations)
- Dropper or pipette (optional, but handy for precise drops)
- A small cup or bowl (for mixing)
- A spoon (for stirring)
Safety Warning:
While this project is generally safe, keep in mind that food coloring can stain surfaces and fabrics. I recommend wearing old clothes or an apron and covering your crafting area with newspaper or plastic. If there are younger children involved, supervise them with the food coloring.
Step-By-Step Tutorial: Creating Your Own Rain Cloud in a Jar
Step 1: Prepare Your Jar
Start by filling your clear jar about two-thirds full with water. The amount of water you add will affect how the "rain" looks later on, so feel free to experiment. I usually aim for this two-thirds full level; it provides enough space for the cloud and the “rain” to form without overflowing.
Step 2: Add Shaving Cream
Now, here comes the fun part! Take your shaving cream and gently squeeze it onto the top of the water, creating a fluffy layer that looks like a cloud. Make sure to cover the entire surface of the water. The shaving cream’s texture is essential as it mimics how clouds hold moisture in the sky.
What Could Go Wrong:
If your shaving cream is too watery or in gel form, it might not hold its shape well. A thicker cream creates a fluffier cloud effect. If your first attempt doesn’t work, don’t be disheartened; simply start again with a different brand.
Step 3: Mix Your Food Coloring
In the small cup or bowl, mix a few drops of food coloring with a tablespoon of water. This will create your "rain." You can get creative and make different colors to observe how they interact; I personally love using blue and purple for a classic rain effect.
Step 4: Create the Rain
Using a dropper or a pipette, slowly add drops of your food coloring mix onto the shaving cream cloud. You’ll see that the coloring sits atop the shaving cream initially; as it gets heavier, it will begin to seep down into the water like rain falling from a cloud. This is one of the most exciting parts of the experiment!
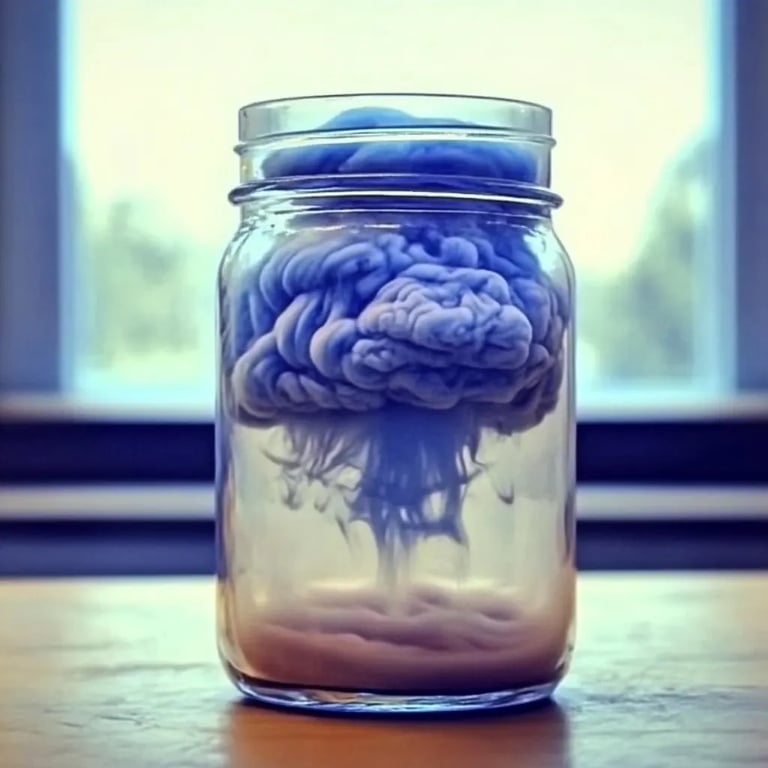
Step 5: Observe the Magic
Watch as colorful droplets begin to fall through the cloud and into the water below. This is the moment that truly makes this project shine. The droplets create beautiful trails as they descend, resembling rain falling from the skies.
Tips for Success:
- If the food coloring doesn’t seem to be making it through the cloud, you can add more drops. Sometimes, adding too little won't create a good visual.
- Experiment with the timing between drops; fast drops create clouds of colors, while slower, intentional drops yield different effects.
Troubleshooting Your Rain Cloud
If your rain isn’t happening after a few minutes, here are some steps to potentially fix it:
- Too little food coloring: Add a few more drops.
- Too thick of a cloud: If the shaving cream layer is too thick, the coloring might not break through. You can lighten it by removing some or using a lighter hand when applying.
Creative Variations
Once you’ve mastered the basic Rain Cloud in a Jar, why not add a twist? Here are a few of my personal favorite variations:
- Glow-in-the-Dark: Use glow-in-the-dark food coloring to create a spooky night-time version.
- Add Glitter for a sparkly effect that’s even more fun to watch!
- Colorful Layers: Use multiple layers of shaving cream with different colors to create a rainbow cloud.
- Themed Displays: For holidays, you can create snowflakes in winter or themed clouds for themed celebrations.
Personal Anecdotes
I first discovered this project when looking for an indoor activity for my kids on a rainy weekend. I remember their eyes lighting up with excitement as the colors began to fall, and I couldn't help but join in their laughter. Every time we created a rain cloud, it became a family event, sparking conversations about weather patterns and nature. So, my friends, this isn’t just a craft; it’s a memory-maker!
Conclusion: Crafting Together
My hope is that you not only enjoy making your Rain Cloud in a Jar but that you also find joy in the learning experience it provides. Whether you share it with kids or indulge in a bit of adult crafting time, you'll find the process as rewarding as the creation. So gather your materials, get messy, and embrace the delightful wonders of science and art coalescing in a jar!
If you have any questions or want to share your own variations, feel free to leave a comment below. Happy crafting, and may your skies always be filled with colorful clouds!