How to Make a Plastic Lid Glue Suncatcher Craft: A Step-by-Step Guide from an Experienced Crafter
Hello fellow crafters! If you’re like me, you may find yourself constantly seeking new ways to recycle household items and express your creativity. Today, I’m thrilled to share a hands-on project that combines both sustainability and artistic flair—the Plastic Lid Glue Suncatcher Craft. This delightful DIY project is not just easy on the wallet but also a joyful way to bring color and light into your living space.
What is a Plastic Lid Glue Suncatcher?
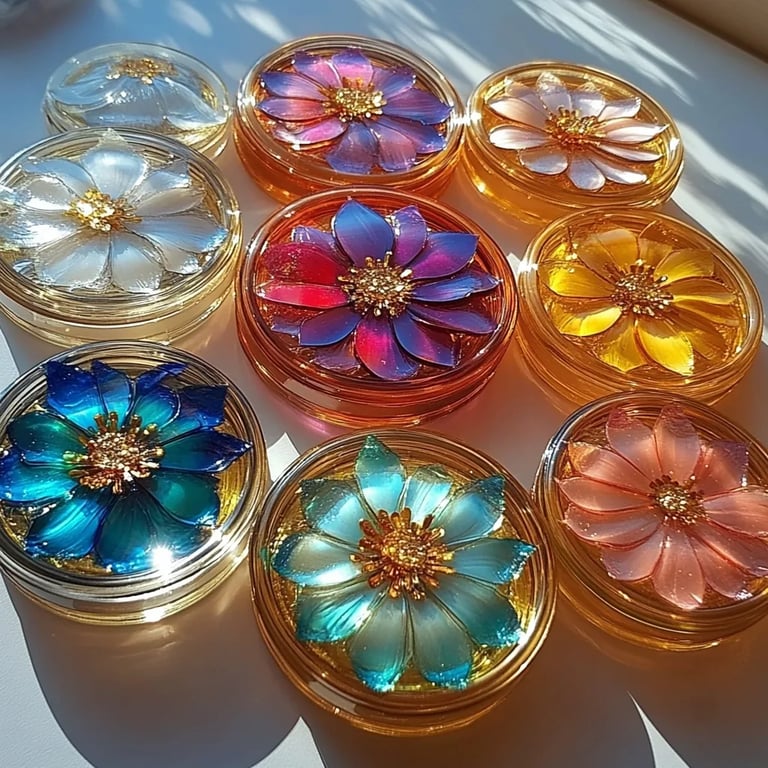
A plastic lid glue suncatcher is a colorful, translucent piece of art made by melting glue inside plastic lids. When sunlight shines through, it creates a beautiful, vibrant display of colors that can brighten up any room or window. Not only is it an excellent craft for all ages, but it also gives new life to what would normally be discarded plastic lids—a win-win situation!
Why It's Popular
The beauty of suncatchers lies in their versatility. If you're looking to engage young kids, create a spot of color in your home, or even challenge your seasoned crafting skills, this project caters to everyone. You can use various colors, shapes, and sizes of lids, making this an adaptable craft for any occasion, be it a simple afternoon activity, a festive seasonal decoration, or a beautiful handmade gift.
When to Use Them
These suncatchers are perfect for springtime when flowers are blooming, during the summer months for vibrant displays, or even as autumn decorations when using warmer hues. Plus, they make enchanting gifts for friends and family looking to spruce up their windows.
Crafting Time: Step-by-Step Tutorial
Materials Needed
Before we dive into the craft, let's gather the supplies you'll need:
- Plastic lids: Use lids from yogurt, sour cream, or even large bottle caps. They should be clear or lightly tinted for the best results.
- Adhesive glue: I recommend using clear school glue or clear-drying craft glue. Hot glue works too, but it requires more caution as it can be very hot to handle.
- Food coloring or liquid watercolors: Choose a variety of colors to create stunning effects in your suncatcher.
- Wax paper or parchment paper: For a non-stick surface to work on.
- Small bowls or cups: For mixing your glue and colors.
- Paintbrush or toothpicks: To apply your color mixture.
- An oven (optional): For heating your suncatchers to create that gorgeous, finished look.
- Safety gloves and apron: To protect your hands and clothes from stains.
Step 1: Prepare Your Workspace
Begin by laying down wax or parchment paper on your crafting surface to protect it from any spills or mess. Having a clean, dedicated space helps keep your crafts stress-free and enjoyable. I’ve had my fair share of chaotic crafting sessions, so trust me on this one!
Step 2: Choose Your Lids
Pick out your plastic lids! I like to explore different sizes and shapes, as it adds character to the finished pieces. Don’t hesitate to mix and match; variety can make your suncatcher even more eye-catching.
Step 3: Mix Your Colorful Glue
In your small bowls, pour equal parts of glue and a splash of your food coloring or liquid watercolor. Stir well to combine until the desired hue is achieved. Don’t be afraid to mix colors! If you're looking for something specific, start with basic colors and blend them to make unique shades.
Tip: Test your mixture on a scrap piece of wax paper to see how the color looks when dry.
Step 4: Fill the Lids
Using a paintbrush or toothpick, carefully pour or paint the colored glue mixture into your plastic lids. Fill them about halfway, ensuring they're evenly coated. Be careful not to overfill; you want the color and light to shine through, but too much glue can create a messy spill.
Potential Pitfall:
If the glue spills over the edges, don’t panic! Simply use a paper towel to wipe it away quickly, or you can leave it as is for a textured look.
Step 5: Add More Colors (Optional)
For a marbling effect, while the first layer is still wet, add a dollop of a contrasting color and swirl it around with a toothpick. The best part about crafting is letting your creativity flow, so let your imagination soar here!
Step 6: Allow to Dry
This step is crucial! Place your filled lids in a safe, flat area and let them dry completely. I usually leave mine overnight to ensure they’re fully set. If you’re impatient (like me!), be prepared for some drips or less-thorough results.
Step 7: Optional Baking
For a shiny and smooth finish, you can pop your lids into the oven at a low temperature (around 200°F or 93°C) for about 15 minutes. Keep a close eye on them! This step is optional, but it can really enhance the look of your suncatchers.
Step 8: Hang Your Masterpiece
Once dry, gently peel the suncatchers from the wax paper and display them! You can hang them in a window using string or fishing line, or place them on a decorative stand. When sunlight hits them, you’ll be amazed by the colorful glow!
Safety Warnings
- Always work in a well-ventilated area, especially when using adhesives or food colorings, to avoid any irritation or reactions.
- If using hot glue, keep it out of reach of young children, and handle it with care to avoid burns.
- Remember to wear gloves if you're working with strong food colors that can stain hands or clothing.
Alternative Methods and Ingredient Substitutions
- Gelatin: For a more natural approach, you can dissolve plain gelatin in water to create a colorful, pliable suncatcher. It adds a unique texture and is a fun alternative for kids!
- Colored Sand or Beads: Instead of using colors in glue, consider using colored sand or beads to fill your lids for a different artistic take.
Personal Anecdotes
I vividly remember the first time I made these suncatchers with my daughter. She was so excited to mix the colors and watch the glue transform as it dried. Those little moments of joy and creativity brought us closer together. Now, every time the sun hits our window, I’m reminded of those cherished afternoons spent crafting together.
Creative Variations
- Seasonal Themes: Use autumn colors in the fall, icy colors in winter, or pastels in spring!
- Themed Shapes: Instead of regular lids, use heart-shaped or star-shaped ones for special occasions.
- Layering: Create multiple layers of different colors for a deeper look. Just ensure each layer is fully dry before adding the next.
Conclusion
Crafting a Plastic Lid Glue Suncatcher is not just about creating beautiful decorations; it's also a fantastic way to bond with loved ones while being mindful of our environment. I hope this guide empowers you to gather your supplies and embark on this colorful journey. No matter your experience level, embracing creativity can light up your day—as beautifully as these suncatchers brighten up your space!
Now, go ahead and get crafting! I can’t wait to hear about your colorful creations. Happy crafting!