How to Make a Miniature Dinosaur Terrarium Night Light: A Step-by-Step Guide
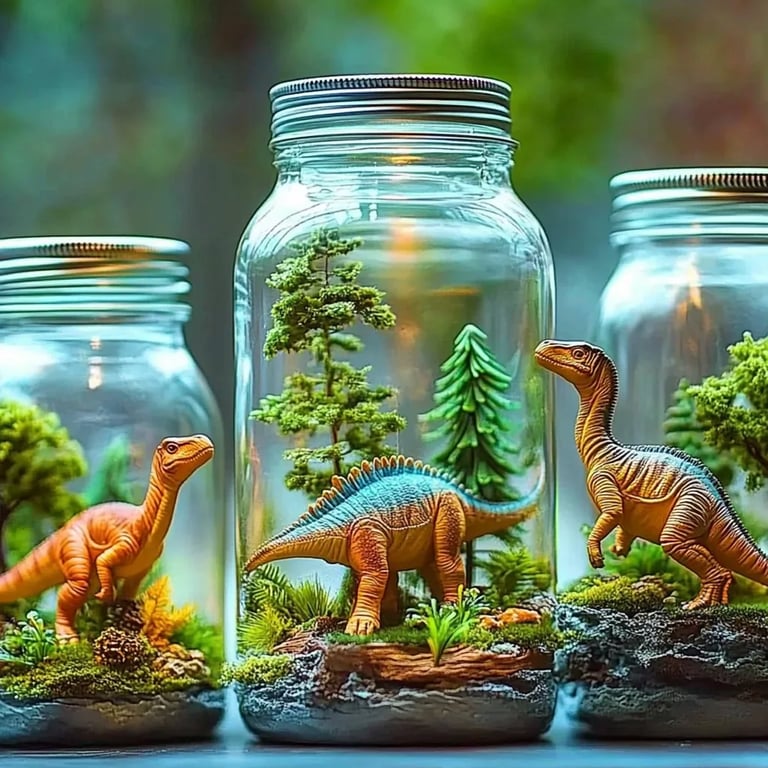
Hello fellow crafters! Today, I am thrilled to share with you a project that has not only captured my heart but has also lent a whimsical charm to my home—a Miniature Dinosaur Terrarium Night Light. This delightful creation combines the enchanting world of miniatures with the soft glow of a night light, making it a perfect addition to any child's room, or for the young-at-heart, like myself.
Why Are Miniature Dinosaur Terrarium Night Lights So Popular?
These adorable night lights have seen a surge in popularity for a few compelling reasons. First, they allow for both creativity and personalization. You can choose your favorite dinosaur figurines, specific colors, and even the types of plants you want in your terrarium. Second, they serve as a unique night light that calms fears of the dark, providing a gentle ambiance that is perfect for bedtime. Whether you're creating one for a child, gifting a friend, or simply enjoying the process for yourself, these terrariums are a delightful mix of fun, functionality, and artistry.
Materials Needed
Let’s gather our supplies!
- Glass Jar: A mason jar works beautifully, but any clear jar will do.
- Dinosaur Figurines: You can find these at craft stores or online. Choose your favorites!
- LED String Lights: Battery-operated string lights are best.
- Soil: You can use potting soil, but be mindful of weight.
- Assorted Rocks: These will add texture and help with drainage.
- Moss or Mini Plants: Choose any that fit inside the jar.
- Activated Charcoal: This helps eliminate odors and keeps things fresh.
- Spray Sealant: To protect your creation.
Optional Supplies
- Paint: For customizing your dinosaurs or rocks.
- Mini Figurines or Accessories: To add extra flair, think mini flags, trees, or dinosaurs!
Step-by-Step Tutorial
Step 1: Prepare Your Jar
Before we dive into assembling everything, it’s essential to choose a clean glass jar. Clean it with warm, soapy water, rinsing it well to avoid any soap residue. A clear jar allows the night light to shine through beautifully. Once clean, dry it thoroughly.
What Could Go Wrong? If your jar isn’t properly cleaned, it can develop cloudy spots, detracting from the finished look.
Step 2: Start with Rocks for Drainage
Start by pouring a layer of rocks into the bottom of your jar, about 1 inch deep. This is critical as it provides drainage for any moisture from the soil and prevents root rot if you use live plants.
Tip: Colorful decorative rocks can add a fun touch, but be careful about overloading the bottom. Too many rocks can make it look cluttered and diminish space for soil and plants.
Step 3: Add Activated Charcoal
Next, sprinkle a layer of activated charcoal over the rocks. This inert substance is your friend here; it keeps the terrarium fresh by filtering the air and preventing bacteria growth.
Safety Warning: Be cautious when handling activated charcoal; while it’s not toxic, the fine dust can be messy!
Step 4: Add Soil
Now it’s time to pour in the potting soil, about 2-3 inches deep. Choose soil that’s appropriate for the plants you will be using. If you have a mix of plants, opt for a cactus or succulent potting mix—these tend to drain better.
What Could Go Wrong? If you use too much soil, it can create a dense environment that retains too much moisture. This can suffocate roots and lead to mold.
Step 5: Plant the Greenery
If you’re using live plants, plant them at this stage. But if you’ve chosen moss, simply arrange it atop the soil. Mist the plants or moss lightly with water.
Alternative Method: If you don’t want to feel overwhelmed with live plants, you can skip this step and use artificial moss or plants. They look great and require zero maintenance!
Step 6: Insert the Dinosaur Figurines
Now comes the most exciting part! Strategically place your dinosaur figurines among the plants or moss. I suggest imagining a little prehistoric scene; let your creativity flow!
Personal Anecdote: When I made my first terrarium, I had a tiny rubber T-Rex who, I imagined, was protecting a lost brontosaurus. It added character and a story to my terrarium!
Step 7: Insert the LED String Lights
Carefully weave battery-operated LED string lights inside the jar. Arrange them in such a way that the light highlights the dinosaurs and lush greenery. The gentle glow will not only serve as a night light but also enhance the entire scene you've created.
What Could Go Wrong? If your lights are too bright, it can overexpose your scene. Aim for soft, warm lights instead.
Step 8: Finish and Seal
Spray the inside of the glass jar with a clear sealant to protect your work—this minimizes the risk of dust accumulating and dulling the brightness of your lights. Allow it to dry according to the manufacturer’s instructions.
Step 9: Light it Up!
Finally, turn on your LED lights, find a cozy spot for your terrarium, and admire your work!
Creative Variations
Feel free to customize your night light even further! You could try different themes—maybe a Jurassic jungle, or even a dino spaceship. Use colored or glow-in-the-dark paint to brighten up your dinosaur figurines.
Moreover, if dinosaurs aren’t your thing, you can apply this technique to different miniature themes! Consider fairy gardens, underwater scenes, or woodland creatures—let your imagination guide you!
Conclusion
Creating a Miniature Dinosaur Terrarium Night Light is not just a crafting project; it’s an experience that fosters creativity and can brighten up your space. I hope this guide encourages you to dive into your crafting adventure with enthusiasm and joy. Remember, the key is to enjoy the process—mistakes can often lead to the most charming quirks of your creation.
So, gather your materials, let your creativity run wild, and illuminate your world with a touch of dino magic! Happy crafting!