How to Make a Magical Glow-in-the-Dark Ocean Jar: A Step-by-Step Guide
Hello, fellow crafters! Today, I’m excited to share a wonderfully enchanting project that allows us to harness the calming beauty of the ocean and bring it right into our homes. We’re going to create a Glow-in-the-Dark Ocean Jar—a nightlight that mimics the mesmerizing depths of the sea, glowing gently to soothe your soul while you drift off to dreamland or serve as a unique decorative piece for your space.
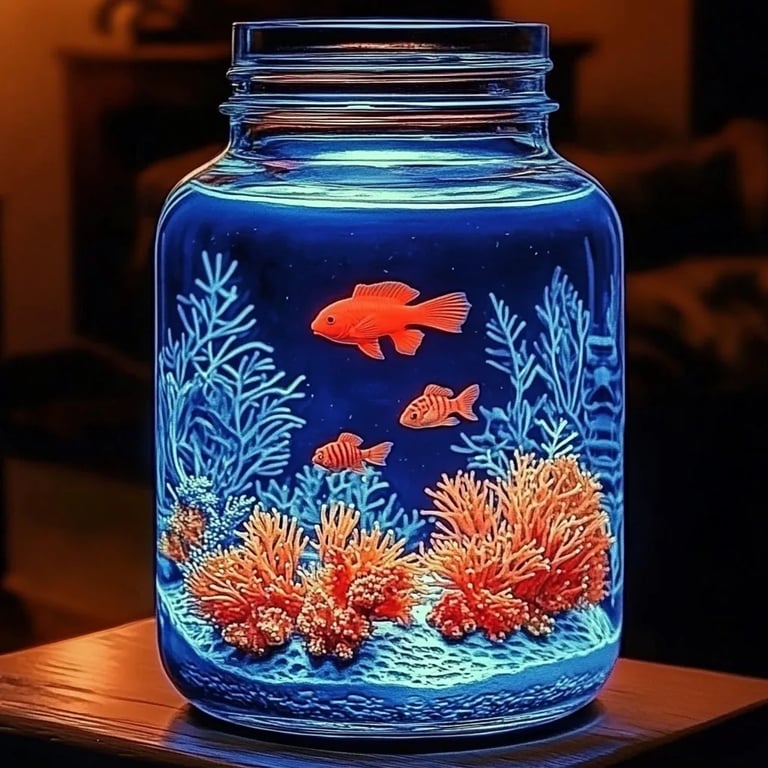
These charming jars have gained popularity for their aesthetic appeal, making them perfect for kids' rooms, ambient lighting for adults, or even DIY gifts for friends and family. Think of the ocean’s tranquil waves and bioluminescent life beautifully captured within a jar—such a delightful vision, isn’t it? Whether you want to create a zen vibe or simply wish to explore your creative side, making a Glow-in-the-Dark Ocean Jar is not only fun but an inspiring adventure.
Materials You Will Need:
Before diving into this crafty journey, let’s gather our materials. Luckily, all of these are simple and often found around the house or easily obtained from a craft store:
- A clear glass jar (any size you prefer, I often use mason jars!)
- Glow-in-the-dark paint (you can also use glow powder)
- Blue and green acrylic paint (for ocean colors)
- White glue (regular school glue works well)
- Water
- Sand or fine glitter (optional, to mimic the ocean floor)
- Small decorative items like seashells, starfish, or even mini toy sea creatures
- Paintbrushes of various sizes
- Paper towels or an old cloth (for messy hands)
Step-by-Step Tutorial
Now, let’s get started with this enchanting project! I’ll walk you through each step, sharing tips, possible pitfalls, and ways to enhance your creation.
Step 1: Prepare Your Jar
- Clean Your Jar: Start with a clean, dry jar—this is critical for good adhesion of the paints. Wash it with soap and water, and dry it thoroughly.
- *Tip*: If you’re using a jar with remnants of labels, soak it in warm, soapy water to remove any sticky residue.
Step 2: Create the Base Layer
- Mix Your Ocean Colors: In a small cup, mix your blue and green acrylic paint. I usually prefer a 2:1 ratio of blue to green for that perfect ocean hue.
- *Why it matters*: The colors create the depth of the ocean. A harmonious mix will produce a calming effect.
- Apply the Base Layer: Using a large paintbrush, coat the interior of your jar with the mixed paint. You don’t have to cover it perfectly, as brush strokes can add to the ocean’s texture.
- *Tip*: To ensure even coverage, consider swirling the jar to allow the paint to settle in the crevices.
Step 3: The Glow-in-the-Dark Addition
- Apply Glow-in-the-Dark Paint: Once the base layer has dried, using a smaller brush, gently paint some areas with the glow-in-the-dark paint. Don’t be afraid to be creative! Apply it on the sides and the bottom of the jar.
- *Important*: Follow the product instructions on how to charge the glow paint, as some require sunlight or UV light to work effectively.
- Let it Dry: Allow the jar to dry completely, preferably overnight. This is crucial since a dry base will help the glow paint adhere better.
Step 4: Adding Textures and Details
- Make the ‘Ocean Floor’: Once your paint is dry, you can add a little sand or fine glitter at the bottom of the jar to mimic the ocean floor. Just a sprinkling will do!
- *Why it matters*: This layer gives an added dimension to your jar, making it feel more like a real ocean.
- Adding Decor: Slowly place your small decorative items like seashells or miniature sea creatures. Let your creativity run wild—arranging items thoughtfully will enhance beauty!
- *Warning*: If using real shells, make sure they’re clean to avoid any unwanted odors or mess!
Step 5: Finishing Touches
- Add Water: Fill the jar with water, leaving a little space at the top. The water will amplify the glow of your paint and create a mystical underwater feel.
- *Tip*: If you're concerned about water damaging the painted layers, consider sealing the shell decor with a waterproof sealant prior to adding water.
- Final Glow: Review your work and give it a final charge under light. The effect when the lights go out is simply mesmerizing!
Troubleshooting Tips
- Glow Power Not Working? Double-check that the glow paint has had enough time to charge in the light, and make sure you're using the right type of glow paint as some may need UV light.
- Paint Peeling? If your paint doesn't adhere well, you may not have cleaned your jar properly. Make sure to properly prepare your surfaces.
- Water Clouding? If the water becomes murky, it might be time to change it—fresh water looks clearer and more vibrant.
Personal Touches and Variations
- Layered Effects: Experiment with layering different shades of blue, green, and glow paints!
- Theme Variations: You can create a coral reef, tropical paradise, or even a stormy sea with varying colors and items.
- Outdoor Version: Create a larger version for outdoor decor, using non-water-soluble materials to keep the magic alive, even in the elements.
Conclusion
There you have it, my dear crafters! The magical process of making a Glow-in-the-Dark Ocean Jar is not only an artistic project but also a journey reflecting creativity and tranquility. As I savored each step of this process, it reminded me of my love for the ocean and its serene depths.
Be patient, experiment, and let your imagination lead the way. This jar will not only brighten your home but also serve as a cherished reminder that the beauty of the ocean is never far away. Happy crafting, and let the glow guide you on your next creative adventure!