How to Make a Jellyfish Suncatcher: A Step-by-Step Guide for Aspiring Crafters
As an experienced crafter, I often find joy in creating pieces that bring a bit of nature's magic into our homes. One of my favorite projects is the jellyfish suncatcher, a charming piece that captures and refracts sunlight beautifully. These delightful decorations are not only visually stunning but also incredibly soothing to watch as they sway in the light. They’re perfect for brightening up windows, hanging in garden spaces, or even as a part of a mobile for your little one's room.
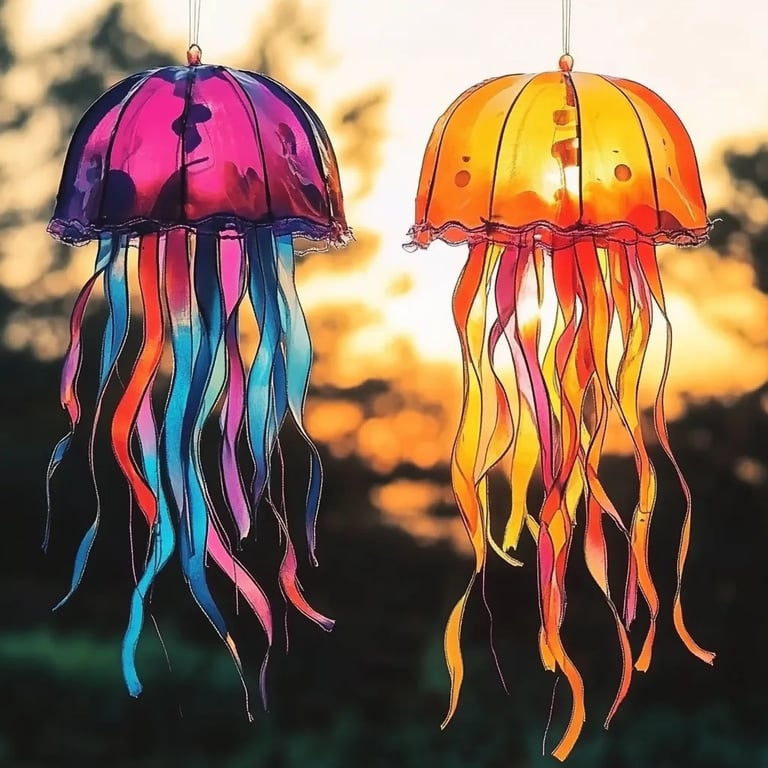
One of the reasons jellyfish suncatchers have become so popular is their quirky, whimsical design, and frankly, they appeal to both kids and adults alike. Plus, they can be made from a variety of materials, allowing for creativity and personalization. Whether you're looking to create a fun afternoon craft project with your kids or seeking a unique piece for your indoor plants, making jellyfish suncatchers is an excellent choice.
Materials Needed
Before we dive into the crafting process, let’s gather our materials. The beauty of this project is that it uses simple, accessible items that you might already have at home:
- Plastic lids (from yogurt containers, takeout food, or other similarly-shaped items)
- Acrylic paint (various colors—think blues, purples, and greens for that ocean vibe)
- Wire or strong string/cord (for hanging)
- Clear plastic bags (like the ones used for produce or resealable bags)
- Scissors
- Craft glue or hot glue gun
- Small beads or sequins (optional, for added decoration)
- Paintbrushes
- Water (for rinsing brushes, if necessary)
- A wax paper or newspaper (to protect your work surface)
Step-by-Step Tutorial
Step 1: Preparing Your Workspace
First things first, I like to set up a clean, organized workspace. I lay down my wax paper or newspaper to protect my table from paint spills. Crafting can be messy, but it’s all part of the fun!
Why This Matters: A clean workspace helps you stay focused and makes the cleanup easier—which is always a win!
Step 2: Painting the Jellyfish Bell
Start by flipping your plastic lid upside down. This will serve as the jellyfish's bell. Using acrylic paint, decorate the underside with bright colors. Think about layering—start with a base coat and then add swirls or dots of other colors.
Tip: Use a flat brush for even coverage and a round brush for detailed work.
What Could Go Wrong: If the paint is too thick, it might take longer to dry and could crack. Be sure to apply thin layers and allow each to dry completely before adding more.
Step 3: Creating the Jellyfish Tentacles
While your jellyfish bell is drying, it's time to create the tentacles. Take the clear plastic bags and cut them into strips about 1-2 inches wide. The length can vary, but I like mine around 12 inches to give it a nice flowing look.
Why This Matters: The length and width of your tentacles can change how your jellyfish sways and dances in the breeze.
Step 4: Assembling the Jellyfish
Once the bell is dry, I use my craft glue or hot glue gun to attach the strips of plastic bags to the underside of the bell. I like to attach them in clusters to give a more voluminous look to the tentacles.
Safety Warning: If you’re using a hot glue gun, be careful not to touch the metal tip—it can get extremely hot!
What Could Go Wrong: If the tentacles are too heavy or not secured well, they might fall off. Make sure to give the glue time to set before hanging.
Step 5: Adding Decorative Touches
At this point, feel free to add embellishments! You can glue small beads or sequins to the tentacles or the bell itself for extra sparkle. This is your jellyfish—let your creativity shine!
Personal Anecdote: The first jellyfish I made was a little too plain, and I soon realized that adding a few beads made all the difference. The light catches them beautifully and gives the piece an extra dimension!
Step 6: Creating a Hanging Mechanism
Now, it’s time to attach the wire or cord for hanging. Cut a piece of wire or strong string (about 10-12 inches) and thread it through the top of the bell. Make sure it’s secured tightly with some extra glue if needed.
Tip: You can twist the wire into a loop for easier hanging.
What Could Go Wrong: If the hanging mechanism isn’t strong enough, your jellyfish may fall. Always test it before hanging in a high direction.
Step 7: Finding the Perfect Spot
Finally, once your jellyfish suncatcher is ready, find the best spot to hang it. A sunny window or sheltered outdoor area usually works best. Just be mindful of any weather conditions if you’re hanging it outside.
Creative Variations: Consider making a school of jellyfish with different sizes and colors for a more vibrant display. You could also layer multiple jellyfish at varying heights for added interest.
Final Thoughts
Making a jellyfish suncatcher is a wonderful way to explore your creativity while crafting something that’s both decorative and functional. No matter your skill level, this project can be adapted and modified to suit your style. I hope this guide has inspired you to gather your materials and give it a try!
Remember, crafting is all about enjoying the process, so don’t sweat the small stuff. If something doesn’t turn out perfectly, that’s what makes it unique! Happy crafting, and may your jellyfish bring endless joy and light into your space!