How to Make a Glow in the Dark Ocean Jar: A Step-by-Step Guide for Every Craft Lover
Hello, fellow crafters! Today, I’m excited to share with you one of my absolute favorite DIY projects: the Glow in the Dark Ocean Jar. This enchanting creation not only looks stunning but also serves as a fun decorative piece that can light up your space with a gentle, ethereal glow. It’s perfect for bedtime decor for kids, party displays, or even just a cozy reading nook for adults.
What Is a Glow in the Dark Ocean Jar?
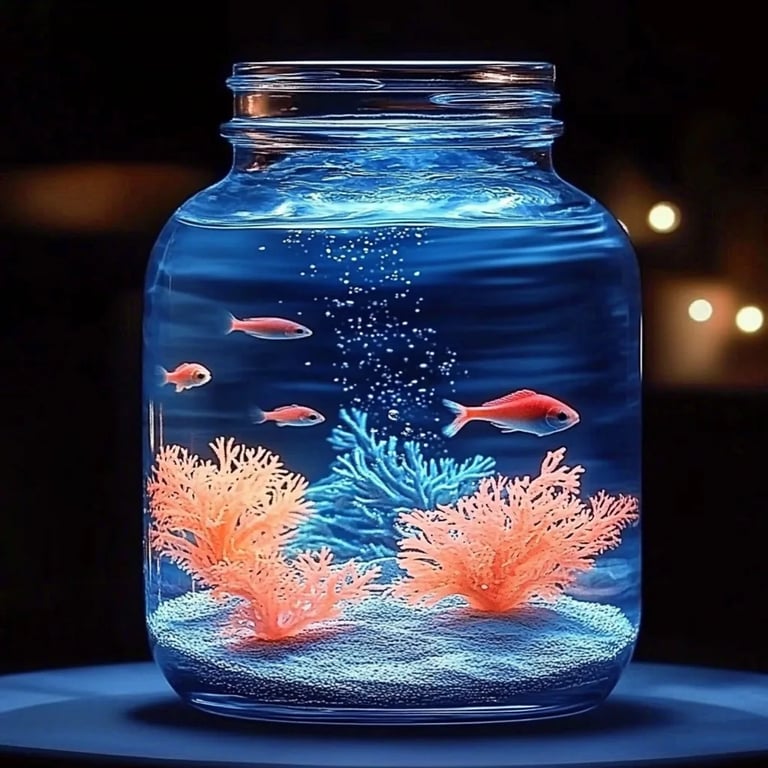
The Glow in the Dark Ocean Jar is essentially a beautiful blend of delightful decorations that emulate an underwater scene. Picture layers of ocean-blue and green hues that replicate sea water, adorned with glowing elements reflecting the radiant life found beneath the waves. When the lights fade, your jar transforms into a breathtaking visual of glowing sea creatures, giving your space a touch of magic.
This project has gained immense popularity because it’s not only visually appealing but also quite simple to make and customizable to your heart's desire. Whether you want to use it for a nighttime nursery lullaby, a conversation starter at a gathering, or simply as a stress-reliever activity to unwind after a long day, this jar has a place in any home!
Materials You'll Need
Before we dive in, let me list the materials I used to create my glow-in-the-dark ocean jar. Don’t worry—these are easy to find in most craft stores or even online!
Supplies:
- A clean glass jar or container (Mason jars work great!)
- Glow-in-the-dark paint or powder (look for non-toxic options, especially if kids are involved)
- Acrylic paint in ocean colors (blue, green, and white)
- Paintbrushes and a sponge
- Sand or sea salt (optional for a textured ocean floor)
- Miniature sea creatures and shells (these can be plastic, resin, or even handmade)
- Water
- Glitter (for some extra sparkle)
- A small plate or tray (to work on)
- Sealant spray (optional, to preserve your creation)
Safety Equipment:
- Gloves (to protect your hands from paint)
- Mask (if you're sensitive to paint fumes)
Step-by-Step Tutorial
Step 1: Prepare Your Workspace
First things first, I always set up a comfortable and well-ventilated area for crafting. I lay down an old newspaper or a plastic sheet on my table to catch any accidental spills. This will save you cleanup time later!
Step 2: Paint the Inside of Your Jar
Using a soft sponge or brush, begin applying the acrylic paint in layers inside the jar. I usually start with a light blue as my base, adding depth by blending in darker shades of blue and green. The trick here is to keep the strokes fluid and organic—think about how water blends naturally!
Tip: Don’t worry if it looks uneven or rough at first. The aim is to create an ocean effect, and the beauty lies in its imperfections.
Step 3: Add Texture with Sand or Salt
While the paint is still wet, sprinkle a thin layer of sand or sea salt at the bottom of your jar. This will give the illusion of a sandy ocean floor. After you've layered in this texture, allow the whole jar to dry completely.
Step 4: Introduce the Glow
Once your ocean colors are dry, it’s time for the fun part—adding the glow! Depending on whether you're using glow-in-the-dark paint or powder, your approach may slightly differ:
- Glow-in-the-dark paint: Simply brush or sponge on a layer over the dried paint, focusing on areas where you want to create a glowing effect. Be sure not to over-saturate, as this can lead to drips.
- Glow powder: If you’re using powder, mix it with a clear adhesive or water to create a paste and apply it in a similar fashion—just make sure it’s well adhered!
Step 5: Adding Your Sea Creatures
Now comes the fun creative part! Place your miniature sea creatures and shells strategically in the jar. You can use a clear adhesive to secure them in place, especially if you plan on moving your jar around. Don’t forget—these can be layered, so feel free to play with height placement for a dynamic look!
Common Pitfall: If the creatures don’t sit firm, it may disrupt the aesthetic when you add water later. Use a good, clear glue and give it proper time to set.
Step 6: Fill with Water and Add Glitter
Once everything is set up, it’s time for the finishing touch! Fill your jar with water, leaving a little space at the top for closure and to prevent overflow. Add a pinch of glitter for that shimmering ocean effect—this makes it look magical, like a sparkling underwater dream!
Step 7: Cap and Charge
Finally, cap your jar. I prefer sealing it with a lid for a polished look and also to help it charge in the light—all those glowing elements will need exposure to light to effectively glow in the dark! Place it under sunlight or a bright lamp for at least half an hour.
Step 8: Enjoy Your Creation!
Now, watch your Glow in the Dark Ocean Jar come to life as the sun sets! When the lights go out, the glow will illuminate the decorated sea life, creating a serene ambiance.
Troubleshooting Tips
If at any point during the process, something doesn’t seem right, don’t fret! Here are a couple of common issues and how to resolve them:
- Glow is Weak: If the glow isn’t strong, double-check your charging. Additionally, ensure you have sufficient glow material and that it’s not too thickly applied, as it can hinder its glow ability.
- Creatures Sink: If your sea creatures sink instead of floating gracefully, make sure the glue is fully dry. You may want to use lighter materials or adjust placements once the water is in.
Safety Warnings
Always ensure you’re using non-toxic paints and glues, particularly when crafting with kids or pets around. It’s a great opportunity to teach little ones about safety during crafts, emphasizing that it's not just fun but important too.
Creative Variations
Feel free to get adventurous with your Glow in the Dark Ocean Jar. Here are a few ideas I’ve tried myself:
- Themed Jars: Create a jar inspired by different aquatic themes, like corals, seaweed forests, or even mythical underwater worlds!
- Night Sky: Instead of an ocean, use a black background with stars and glowing elements to represent the night sky.
- Layered Jars: Create multiple smaller jars in varying colors and stack them for a more dimensional ocean effect.
Crafting is about having fun and exploring creativity, so let yourself go wild!
Final Thoughts
I hope this guide has inspired you to create your very own Glow in the Dark Ocean Jar! Trust me, the sense of satisfaction that comes from crafting something beautiful with your own hands is unparalleled. Don’t forget to share your creations with me; I’d love to see how your artistic vision comes to life. Happy crafting!