How to Make a Glow in the Dark Ocean Jar: A Creative Craft Tutorial
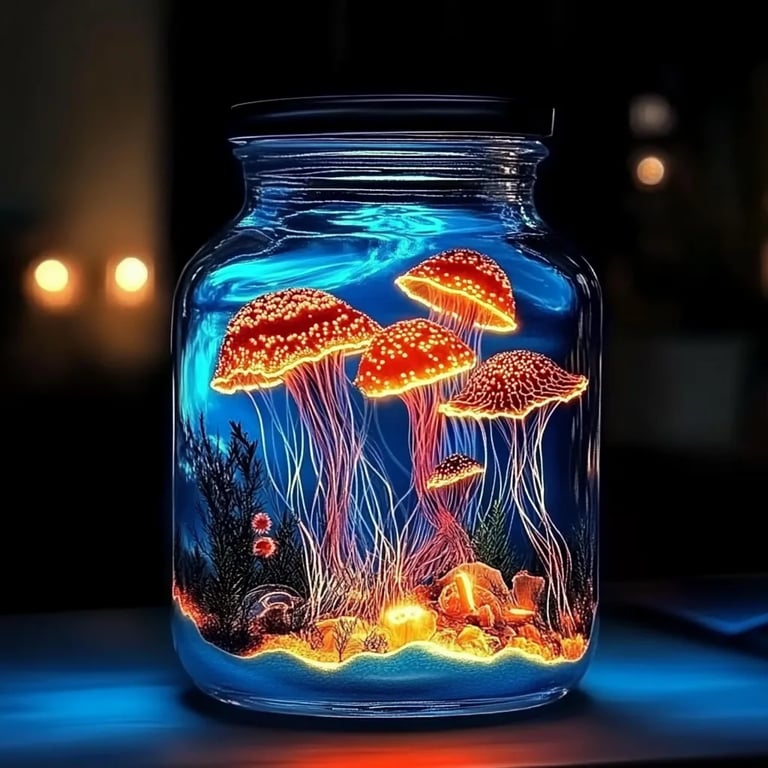
Hello, fellow crafters! Today, I’m excited to share with you one of my absolute favorite DIY projects — the Glow in the Dark Ocean Jar. This whimsical lantern captures the beauty of the ocean and the enchantment of glowing lights, perfect for creating a serene ambiance in any room. Whether you're crafting for yourself or making a thoughtful gift, this glowing masterpiece is sure to delight people of all ages.
Why Create a Glow in the Dark Ocean Jar?
Over the last few years, glow in the dark crafts have surged in popularity, and rightly so! The soothing, magical effect of the glowing ocean jar offers a picturesque escape. Picture this: It’s midnight, the light from the jar casts a calming glow resembling the moonlight reflecting on a tranquil ocean. They’re not just beautiful—they can serve multiple purposes: night lights for kids, decorative pieces for themed parties, or simply as a touch of magic in your room.
When Can You Use It?
- Home Decor: Add a touch of whimsy to your living space.
- Parties: Create an enchanting atmosphere for themed gatherings.
- Kids' Rooms: Provide a gentle night light that sparks imagination.
- Seasonal Decor: A great addition around summer for that beachy vibe!
Now, let’s get crafting. I’ll walk you through this step-by-step tutorial using simple, accessible materials. Follow along closely, as I’ll share not just the “how,” but the “why” behind each step too.
Materials You’ll Need
Here's what you’ll need for this project:
- A Clear Jar: Any glass or plastic jar will work! Mason jars are popular due to their sturdy and aesthetically pleasing design.
- Glow in the Dark Paint: You can find this at craft stores or online. I recommend non-toxic varieties for safety, especially if there are kids involved.
- Sand or Rock Salt: This will mimic the ocean floor and add texture.
- Small Marine Figurines: Think starfish, seashells, or small fish to complete your ocean scene.
- Paintbrush or Sponge: For applying paint.
- Hot Glue Gun: To secure the figurines in place.
- Water (Optional): If you want to create a layered effect.
- LED Tea Light (Optional): If you want a little extra illumination.
Step-by-Step Guide
Step 1: Prepare the Jar
Begin by cleaning your jar. Any dust or residue can interfere with how the paint adheres. It’s like prepping a canvas before painting—the cleaner the surface, the better results you'll achieve.
Step 2: Paint the Inside of the Jar
Using your paintbrush or sponge, apply a generous layer of glow in the dark paint to the inside of the jar. Start at the bottom and move upwards. This is crucial because the bottom layer will glow the brightest when it's time to turn off the lights.
*Tip:* Apply two to three coats of paint for the best luminescent effect, allowing each coat to dry thoroughly between applications. If the paint appears to be uneven, you can lightly sand it with fine-grit sandpaper to create a smoother surface.
Step 3: Create the Ocean Floor
Once your paint is fully dry, it’s time to add the ocean floor. Pour a layer of sand or rock salt into the jar. You want this to be a thick enough layer to support the figurines without them toppling over.
*If you accidentally added too much salt, simply tilt the jar to redistribute or pour a portion back out. Don't worry; we can fix things as we go!*
Step 4: Arrange Your Marine Life
Choose your small marine figurines and begin arranging them on top of the sand or salt. Use the hot glue gun to secure them in place. The positioning is important for a visual impact—feel free to create a little story if it helps guide your placement!
*Note:* Be cautious when using the hot glue—sharp glue strings can form and may stick to your hands or other surfaces. Keep a damp paper towel nearby to clean your fingers as you go.
Step 5: Add Your Glow Enhancements
Now, if you're feeling particularly adventurous, you can add more layers of glow paint on top of your ocean floor, or even around the figurines. This layer gives a lovely dimension when illuminated.
*Tip:* You can also sprinkle some fine glitter into the paint for a sparkly twinkle effect. Just be careful—too much can scatter the effect you're after!
Step 6: Seal It Up
If you prefer, fill the jar with water to enhance the ocean-like appearance. Just ensure the materials you've used are waterproof if you decide to immerse them!
Otherwise, simply seal your jar with a lid, but consider leaving it open if you want the glow effects to be more prominent.
Step 7: Light It Up!
Place your jar in a dim or dark space. If you chose the LED tea light option, place it underneath or inside the jar to further illuminate your glowing ocean scene.
Tips and Troubleshooting
- Glow Fade: If your jar doesn’t glow intensely, your glow in the dark paint might be old, or it may need a longer ‘charge’ in the light.
- Uneven Glow: Check your paint layers for evenness—apply additional layers where needed.
- Figurine Misplacement: If a figurine fell over while working, simply re-secure it with hot glue after the entire assembly is complete.
Alternatives and Creative Variations
- Colors: Experiment with different colors of glow paints. Use blue for a deeper ocean and green for a more tropical feel.
- Materials: Instead of sand, try colored aquarium gravel for added charm.
- Seasonal Themes: Change the figurines with the seasons—bright fish for summer, leafy corals for fall, or even spooky decorations for Halloween.
Final Thoughts
I hope you feel inspired to dive into your own Glow in the Dark Ocean Jar crafting adventure. It’s such a rewarding process, and it makes for a wonderful piece of decor that brings a cozy, calming presence to any space. Don’t hesitate to get creative—each jar can tell its own unique story, reflecting your personal style and imagination. Happy crafting!