How to Make a Floating Ghost Sensory Jar for Kids: A Step-by-Step Guide
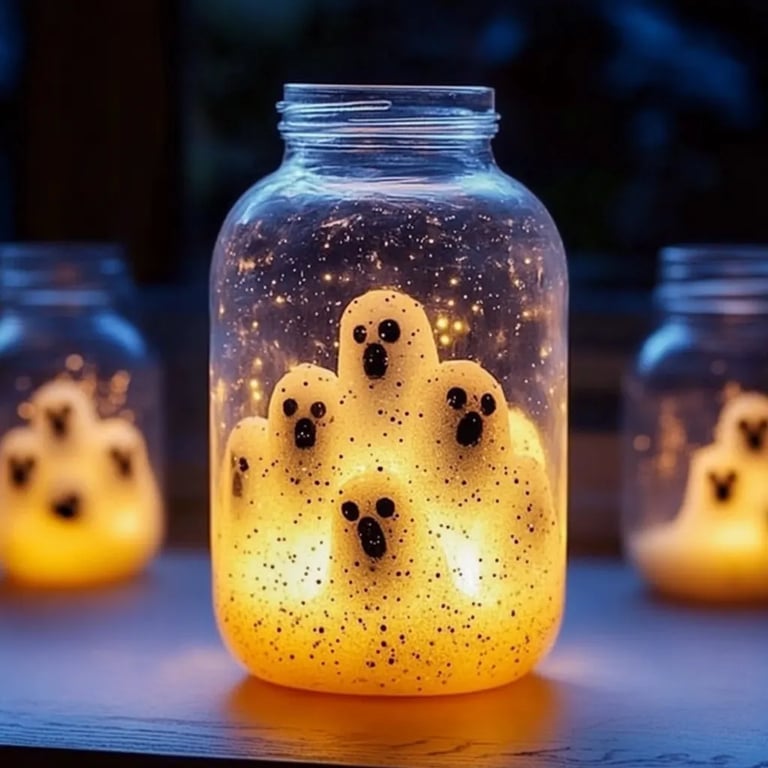
Hello, fellow crafters! Today, I'm thrilled to share with you one of my favorite DIY projects: the Floating Ghost Sensory Jar. This enchanting little creation is not only a delightful craft for kids, but it doubles as a beautifully calming sensory experience. Whether you're looking to introduce a new Halloween tradition or simply want a fun and spooky activity to brighten your home, this project is perfect for you.
Floating Ghost Sensory Jars have become increasingly popular due to their mesmerizing effect and the soothing quality they can bring to both children and adults. They're great for calming down young ones during chaotic times or can serve as an engaging visual tool for developing focus and creativity. Let’s dive into how to create your own delightful jar, step by step.
What You'll Need
Before we start crafting, let’s gather the materials you’ll need. Most of these can be easily found at your local craft store or even around your home.
Materials:
- A clear jar with a lid: Glass or plastic works—just make sure it’s large enough to show off your ghostly creation.
- Water: You’ll need a good amount to fill the jar.
- Liquid glue (such as white school glue or clear craft glue): This will help create that mystical ghostly effect.
- Glow-in-the-dark paint or glitter: This adds a magical twist, making your ghosts shimmer in the dark!
- Cotton balls: For the "ghosts".
- Black construction paper: To cut out spooky eyes and mouth.
- Optional: Food coloring: For a colorful twist.
- Optional: Epsom salt or glitter: To create a beautiful background effect.
- Scissors: To cut out the shapes.
- Hot glue gun: To secure eyes and mouth if needed.
Step-by-Step Tutorial
Step 1: Prepare Your Jar
First, I like to start with a clean jar. Remove any labels and thoroughly wash it to get rid of any residue. This is important because any sticky spots could get in the way of our sensory fun.
Step 2: Create Your Ghostly Figures
Now, take your cotton balls and start forming them into ghost shapes. You can make small, medium, or large ghosts depending on how many you want in your jar! I usually make 2-3 larger ones for a nice effect.
*Tip:* If your cotton balls are sticking together, gently pull them apart to create a fluffier ghost. If they lose their shape, simply reshape them—ghosts can be a little wonky!
Step 3: Add Ghost Features
Using your black construction paper, cut out small ovals for the eyes and a little mouth. My kids love helping with this part because it’s so fun to decide how many eyes each ghost should have! Once your features are cut out, use hot glue to attach them to the cotton balls. Allow the glue to dry completely before moving on.
Step 4: Prepare the Jarring Liquid
In a separate bowl, mix water with liquid glue to create a gooey base. I recommend a ratio of 2 parts water to 1 part glue; this gives a thick enough consistency to create that floating effect without being too heavy. Stir well to ensure everything is blended.
*Common Mistake:* If you skip this mixing step or don't blend it thoroughly, you might end up with clumps that could spoil the appearance of your sensory jar. That said, if this happens, simply whisk it more vigorously until fully dissolved.
Step 5: Add Special Touches
For an enchanting glow, add your glow-in-the-dark paint or glitter into the glue and water mixture. Stir it in well to distribute it evenly. If you're feeling adventurous, you can also add a few drops of food coloring to create a colored base instead of standard clear. For a more whimsical look, sprinkle in some Epsom salt or glitter to mimic 'floating stars'.
Step 6: Assemble Your Jar
Now it’s time to layer the magic! Place your ghostly figures into the jar first—this allows them to float naturally when the liquid is added. Next, slowly pour your glue and water mixture over the top of the ghosts. You’ll want to fill to about an inch below the jar's lid to prevent overflow.
*Pro Tip:* Tilt the jar slightly as you pour to minimize air bubbles. If you accidentally create air bubbles, don’t fret! Just tap the jar lightly or use a chopstick to gently work out the bubbles.
Step 7: Seal and Decorate the Jar
Once filled, securely place the lid on the jar, and give it a gentle shake to mix everything and ensure your ghosts are happy floating. For added charm, you can decorate the outside of the jar. I like to tie a string or ribbon around the top with little paper tags saying “Boo!” or “Happy Haunting”.
Alternative Methods and Variations
While the classic Floating Ghost Sensory Jar is storytelling magic in its own right, there are many ways to customize it! You can:
- Use colored water instead of clear for a more vibrant look.
- Create themed jars with different colors, for Thanksgiving by adding leaves, or adding small Christmas ornaments for a holiday jar.
- Swap out the cotton balls for polyester batting for an even fluffier ghost effect.
- Use different shapes for the "ghosts"—I love making mini pumpkins or even friendly monsters!
Final Tips and Safety Warnings
- Check for Safety: Ensure the jar lid is secure and avoid any small items that might pose a choking hazard for young children. Always supervise kids during crafting.
- Kid-Friendly Cleanup: Have a wet cloth ready to wipe up any spills, especially if using food coloring.
- Finish with Intent: A wonderful idea after crafting is to encourage kids to talk about their sensory jar—what they see, feel, and perhaps even tell a spooky story sparked by their creation.
Crafting with my kids has always been one of my favorite bonding experiences—our Floating Ghost Sensory Jars provide a wondrous combination of creativity and calm. By following these steps, learning from potential hiccups along the way, and inviting your little ones to express their creativity, you’ll create something magical that can be cherished for years to come.
So gather your supplies, unleash your imagination, and dive into the delight of crafting a Floating Ghost Sensory Jar today! Happy crafting!