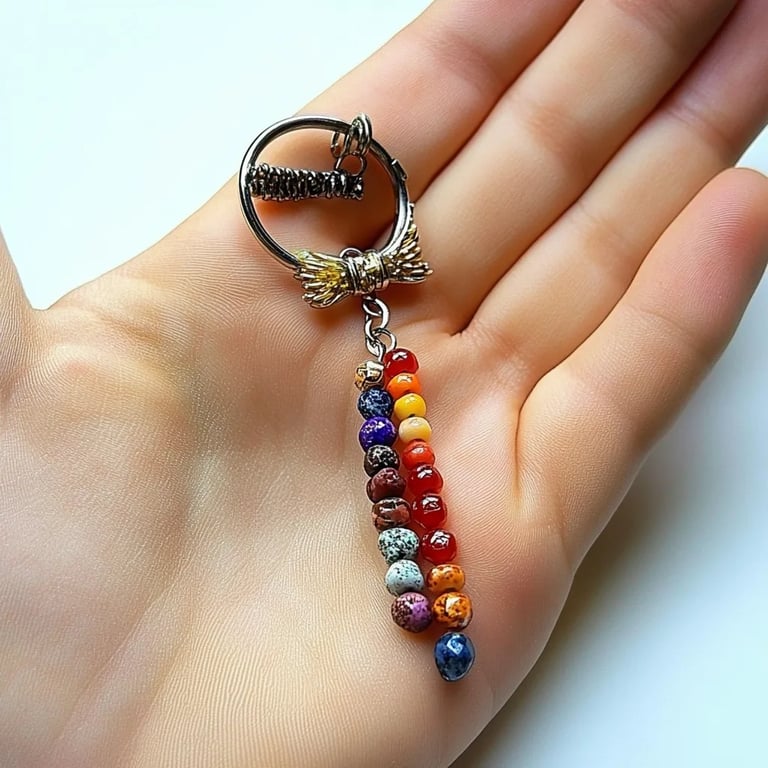
How to Make a DIY Beaded Keychain: Your Ultimate Guide to Crafting a Personal Touch
Hello, fellow crafters! Today, I'm excited to guide you on a creative journey where we will transform simple materials into an eye-catching beaded keychain. As someone who has spent years exploring the world of crafting, I can tell you that DIY projects not only provide a sense of accomplishment but also allow us to express our individuality. Beaded keychains are not just fun and trendy accessories but also serve a practical purpose—keeping your keys organized and easily accessible.
Whether you're looking for a unique gift, a charming addition to your own bag, or a new creative outlet, this step-by-step guide will walk you through everything you need to know. We'll cover essential materials, potential pitfalls, creative variations, and personal anecdotes that I’ve gathered throughout my crafting adventures. So grab your supplies, and let’s dive in!
Why Beaded Keychains Are Popular
Beaded keychains have surged in popularity for several reasons. They are incredibly customizable, allowing you to choose colors, shapes, and sizes that reflect your personality or match your favorite outfits. They also make excellent gifts for friends and family, perfect for birthdays, holidays, or just because. Plus, they are lightweight and practical—what’s not to love?
I personally enjoy using beaded keychains every day. They make locating my keys in the depths of my bag a breeze, and I often find that friends ask where I got them or compliment the designs. This always prompts me to share how easy they are to make!
Materials You’ll Need
Before we get started, let’s gather our materials:
- Beads: You can find a wide variety of beads—from glass, plastic, wood, or natural stones. Choose beads that inspire you! I typically select colors that match my personal style or the season.
*Tip*: If you're new to beading, start with larger beads, as they are easier to handle.
- String or cord: I recommend using nylon or elastic cord, which is robust yet flexible. If you're feeling adventurous, waxed cotton or even leather can add a different flair.
- Key ring or keychain loop: This will be the base of your keychain. You can find metal or plastic options at craft stores.
- Scissors: A good pair of scissors that can cut through your chosen cord easily.
- Beading needle (optional): If you’re using small beads with tiny holes, a beading needle can be a lifesaver.
- Glue (optional): If you want to secure the knots or embellish your keychain further.
- Decorative elements (optional): Think charms, tassels, or even small pendants that can add character to your keychain.
Step-by-Step Tutorial
Step 1: Measure and Cut Your Cord
First things first, you’ll need to cut your cord. For a standard keychain, I find a length of about 12 to 15 inches is adequate. This allows enough room for tying knots and creating your design without feeling cramped.
Why It Matters: The right length ensures you have enough space for all your beads and a secure attachment to your keyring.
What Could Go Wrong: Cutting the cord too short will lead to frustration as you try to add your beads. If this happens, just start over with a new piece of cord.
Step 2: Choose Your Beads and Plan Your Design
Before stringing, lay out your beads on a flat surface. Play around with different combinations until you find a pattern that resonates with you. Once you’re satisfied, take a picture for reference if you need.
Why It Matters: Planning your design will save time and prevent mismatched colors or patterns as you go along.
Step 3: String the Beads
Begin stringing your beads onto the cord. If you’re using a needle, thread it through the beads and then pull the string through. If you’re working with larger beads, you might be able to string them directly.
Tip: Use a wooden dowel or paperclip to create a funnel effect if you’re having trouble getting the beads onto the cord.
What Could Go Wrong: Sometimes beads can get stuck or may not fit on your cord. If this happens, ensure your cord diameter is appropriate for your chosen beads.
Step 4: Create Your Keychain Attachment
Once you've strung all the desired beads, it’s time to attach your keyring. Thread the end of your beaded cord through the keyring, then loop the cord back down through itself, forming a knot.
Why It Matters: This secures your beads in place. If they are not secured properly, they may slide off or fall off over time.
Safety Warning: Be sure to pull tight enough to secure the knot, but not so tight that you risk breaking the cord.
Step 5: Tie a Secure Knot
To finish your keychain, create a secure knot below your beads. You can use a simple double knot for strength.
Alternative Method: If you are using a flexible cord, consider using a drop of glue on the knot for added security.
Step 6: Trim and Seal
With your keychain secure, trim any excess cord but leave an inch for adjustments if needed. If you used glue, allow it to dry according to the product instructions.
Step 7: Personal Touch
Here’s where I love to get creative! Add charms, tassels, or even a small pendant to personalize your keychain further. This could be anything from a small heart to your initials.
Creative Variations: Experiment with seasonal themes (like autumn leaves or summer flowers) or even character themes (like favorite animals or colors).
Tips for Success
- Stay Organized: Keep your beads in a compact storage box with separate compartments to avoid spills.
- Experiment with Styles: Challenge yourself by trying different knotting techniques, or mix different types of beads together.
- Practice Patience: Crafting should be enjoyable. Don't rush through the steps; take your time and enjoy the process.
Common Mistakes and Fixes
- Beads Falling Off: Ensure your knots are tight enough. Re-tie them if necessary.
- Too Much Fraying at the Ends: If you notice your cord frays, consider sealing the ends with a little glue or a flame (just be careful!).
- Design Doesn't Flow: If your design looks off, don’t hesitate to take off beads and rearrange them until it feels right.
Final Thoughts
Crafting a DIY beaded keychain is not just a project; it’s a relaxing escape and a fantastic way to express yourself. I still remember the first keychain I made—it was a bit wonky, but it held sentimental value, and I loved it! Remember, every piece you create is a reflection of you—embrace the imperfections and have fun along the way!
Now, let's not forget to show off your creations! Share pictures of your beaded keychains on social media to inspire others in this beautiful crafting community.
Happy crafting, and may your keys always be stylish and easy to find!