How to Make a Clear Glue Mosaic Suncatcher Craft: A Step-by-Step Guide
As an avid crafter, I’ve always been enchanted by the interplay of light and color. There's something magical about creating art that interacts with the sun. One of my favorite projects I've come back to time and again is the Clear Glue Mosaic Suncatcher. It’s a delightful craft that not only brightens your space but serves as a perfect way to explore creativity—whether with kids on a rainy day or as a solo endeavor to unwind. In this article, I'll guide you through every step of this fun project, share tips, tricks, and my own experiences, and help you achieve beautiful, shimmering results.
What is a Clear Glue Mosaic Suncatcher?
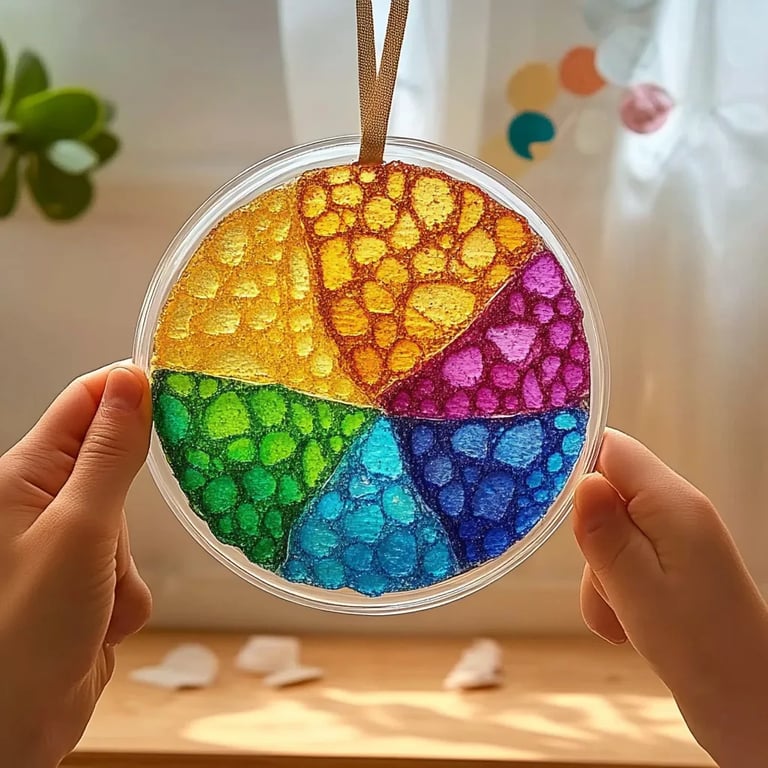
If you’re unfamiliar, a suncatcher is a piece of decorative art designed to capture light and cast colorful reflections when the sun shines through it. A mosaic suncatcher, in particular, uses a variety of colored materials arranged in a pattern to create a stunning effect. The beauty of using clear glue in this project is that it dries transparent, allowing your colors to shine through without any obstructions.
These suncatchers can be hung in windows, creating a vibrant display that changes as the daylight shifts throughout the day. They make wonderful gifts and can definitely brighten up any environment. Plus, they’re a fantastic way for crafty souls of all ages to engage in art!
Materials Needed
Before we jump into the tutorial, let’s gather all the materials you’ll need. Don’t worry; everything is simple and often found at home or at your local craft store!
- Colorful transparent materials: Clear glue sticks, colored tissue paper, cellophane, or even old CDs can work wonders.
- A clear plastic sheet or baking sheet: This will serve as the base for your mosaic. A baking sheet is an excellent choice, as it’s often non-stick.
- Clear glue: Use a clear-drying craft glue, as it will be the main adhesive for your mosaic pieces.
- Water: This will help in adjusting the consistency of the glue if necessary.
- Scissors: For cutting your colorful materials into desired shapes.
- Paintbrush (optional): This can help to spread the glue if needed.
- A cookie cutter or stencil (optional): If you want uniform shapes.
- A hole punch (optional): To punch holes if you intend to hang the suncatcher later.
Step-by-Step Tutorial: Making Your Clear Glue Mosaic Suncatcher
Step 1: Prepare Your Workspace
Crafting can get messy, so prepare a clean and flat work surface. Lay down some newspaper or an old tablecloth to catch any drips or spills. Safety first! Make sure you are in a well-ventilated area if you are using strong adhesives, and wear an apron if you’re using paint or glue.
Tip: Set out all your materials within arm's reach before you start to keep your workflow smooth.
Step 2: Choose Your Design
Before diving in, sketch out a rough design on paper or envision the layout. Think of shapes, color combinations, and patterns. Whether abstract or nature-inspired, having a plan will guide your application process and ensure you don’t run out of materials mid-project.
Step 3: Cut Your Materials
Using scissors, cut your colorful transparent items into smaller pieces. If you’re using tissue paper, consider making squares or circles. Old CDs can be cut into shape with a heavy-duty scissors. The size of the pieces will affect the final look of your suncatcher, so consider varying shapes and sizes to achieve a more dynamic mosaic.
What Could Go Wrong: If the pieces are too large, they might not fit well together, leaving large gaps. Conversely, if they’re too small, they could lose their visual impact. Aim for a happy medium.
Step 4: Apply the Clear Glue
In a small bowl, dilute the clear glue with a little water for a smoother application. You want it to be easy to spread but still thick enough to hold your materials in place.
- Using a brush (or your fingers), apply a layer of glue to your prepared base—this is like laying the foundation for your mosaic.
- Start placing your colorful pieces onto the glue. Arranging larger pieces first tends to help establish the structure.
Tip: The more contact each piece has with the glue, the better they will stick and the more vibrant the suncatcher will appear.
Step 5: Build Your Mosaic
Continue building your mosaic by securing each piece with more glue. You can layer the materials for added depth, but ensure each piece has good coverage with glue to avoid them peeling off later.
What Could Go Wrong: If the pieces shift while the glue is drying, don’t stress! You can reposition them with a touch more glue.
Step 6: Let It Dry
Once you're satisfied with your mosaic, let it dry completely. Depending on the thickness of the glue and the humidity in your area, this could take anywhere from several hours to overnight. Ensure it is in a dry and dust-free location to keep it clean.
Step 7: Remove from Base
After the glue has dried, you can gently peel the suncatcher from the base. If you've used a non-stick baking sheet, this should be relatively easy!
Alternative Method: If you’re using a plastic sheet, you might need to gently flex the base to release the suncatcher.
Step 8: Hang Your Suncatcher
If you want to hang your suncatcher, punch a hole at the top, adding a string or ribbon through it. Choose a sunny window to display your masterpiece.
Personal Tips and Creative Variations
- Experiment with different shapes! Besides traditional circles and squares, try stars or hearts for added charm.
- For a seasonal twist, consider using fall colors (oranges, reds, yellows) for autumn or pastels for spring.
- You can even incorporate nature by adding pressed flowers or leaves between layers for an organic touch.
Safety Considerations
While working with scissors and adhesives, always supervise children. Clear glue usually is non-toxic, but it's good to check labels for anything that could cause skin irritation or allergies. Keep any heavy scissors out of reach of young crafters.
Conclusion
Creating a Clear Glue Mosaic Suncatcher is not only simple, but it’s also a fulfilling craft that brings a dash of color to your home. With a little patience and creativity, anyone can create a beautiful piece of art that catches and plays with the light of the sun. I hope this guide inspires you on your crafting journey!
So, grab your materials, get cozy, and unleash your creativity. Happy crafting!