How to Make a Clear Glue Mosaic Suncatcher Craft: A Step-by-Step Guide
Hello fellow crafters! Today, I am thrilled to share one of my all-time favorite DIY projects with you: creating a stunning Clear Glue Mosaic Suncatcher! This charming craft not only brightens up your windows but also lets you unleash your creativity. Whether you hang it in your own space or give it as a gift, it's bound to be a delightful addition to any room.
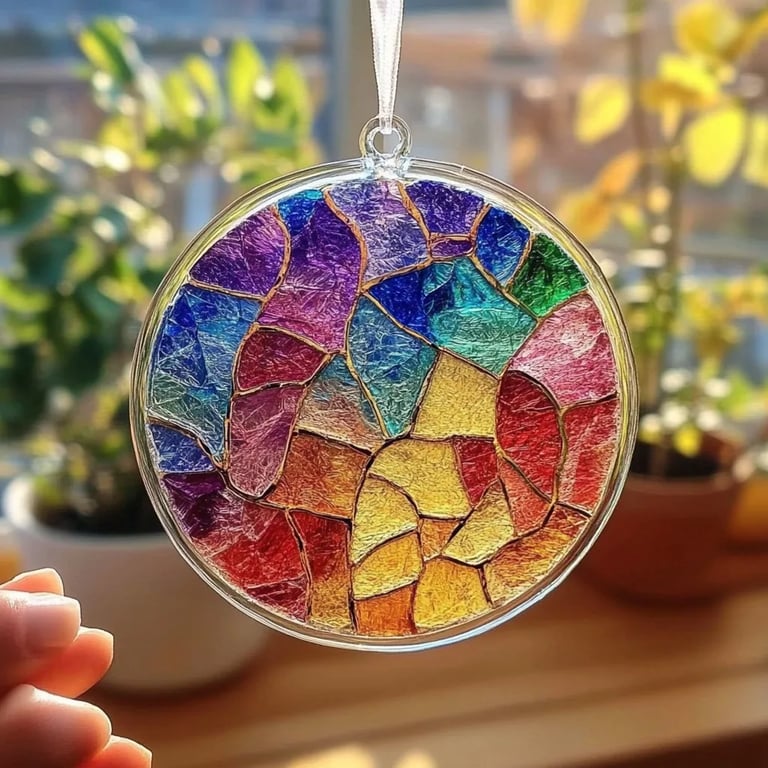
What is a Clear Glue Mosaic Suncatcher?
A Clear Glue Mosaic Suncatcher combines colorful materials to form beautiful designs that come to life when sunlight hits them. The primary ingredients in the project are clear school glue and various embellishments, such as beads, sequins, and small pieces of colored paper or tissue. This project is popular for its simplicity and the fact that you can create a captivating piece of art without needing to be a seasoned crafter.
Suncatchers can be used year-round, but they shine brightest during sunny days when sunlight filters through the colors, casting beautiful shadows around your space. You can use them to brighten up your home, create a serene atmosphere for meditation, or even window decorations during festive seasons. The possibilities are endless!
Let's Gather Our Materials
Before we dive into the creative process, let’s gather all the materials we’ll need:
- Clear school glue: This will be the glue base for your suncatcher, creating a beautiful translucent effect as it dries.
- Parchment or wax paper: For the base where we will create our design.
- Colorful embellishments: Beads, sequins, buttons, small pieces of colored paper, tissue paper, or any small items that can add color and texture.
- Scissors: For trimming any materials to your desired size.
- Paintbrushes or popsicle sticks: For spreading the glue evenly.
- Optional: A spoon or disposable cup for mixing the glue with food coloring (for a more vibrant effect).
- Fishing line or string: For hanging your finished suncatcher.
- Optional: A frame or hoop for structure, if desired.
Step 1: Prepare Your Workspace
Before we start crafting, I always recommend setting up a clean, dedicated workspace. This way, you can fully immerse yourself in the creative process without worrying about spills or messes. Lay down some newspaper or a plastic tablecloth to protect your surface.
Step 2: Designing Your Suncatcher
Start by laying out your parchment or wax paper. This will be the base for your design. I like to sketch a rough outline of what I want my suncatcher to look like; think about shapes, patterns, and the types of colors that will complement each other.
Tip: Work in sections! If you create small sections at a time, it helps keep your glue from drying out before you add your embellishments.
Step 3: Mix It Up (Optional)
If you're looking to add a pop of color to your suncatcher, now is the time to mix a few drops of food coloring into your clear glue. This step isn’t necessary, but it can make your suncatcher more vibrant!
Tip: Start with just a drop or two—it's easier to add more color than to reduce an overly saturated shade.
Step 4: Apply the Glue
Using your brush or popsicle stick, spread the clear glue (or colored glue if you opted to mix it) over your design area on the parchment or wax paper. Make sure to apply it generously but evenly, covering the surface without any dry spots. The thickness of the glue will determine how translucent and shiny your suncatcher will be once it dries.
Common Mistake: If you apply too thin of a layer, your embellishments may not stick well, leading to a weaker final product. However, if you accidentally over-apply glue, don’t fret! You can always add more embellishments on top to balance it out.
Step 5: Add Your Embellishments
Now comes the fun part! Start adding your colorful embellishments to the wet glue. You can create patterns, designs, or simply scatter them around for a more abstract look. Do not be afraid to experiment and layer different textures and colors.
Personal Anecdote: I once made a butterfly suncatcher with vibrant pink and yellow tissue paper. As the sunlight streamed through, it created an enchanting glow that brought my entire kitchen to life!
Step 6: Let It Dry
This is where patience comes in. Allow your suncatcher to dry completely. Depending on the thickness of the glue and humidity levels in your area, this could take anywhere from a few hours to overnight.
Tip: To help the drying process, avoid placing your suncatcher in direct sunlight while it dries to prevent distortion.
Step 7: Remove Your Suncatcher
Once the glue is fully dry, carefully peel the parchment or wax paper away from the back of the suncatcher. With some gentle tugging, it should come away easily. If any sections are still sticking, give them more drying time.
Step 8: Prepare for Hanging
To hang your suncatcher, I recommend poking a small hole in the top and threading a piece of fishing line or string through it. If you’d like a more structured approach, you can glue your suncatcher to a frame or hoop before hanging.
Creative Variations
- Seasonal Themes: Change up your colors and shapes based on the holidays or seasons. Think vibrant leaves for autumn or snowflakes for winter!
- Word Art: Use small letters or stencils to incorporate words into your suncatcher design.
- Layering: Create more depth by layering different shapes of clear glue and embellishments on top of one another.
Safety Warnings
While crafting with glue, remember to work in a well-ventilated area, especially if you're using food coloring or any strong-smelling materials. It's also a good idea to keep all crafting supplies out of reach of young children or pets.
Conclusion: Celebrate Your Creativity
Congratulations, crafty friends! You have just created a beautiful Clear Glue Mosaic Suncatcher—something that not only enhances your space but also brings joy and a touch of your personality into your home. Remember, crafts are about the journey, not just the final product. Don't hesitate to experiment and let your unique style shine through in each piece you make. Happy crafting, and may the sunlight fill your home with joy!
Let me know how your suncatcher turns out, or share any variations you create! I can’t wait to see how you all put your personal spins on this fun project.