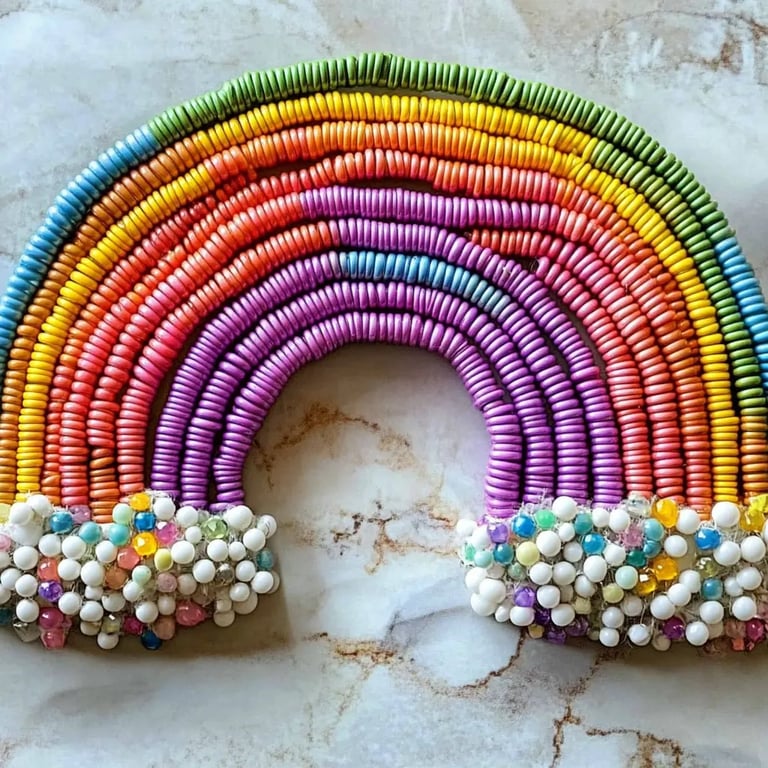
How to Make a Beaded Pipe Cleaner Rainbow Craft: A Step-by-Step Guide
Greetings, fellow crafters! Today, I’m beyond thrilled to share with you the delightful and vibrant world of Beaded Pipe Cleaner Rainbow Crafts. As someone who has spent countless joyful hours crafting, I can attest to the sheer joy of watching simple materials transform into something beautiful and meaningful. This colorful project isn’t just a feast for the eyes; it’s a wonderful way to engage creativity, fine motor skills, and even a bit of calming mindfulness. Whether you’re a mom looking for an engaging activity with your children or a crafting enthusiast seeking a new creative avenue, this craft is perfect for all ages and skill levels.
Why Beaded Pipe Cleaner Rainbows Are Popular
Beaded pipe cleaner rainbows have surged in popularity for several reasons. First, they’re visually stunning! The vibrant colors of the beads and the flexibility of the pipe cleaners lend themselves to any creative initiative. Second, they are incredibly versatile! You can use them as decorations, keychains, or even as gifts. Lastly, they’re easy to make, requiring minimal supervision—an ideal choice for crafting with kids or creating something heartfelt for a loved one.
When to Make This Craft
This craft is ideal for various occasions: rainy days spent indoors, birthday party activities, or even holiday decorations. You can customize the colors and themes to fit any celebration. Plus, it’s a nice activity to do together while chatting about rainbow symbolism, positivity, and inclusivity.
Materials You’ll Need
Let’s gather our supplies. Fortunately, everything you need is simple and easy to find:
- Pipe Cleaners (about 6-8 for a standard rainbow)
- Colorful Beads (try to get an assortment of colors; you’ll ideally want red, orange, yellow, green, blue, indigo, and violet for a classic rainbow)
- Scissors (to trim pipe cleaners)
- Wire Cutters (optional, for a more precise cut)
- Pliers (optional for bending pipe cleaner ends)
- A workspace (a table covered with newspaper or a craft mat)
Step-by-Step Tutorial
Step 1: Preparing Your Pipe Cleaners
Start by deciding how large you want your rainbow. I typically use about 6-8 pipe cleaners for a standard-sized rainbow. Each pipe cleaner will represent a different color band of your rainbow. Cut your pipe cleaners to the desired length—about 10 inches is perfect for a small rainbow. Tip: If you cut them too short, you’ll end up creating a small crescent instead of a full arch.
Step 2: Bead Your Pipe Cleaners
Now comes the fun part! Thread beads onto your pipe cleaners. Begin with the outermost color, traditionally red, and thread beads until the end of the pipe cleaner is covered. Leave about 2-3 inches of empty space at the end to help with the arching process.
Why this matters: Leaving space at the end prevents the beads from falling off during the next steps. A common error here is overloading the pipe cleaner with beads; this can lead to breakage.
Step 3: Shaping the Rainbow
Once you've strung beads on your first pipe cleaner, bend the wire into an arch. Don’t be afraid to experiment—your rainbow can be as round or as angled as you want! Pro tip: Start with the middle and gradually work your way to each side to create a balanced look.
Step 4: Secure the Shape
To ensure that your rainbow holds its shape, twist the ends of the pipe cleaner together gently. You want enough tension to hold it, but avoid pulling too tightly, which could warp your design. Common mistake: If you twist too aggressively, it may snap—just take your time with this step.
Step 5: Adding More Colors
Repeat Steps 2-4 for each color of your rainbow. After completing the first band, move to the next color, and continue adding bands underneath the previous ones. It will take some time, but that’s part of the creative journey!
Personal anecdote: I remember the first time I did this with my niece. She chose her favorite colors, and we spent hours chatting and laughing, completely lost in the joy of crafting together.
Step 6: Finishing Touches
Once all colors are added and secured, consider embellishing your rainbow. You can add additional beads on the underside, charisma charms, or even glitter glue! Get creative! Whimsical details can really make your project stand out.
Tips for Success
- Word of Caution: Ensure that small children are supervised, especially with beads—choking hazards are a concern. Consider using larger beads if crafting with younger kids.
- Alternatives and Substitutions: If you don’t have colorful beads, you could use buttons or even paint sections of the pipe cleaners with acrylic paints for a different effect.
- A Twist on the Classic: Why not turn your rainbow into a practical object? Cut additional pipe cleaners and beads to make dangling charms to hang on backpacks or use as gift toppers!
- Storage Ideas: Once completed, store your rainbows in a box lined with cotton so they don't get crushed.
Creative Variations
Feeling adventurous? Try incorporating other elements into your rainbow project. Here are a few ideas:
- Add Cloud Shapes: Shape some batting or cotton balls at each end for fluffy clouds!
- Create a Mobile: String multiple rainbow arches to hang as a mobile.
- Color Theme: Match rainbows to specific holidays—think red/green for Christmas or pastels for Easter.
Final Thoughts
After a delightful day of crafting, you’ll have your very own Beaded Pipe Cleaner Rainbow to admire! This craft not only helps develop fine motor skills and creativity but also paves the way for deeper conversations and memories with loved ones. Whether you hang it in your window to catch the sunlight or give it as a heartfelt gift, this craft is a symbol of joy and creativity.
Crafting is all about having fun, so let your creativity flow and don’t worry if your rainbow isn’t perfect—after all, every rainbow is unique, just like you! I can’t wait to see what vibrant creations you come up with. Happy crafting! 🌈