How to Make a Beach Memory Jar Craft: A Cherished Keepsake of Summer Adventures
Ah, summer! A season filled with sun-soaked days, salty breezes, and unforgettable memories. As an experienced crafter, I love to capture those moments in a way that allows me to relive them long after the season has passed. That's where my Beach Memory Jar Craft comes in—a charming and tactile way to preserve the essence of beach trips, family picnics, or any lovely day spent near the ocean.
Why a Beach Memory Jar?
The Beach Memory Jar is not just a craft; it's a visual diary filled with items and memories from your adventures. It’s become increasingly popular among families and friends who seek to encapsulate their summertime fun. Perfect for all ages, this project can be used as a fun activity during a beach trip, a lovely decoration at home, or even a thoughtful gift.
When and How to Use It
You can create your Beach Memory Jar at any point during or after your beach visit. I often find it helpful to work on this craft shortly after my trip when those memories are still fresh. Alternatively, it's a wonderful rainy-day project when you want to reminisce about sunny times.
Let’s dive into this delightful project, and together we'll create a keepsake that you’ll cherish for years to come!
—
Materials You’ll Need
- A Clear Jar or Container: Choose one that reflects your personality. A mason jar is classic, but a decorative bottle can add charm.
- Sand: Gather a small amount of sand from your beach trip. (Make sure to check local regulations about collecting sand.)
- Shells and Pebbles: These can be found along the shoreline and add natural beauty to your jar.
- Photos: Small printed photos from your trip, whether they’re candid snapshots or posed family pictures.
- Notes: I like to include small slips of paper with written memories or quotes that remind me of the day.
- Craft Supplies: Tape, glue, or string for embellishments, and stickers or labels if you’d like to decorate.
- Optional Additions: Dried seaweed, small driftwood pieces, or any beach-related trinkets can be great inclusions.
—
Step-by-Step Tutorial
Step 1: Gather Your Materials
Before you start, gather all your materials together. This organization saves time and frustration later.
Tip: If you’re missing any supplies, no worries! You can often find substitutes around the house or at a craft store. For instance, if you don’t have a clear jar, any decorative container can work in a pinch.
Step 2: Prepare Your Jar
Make sure your jar is clean and dry. This is a crucial step; any moisture can lead to mold growth later on. If you're using a recycled jar, wash it out thoroughly with hot, soapy water, and let it dry completely.
Common Pitfall: Skipping this step can ruin your memory jar. Always ensure everything is clean to preserve your memories.
Step 3: Layer the Base
Start by adding a layer of the sand you collected at the beach. I usually go for about an inch. The sand acts as the foundational layer, setting the beachy vibe right from the start.
- Why it Matters: The sand not only gives texture but also invokes the sensation of being at the shoreline.
Tip: If you want to add more visual interest, consider using colored sand, which can be found in craft stores.
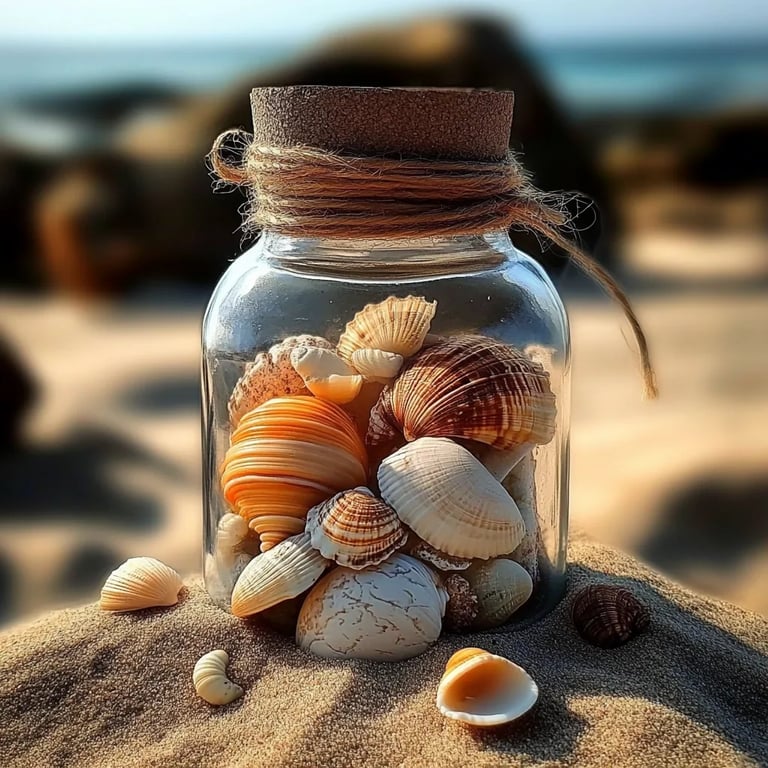
Step 4: Incorporate Shells and Pebbles
Next, add your shells and pebbles. I recommend placing larger items at the back or sides of the jar and then layering smaller ones at the front. This creates depth and allows you to see everything more clearly.
What Could Go Wrong: Overstuffing the jar can make it difficult to see the lovely layers you’re creating. Keep your layout balanced and open.
Step 5: Include Photos and Notes
Now it’s time for the personal touch. Insert small pictures and notes between the layers of sand and shells. I love folding my notes into little scrolls or putting them in cute envelopes to enhance the visual appeal.
- Why This Matters: Incorporating personal mementos makes the jar uniquely yours. Each photo or note brings back memories that can be reminisced over later.
Step 6: Decorate the Jar
Here comes the fun part! Use stickers, string, or twine to decorate your jar. I often like to tie a piece of burlap or ribbon around the neck of the jar, giving it a rustic touch.
Tip: Add a label at the top with the date and location of your beach trip for a personal record.
Step 7: Seal Your Jar
Once you’re satisfied with how your jar looks, seal the lid. If your jar doesn’t have a sturdy lid, you might consider using a layer of plastic wrap underneath the lid to keep moisture out.
—
Finishing Touches
Display your Beach Memory Jar in a prominent spot—perhaps on a bookshelf, coffee table, or even as a centerpiece. Each time you glance at it, you’ll be transported back to those sunny days on the beach.
Safety Warnings
While this craft is relatively safe, be cautious with sharp shells. If younger children are involved, supervision is key to prevent any accidents. Additionally, avoid using anything perishable that might attract pests.
Alternative Methods and Substitutions
- Alternative Container: Using a terrarium might create a unique layered effect.
- Dried Flowers: Instead of sand, consider using dried beach flowers or grasses.
- Bottles from Home: Your empty spice jars can work in a pinch; just ensure they’re thoroughly cleaned.
Personal Anecdote
Last summer, I created a Beach Memory Jar with my daughter, who was just seven at the time. We filled it with not only sand and shells but also little notes about what made us laugh that day—like the seagull that stole her sandwich! To this day, we still sit together, open the jar, and relive those moments, ensuring that our summer adventures are forever etched in our hearts.
Creative Variations
- Holiday Variations: Try making a similar jar for each season using items that represent each time of the year.
- Themed Jars: If your beach trip had a specific theme (like a mermaid party), add elements that reflect that, such as glitter or themed colors.
—
Creating a Beach Memory Jar is more than just a craft; it’s a beautiful way to capture and cherish precious moments you share at the beach. I hope this guide inspires you to create your version filled with nostalgia and love. Happy crafting, and may your memories be as bright as the summer sun!