How to Make a Baking Soda Volcano: A Fun and Educational DIY Project
Hello, fellow crafters! Today, I’m excited to share one of my all-time favorite DIY projects: the classic Baking Soda Volcano. This delightful and explosive experiment is not only great fun for kids and adults alike, but it's also a fantastic way to learn about chemistry and create lasting memories. Whether you're looking to entertain your children, have a fun science project for school, or even host a fun party activity, the Baking Soda Volcano fits the bill perfectly. So let’s roll up our sleeves and get started!
What Is a Baking Soda Volcano?
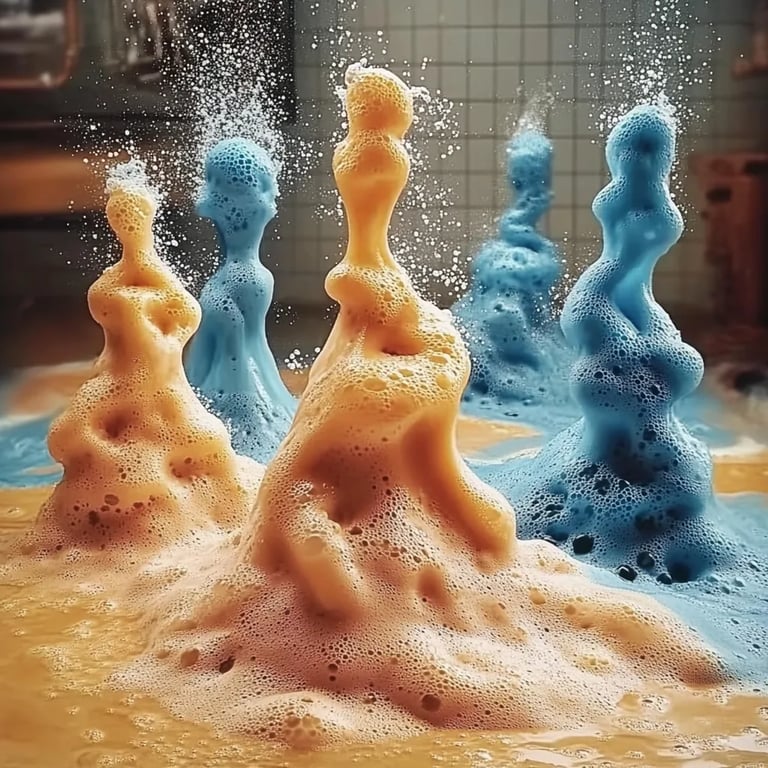
A Baking Soda Volcano is a science experiment that demonstrates an acid-base reaction, creating fizzy “lava” that erupts from the volcano's core. This fantastic combination of baking soda (a base) and vinegar or lemon juice (acids) creates carbon dioxide gas, which builds pressure and results in an attractive, bubbly eruption. It’s no wonder that this project has captivated the imaginations of children for generations! It’s engaging, colorful, and teaches basic scientific principles while allowing hands-on participation.
What You’ll Need
Let's gather our supplies. You won’t need to break the bank for this project; everything is likely at hand or easily accessible. Here’s a comprehensive list of materials you’ll need:
- For the Volcano Structure:
- A bottle or small container (like a plastic soda bottle)
- Cardboard or sturdy paper (for the volcano base)
- Non-toxic modeling clay or playdough (to create the landform)
- Aluminum foil or paper mache (for a more complex volcano structure)
- For the Eruption:
- 1-2 tablespoons of baking soda
- 1 cup of vinegar (white vinegar works best)
- Food coloring (optional, for a more visually appealing eruption)
- Dish soap (optional, to create thicker lava)
- For the Setup:
- A tray or a large dish to catch the overflow
- Safety goggles (always good when dealing with messy experiments!)
- Towels for cleanup
Step-by-Step Instructions
1. Creating the Volcano Structure
Why This Step Matters: The volcano structure sets the stage for where your eruption will occur. A sturdy base ensures your volcano won’t topple during the eruption.
- Choose a base: Start with a sturdy platform, like a piece of cardboard, that can hold your volcano securely. This will be the foundation.
- Make the volcano form: Take your bottle or small container and secure it to the center of your base. You can use modeling clay to glue it down, or just a heavy item to weigh it down securely as you build around it.
*Pro tip:* If you’re going for a more naturalistic look, you might mix paper mache flour and water to create a layer over the bottle. This takes a bit longer but can be a fun and rewarding project in itself!
- Build around the base: Use your clay, playdough, or paper mache to mold a volcano shape around the bottle. Be creative! Make it tall and pointy, or short and round—it's your volcano! Aim for a height of about 6-8 inches.
2. Preparing the Eruption Materials
Why This Step Matters: Mixing the right ingredients in the right order is crucial for a successful eruption.
- Baking soda: Spoon 1-2 tablespoons of baking soda into the bottle or your volcano’s crater, depending on the volume of your bottle. It’s essential to have this dry ingredient ready before adding the liquids.
- Dish soap: If you want your lava to be thicker (more like lava and less like water), add a few squirts of dish soap into the container with the baking soda. This creates a foamier, more realistic eruption.
- Food coloring: If you want to create red or orange lava, add a few drops of food coloring into the baking soda mixture. You can mix it before moving on or add it together with the vinegar.
3. Time for the Eruption!
Why This Step Matters: The timing and order of ingredients will dictate how spectacular your eruption will be. Trust me; you want a showstopper!
- Vinegar: When you’re ready for the action, pour in the vinegar—a whole cup or as much as fits comfortably in your volcano.
- Stand back and watch: Once the vinegar hits the baking soda, carbon dioxide begins to form, creating a bubbling, overflow reaction that looks just like lava flowing from a volcano!
*Pro tip:* Be prepared for a mess! Having towels nearby for cleanup will make this step easier.
What Could Go Wrong?
Even with the best intentions, sometimes things don’t go perfectly. Here are some potential pitfalls and how to fix them:
- Not enough eruption: If your volcano doesn’t create a good eruption, check that you’re using enough baking soda and vinegar. Additionally, the baking soda should be dry and not clumped—fresh ingredients will react better.
- Volcano collapses: Ensure the base is sturdy and that your volcano isn’t too thin in some areas. Reinforce with more modeling clay if needed.
Creative Variations
Once you’ve got the basics down, consider trying some fun variations:
- Colored Lava Layers: Use different colors of food coloring to create layers in your lava. Start with one color, let it fizz a bit, then add another!
- Different Eruption Agents: Experiment with other acidic liquids like lemon juice or even soda. Just remember, the reaction might vary slightly in intensity and look.
- Scaling Up: For a larger project, use bigger bottles or multiple containers, and connect them with tubing for a series of eruptions!
Safety Considerations
Though this project is primarily safe, always remember:
- Supervision is essential with young children. No experiment is too messy or too fun to conduct safely!
- Wear goggles if you’re worried about splashes.
- Always clean up spills promptly to avoid slipping.
Final Thoughts
I hope you are now thoroughly equipped to create your own Baking Soda Volcano! It’s rewarding to witness the excitement of this experiment firsthand, and I guarantee countless moments of joy and laughter will follow. Remember, crafting is as much about exploring creativity as it is about learning—don’t hesitate to make it your own! Share your creations with others, and spread the love of science and fun!
Happy erupting, my fellow crafters! If you have any questions or tips of your own, I’d love to hear them—leave a comment below!