How to Make 4th of July Gumdrops: A Colorful Treat for Independence Day Celebrations
Hello, fellow crafters and culinary enthusiasts! Today, I'm thrilled to share one of my favorite projects—making festive 4th of July gumdrops. As the Fourth of July approaches, these delightful little treats serve as a wonderful way to celebrate American independence with a burst of color and flavor. Picture a vibrant spread of red, white, and blue gumdrops adorning your picnic table or decorating your dessert bar—they're not just a treat; they're an expression of creativity and festivity that everyone will enjoy!
What Are Gumdrops and Why Are They Popular?
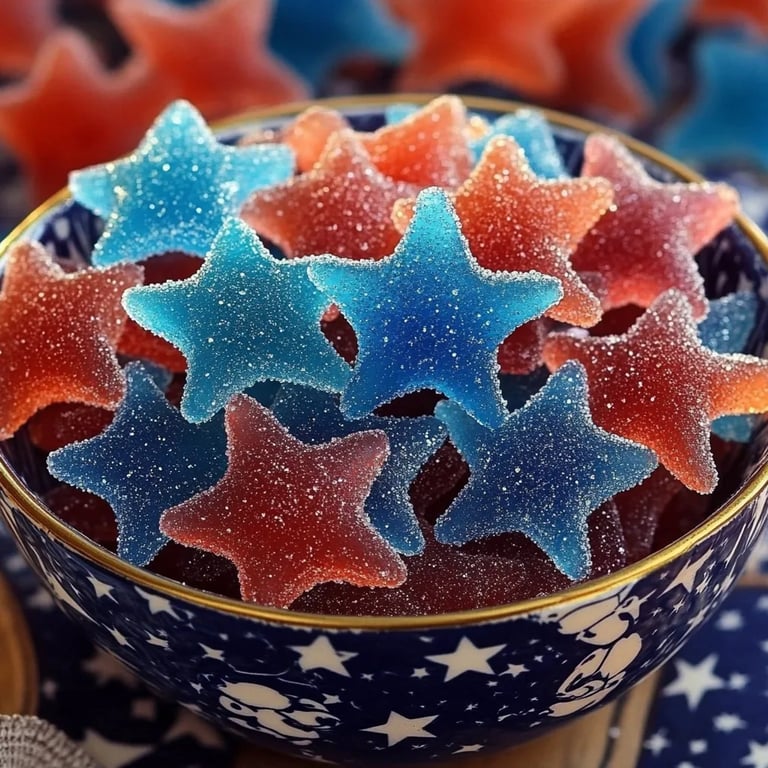
Gumdrops are chewy, gelatin-based candies that come in a variety of colors and flavors. They are often used for decorating cakes and desserts or simply enjoyed as a sweet snack. The 4th of July rendition is especially popular because it ties into the patriotic theme of the holiday, making them perfect for family gatherings, barbecues, and parades. Plus, they are a fantastic way to get the kids involved; who doesn’t love a little colorful crafting in the kitchen?
Gather Your Materials
Before we dive into the gumdrop-making process, let's gather everything we need. Here’s what I typically use:
Basic Ingredients:
- 2 cups of granulated sugar (plus extra for dusting)
- 1 cup of water
- 2 packets of unflavored gelatin (about 4 teaspoons)
- Flavor extracts (choose from cherry for red, vanilla for white, and blue raspberry for blue)
- Food coloring (gel works best for vibrant colors)
Equipment:
- Saucepan
- Whisk
- 8×8-inch square baking dish (or silicone molds for fun shapes)
- Rubber spatula
- Candy thermometer (optional, but helpful)
- Parchment paper
Step-by-Step Tutorial for Making 4th of July Gumdrops
Step 1: Prepare Your Mold
Start by prepping your baking dish or silicone molds. I like to line my molds with parchment paper so that the gumdrops can be easily removed once they’ve set. If using a square baking dish, make sure to lightly dust it with powdered sugar to prevent sticking.
Step 2: Bloom the Gelatin
In a small bowl, combine the unflavored gelatin with half a cup of cold water. Stir it gently and allow it to sit for about 5-10 minutes. This process, known as blooming, helps the gelatin activate and ensures your gumdrops have that perfect chewy texture.
Tip: If you skip this blooming step, you may end up with clumps of gelatin that don't dissolve well, resulting in a gummy texture instead of the smooth, chewy delight you want.
Step 3: Create Your Sugar Syrup
In a medium saucepan over medium heat, combine the remaining one and a half cups of sugar with the remaining half cup of water. Stir until everything is dissolved. If you have a candy thermometer, heat the mixture to 240°F (soft ball stage). If you don't have a thermometer, you can check the syrup by dropping a little into cold water; if it forms a soft ball, it's ready.
Caution: Be careful when handling hot sugar syrup; it can cause severe burns if it comes into contact with your skin.
Step 4: Mix and Flavor
Once your sugar syrup is ready, remove it from the heat. Slowly pour the syrup into the bowl containing the bloomed gelatin, whisking constantly. This will prevent lumps from forming and ensure everything is well incorporated.
Step 5: Add Flavor and Color
Now comes the fun part—adding flavor and color! Divide your mixture into three bowls. Here, you can add red food coloring and cherry extract to one bowl, blue food coloring and blue raspberry extract to another, and leave the third bowl as-is (vanilla for white). Stir each bowl until the colors are vibrant and the flavors are fully mixed in.
Tip: Start with a small amount of food coloring and gradually add more until you achieve the shade you desire. Remember, colors can deepen slightly when they set.
Step 6: Pour into Molds
Carefully pour the mixtures into your prepared molds, filling each about half to three-quarters full. If you want to create a layered effect, allow the first layer to set for about 30 minutes at room temperature before pouring the next layer on top.
What Could Go Wrong: Pouring the mixture in all at once could lead to overlapping flavors and colors, which might end up being a delightful surprise, but for those looking for distinct layers, this step is crucial.
Step 7: Let Them Set
Cover the molds with plastic wrap and leave them at room temperature for 6-8 hours, or preferably overnight. The longer they sit, the chewier they’ll become.
Step 8: Cut and Coat
Once set, it’s time to remove the gumdrops. Gently pull them out of the molds or lift them from the parchment paper. Use a sharp knife to cut them into bite-sized cubes or shapes.
Next, in a bowl, put some granulated sugar and roll each piece to coat. This step adds a lovely sparkle and helps prevent them from sticking together.
Step 9: Store or Enjoy!
You can store your gumdrops in an airtight container for up to two weeks. Feel free to layer them with parchment paper in between to keep them from sticking. And there you have it—deliciously chewy, colorful 4th of July gumdrops!
Creative Variations and Personal Anecdotes
While I love the classic red, white, and blue versions, I’ve experimented with a variety of flavors and colors over the years. How about trying watermelon flavor with green food coloring for a tropical twist? Or mixing orange and purple for Halloween celebrations? Each holiday can inspire a new creation, so don’t be afraid to get creative!
For me, making gumdrops has turned into a cherished family tradition. My kids love choosing colors and flavors, and it’s become a bonding activity every summer. Plus, nothing beats the look on your friends' faces when you present them with homemade, beautifully crafted gumdrops at your July 4th BBQ!
Final Thoughts
Making 4th of July gumdrops is not just about the end product; it’s about the experience of creating something special. Whether you’re sharing them with friends, family, or simply indulging your sweet tooth, these gumdrops are a joyful addition to your holiday festivities.
So gather your supplies, put on some festive music, and get ready to embark on this fun-filled journey of crafting your own delicious 4th of July gumdrops. Happy crafting and celebrating!