How to Create Your Own DIY Galaxy Jar: A Step-by-Step Guide
Hello there, fellow crafters! I’m thrilled to share my process for creating a stunning DIY Galaxy Jar. Not only is this craft visually enchanting, but it also serves as a delightful project suitable for all ages, making it a perfect family activity. So, pour yourself a cup of tea, get cozy, and let’s journey together into the cosmos with this colorful craft!
What is a Galaxy Jar?
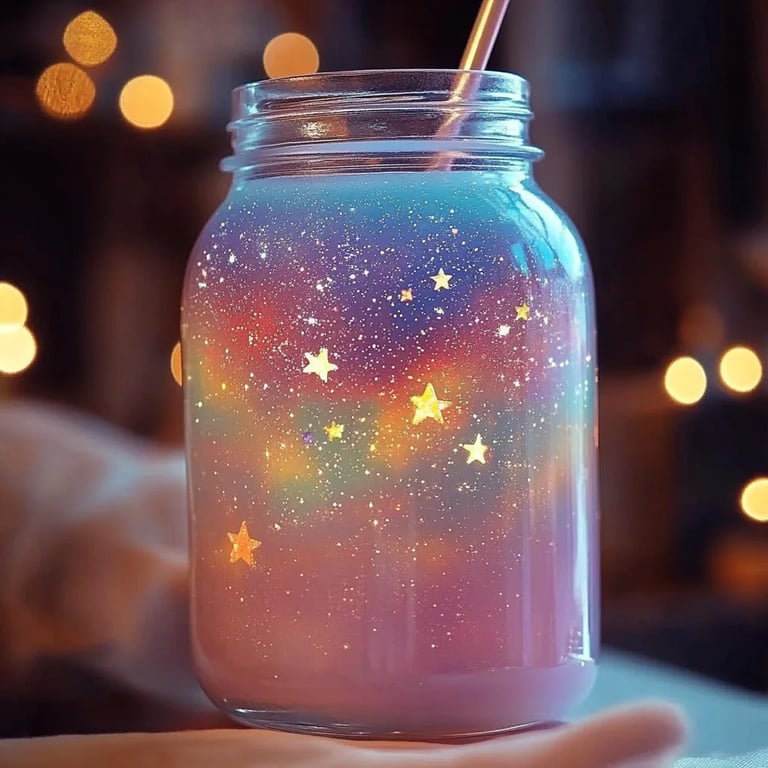
A Galaxy Jar is a mesmerizing decorative piece that captures the essence of the night sky within the confines of a glass jar. With swirls of vibrant colors, sparkling glitter, and a touch of whimsy, it lights up any room and serves as a stunning nightlight or a fabulous addition to your home decor. Whether you’re looking to create a calming ambiance, find a unique gift, or simply indulge your creative spirit, this craft is perfect.
DIY Galaxy Jars have gained popularity, particularly among those enchanted by celestial themes, because they not only provide a creative outlet but also serve as a cherished, handcrafted item that offers comfort and inspiration. They can be used in various settings, such as the bedroom for a soothing nightlight, as party favors, or even to spark curiosity in children as they learn about space.
What You’ll Need
Before we dive into the crafting process, let’s gather our materials. I promise you’ll find these items accessible and easy to acquire!
- A clean glass jar with a lid (mason jars work great)
- Cotton balls or fiber fill (to create a galaxy effect)
- Acrylic paints (choose blues, purples, whites, and blacks)
- Water
- Glitter (silver, white, or star-shaped)
- A small bowl or container for mixing
- Paintbrushes of various sizes
- A funnel (optional, for filling the jar)
- Craft knife (optional, for cutting cotton)
- Gloves (to protect your hands)
Optional Materials:
- Glow-in-the-dark paint for an extra magical effect
- Star stickers or cut-outs for added decoration
- LED tea lights for lighting
Step-by-Step Tutorial: Crafting Your Galaxy Jar
Step 1: Prepare Your Workspace
I can’t stress enough how essential it is to have a clean and organized workspace. A clutter-free area not only helps you concentrate better but also makes the crafting experience more enjoyable. Cover your table with newspaper or craft mats for easy cleanup, and put on your gloves to protect your hands from any paint stains.
Step 2: Create Your "Galaxy" Colors
In a small bowl, mix some water with your selected acrylic paints; I usually use a ratio of about 1 part paint to 2 parts water. Adding water makes the paint easier to spread and helps create a more ethereal look. Tip: Start with dark colors like navy blue and black, and then add brighter colors to create depth.
Step 3: Layering the Cotton Balls
Start pulling apart your cotton balls or fiber fill to make them less dense. This part creates the cloud-like effect of your galaxy. Carefully shape the fiber into strands that mimic soft clouds. If you find that they are too thick when layered in the jar, it will be difficult to see the colors.
Tip: Try to create varying dimensions, as this adds more depth to your galaxy. Remember, the messier, the better!
Step 4: Paint the Cotton Clouds
Using your paintbrush, apply your diluted paint mixture to the cotton. Be sure to avoid soaking the cotton too much, as this could lead to a mushy texture. Instead, focus on brushing the paint in layers for a textured look. I typically start with dark colors, allowing them to dry slightly between adding lighter shades.
Potential Issue: If the cotton absorbs too much paint, it might clump together. If this happens, simply pull it apart gently before it completely dries.
Step 5: Add the Glitter
Now comes the fun part! Sprinkle glitter over your painted cotton layers. I love to let some of the glitter fall through the cotton as it adds a magical twinkle to the overall appearance. You can use silver glitter for a starry effect or larger star-shaped glitter for a whimsical touch.
Step 6: Assemble the Galaxy Jar
Carefully layer the painted cotton into your jar. Use a funnel if needed—I often get playful and just use my fingers, but a funnel can help maintain cleanliness and make the process smoother. Alternate between placing the cotton and sprinkling more glitter until the jar is nearly full.
Tip: Leave some space at the top to prevent overflowing when I add my lid later!
Step 7: Seal the Jar
Once you are happy with the layers, screw on the lid tightly. This keeps your galaxy safe and ready to shine. If you want to add a mystical glow, this is where you might consider applying glow-in-the-dark paint around the inside rim of the jar—just be sure to let it dry before closing it up!
Step 8: Lighting Up Your Galaxy
If you’d like to illuminate your galaxy jar, place an LED tea light at the bottom of the jar. This can give it a vibrant glow without concern for fire hazards. It’s perfect for use in a child’s room or a cozy corner of your living space.
Safety Warning: Never use actual flames, as the cotton could ignite!
Personal Anecdotes and Insights
When I first started making Galaxy Jars, it was with my little cousin during a summer afternoon. We turned it into a delightful day filled with laughter, paint smudges, and a few glitter explosions. As I watched her eyes light up with wonder — the twinkling glitter and the swirling colors transformed before her very eyes — it brought me so much joy. I realized that these jars have the power to create lasting memories and ignite the imagination.
Creative Variations
- Ocean Jar: Swap out the colors for blues and greens and replace glitter with seashells for a beach-inspired jar.
- Seasonal Variants: Use colors fitting for different seasons—warm reds and oranges for autumn or pastels for spring.
- Themed Jars: Create a themed jar representing favorite stories, like a fairy tale jar featuring twinkle stars and mythical colors.
Troubleshooting Common Issues
If you run into any problems during your crafting, don’t fret!
- Too Much Water in Paint: If your mixture is too runny, it may become hard to layer. Just add a tiny bit more paint to thicken it up.
- Glitter Overload: It’s tempting to overdo the glitter, but if you find it’s too much, you can always scoop some out carefully with a spoon.
- Cotton Balls Falling Apart: If your cotton clumps together too much and is hard to place, try lightly fluffing it with your fingers—gentleness is key here!
Final Thoughts
Creating a DIY Galaxy Jar is not just a project but an experience that combines creativity, imagination, and a touch of artistry. As you embark on this colorful journey, remember that each jar is unique, and there’s no wrong way to make it your own!
Embrace the process, enjoy the mess, and most importantly, have fun crafting! Whether you’re creating it for yourself or as a thoughtful gift, I hope this DIY Galaxy Jar infuses a bit of magic and joy into your life. Happy crafting!