How to Create Mesmerizing Glow in the Dark Balloons: A Comprehensive Guide
Hello fellow crafters! Today, I’m excited to share my personal method for creating glow in the dark balloons that are sure to be the highlight of any celebration. Whether you’re planning a birthday party, a nighttime picnic, or a festive gathering, these luminous balloons add a magical touch. They’re popular for good reason; not only do they look enchanting when illuminated, but they also serve as a playful and interactive decoration for all ages.
Why Glow in the Dark Balloons?
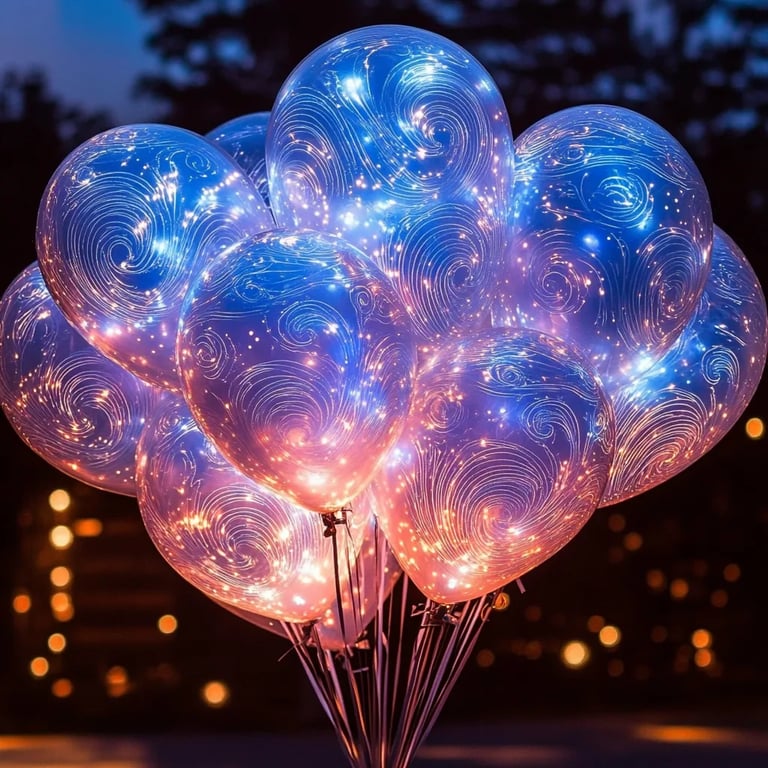
Glow in the dark balloons have a unique charm, transforming even the simplest occasions into extraordinary nighttime events. Imagine a backyard party where your balloons gently float while casting a soft, ethereal glow—all while keeping participants of all ages engaged with wonder and excitement.
What You’ll Need
Before we dive into the crafting process, let’s gather our materials. The beauty of making glow in the dark balloons is that it requires a relatively short list of accessible ingredients:
- Balloons – Choose clear or light-colored ones to enhance the glow.
- Glow in the Dark Powder – You can find this online or at local craft stores. Look for a non-toxic variant; safety is paramount.
- Water – To mix with the powder.
- A funnel – To help with pouring.
- A small mixing bowl – For combining the powder and water.
- Gloves – To protect your hands; we all enjoy crafting but not the mess it brings!
- A UV flashlight (optional) – This will help to charge your balloons for a more vibrant glow.
Step-by-Step Tutorial
Step 1: Prepare Your Workspace
Why It Matters: A clean, organized workspace is the cornerstone of a successful crafting experience.
What Could Go Wrong: If your area is cluttered, it might lead to spills or misplacing materials.
I always ensure to lay out all my materials before starting. Clear a table or counter space, and protect the surface with a plastic tablecloth, especially if you’re working with mixed powders.
Step 2: Measure the Glow Powder
Why It Matters: The amount of glow powder determines the brightness of your balloons.
Tip: A good ratio to start with is 1-2 tablespoons of glow in the dark powder for every 5-10 balloons.
Using a small mixing bowl, measure your glow powder. If you're experimenting, start with one tablespoon, then adjust based on the glow you desire.
Step 3: Mix with Water
What Could Go Wrong: Too much water can dilute the glow effect.
Tip: Aim for a thick paste—not too runny but not too dry!
Once you’ve measured your powder, add enough water to create a thick paste. The consistency should resemble that of pancake batter. Stir thoroughly with a spoon until mixed well.
Step 4: Prepare the Balloons
Why It Matters: Clean balloons will hold the glow mixture better.
What Could Go Wrong: Any oil or residue might affect how the powder adheres.
Before proceeding, stretch and inflate the balloons slightly to make them easier to work with. If you’re using clear balloons, the glow will showcase beautifully once inflated!
Step 5: Apply the Glow Mixture
How to Do It: Carefully, use your funnel to pour the glow paste into the balloon.
Why It Matters: This step ensures that the glow effect will be evenly distributed inside the balloon.
What Could Go Wrong: Overfilling can cause popping.
Fill the balloon until it’s about a third full of the glow paste. To avoid spills, go slowly and be patient. After pouring, gently shake or roll the balloon to coat the inner surface evenly.
Step 6: Inflate the Balloons
After coating your balloons, it’s time for inflation!
What Could Go Wrong: Excessive air pressure can burst an overly filled balloon.
Tip: Inflate carefully, allowing for some space at the top of the balloon.
Set your balloons aside for a few moments to allow the mixture to settle before inflating. Then, using your lungs or a pump, inflate each balloon and tie it securely. Make sure not to inflate too tightly; a little give will help prevent popping when they glow!
Step 7: Charge Your Balloons
Why It Matters: Charging them with light (sunlight or a UV flashlight) enhances the glowing effect.
Tip: Try to charge them for at least 10-15 minutes for the best results.
Take your freshly crafted glow in the dark balloons and place them under direct light or use a UV flashlight to charge them. The glow powder absorbs light, making it glow brilliantly in the dark!
Step 8: Display and Enjoy!
Now you can hang your balloons or set them around your space. They will provide a soft glow that’s simply enchanting.
Troubleshooting and Tips
- Not Glowing Brightly? Ensure you charged them long enough, as glow in the dark powder needs ample time to absorb light. You can also try adding more powder to increase the brightness for your next batch.
- Balloon Popped? It happens. Consider inflating them gently to avoid excess pressure.
- Cleanup Tip: If you accidentally spill the glow powder, use tape to pick it up easily.
Creative Variations
The wonderful world of crafting is full of endless possibilities! Here are a few ideas to modify your glow in the dark balloons:
- Glitter Glow: Mix in biodegradable glitter with the glow powder for a sparkly effect.
- Themed Designs: Use different colored powders to match the theme of your party—think orange for Halloween or green for a monster-themed bash!
Safety Warnings
- Always use non-toxic glow in the dark powder, especially if you’re using these in spaces where children may be playing.
- Be cautious with the UV light; prolonged exposure can be harmful to your eyes.
Final Thoughts
Creating glow in the dark balloons can genuinely elevate your party decorations to a whole new level. Each step is simple, and as you gain experience, you’ll find even more ways to customize your creations. Remember, crafting is about exploration and fun, so don’t hesitate to experiment as you create!
Thank you for joining me on this luminous journey, and I hope your crafting venture is as magical as the glow itself! Happy crafting! ✨