How to Create a Stunning Clear Glue Flower Suncatcher: Your Complete Guide
Hello, fellow crafters! If you’re looking for a delightful way to bring the beauty of nature indoors, I invite you to join me on this crafting journey to create your very own Clear Glue Flower Suncatcher. This vibrant and whimsical decoration is not only a fantastic way to showcase the colors of the flowers you love but also serves as an enchanting piece of art that brightens any window. In this article, I’ll walk you through the entire process, sharing my tips, personal anecdotes, and even a few troubleshooting solutions along the way. Let’s get started!
What Exactly is a Clear Glue Flower Suncatcher?
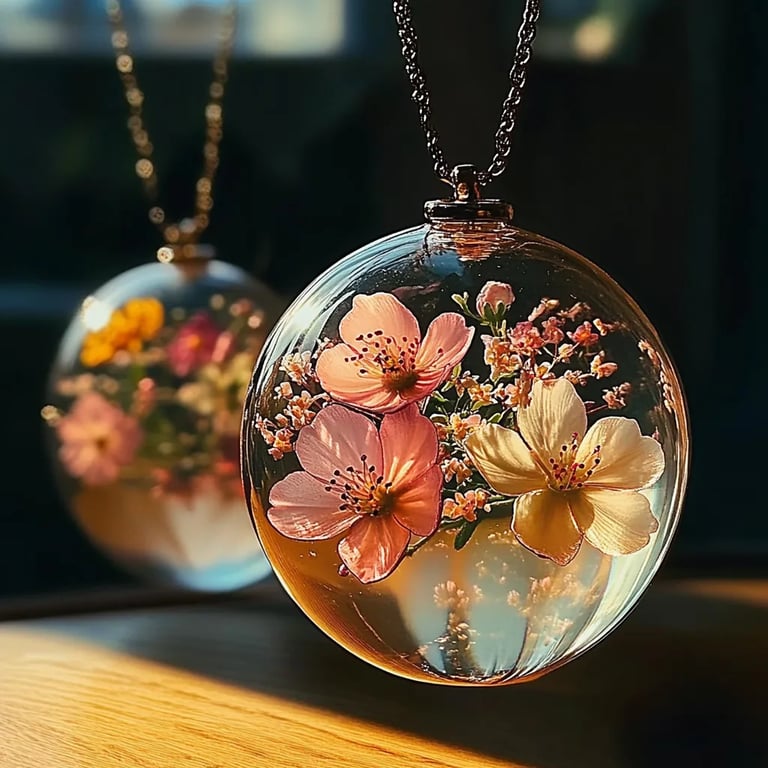
A Clear Glue Flower Suncatcher is essentially a decorative piece made using clear craft glue and flower petals or leaves, which captures the sunlight and casts beautiful colors through your window. It’s a popular crafting project for all ages, particularly during spring and summer when flowers are in full bloom. It’s perfect for brightening your home, as gifts for loved ones, or even as part of a themed decor for seasonal celebrations. Trust me, once you see the way the sunlight dances through your creations, you’ll be hooked!
Materials You'll Need
Before we dive into the step-by-step tutorial, let’s gather our supplies. Don’t worry if you’re not familiar with all of these items; I’ll provide simple explanations along the way.
- Clear craft glue (make sure it dries clear)
- Flower petals (fresh, dried, or even synthetic)
- Wax paper or parchment paper
- Scissors
- Plastic sheet or baking tray (for the base)
- A paintbrush or sponge (optional, for spreading glue)
- Tweezers (optional, for placing intricate petals)
- A small dish of water (for cleaning up)
- A window suction cup hook (to hang your suncatcher)
Step-by-Step Instructions
Step 1: Gather Your Flowers
Start by selecting your flower petals. Fresh blooms like pansies, violets, or geraniums work great, but you can also use dried petals if you want to create a more muted tone. When you’re selecting your flowers, keep in mind that sturdier petals hold up better in the glue mixture.
Tips: Make sure to gather your flowers early in the day when they are fully hydrated! This will ensure they look their best. Avoid using petals that are wilting or browning.
Step 2: Prepare Your Work Area
Lay down a layer of wax paper or parchment paper on a flat surface. This will protect your table from excess glue and make clean-up a breeze. Place your plastic sheet or baking tray on top of the wax paper—it will serve as your base.
Step 3: Mix the Clear Glue
In a small bowl, pour out a generous amount of clear craft glue. Depending on the size of your suncatcher, you may need anywhere from 1 to 3 cups of glue. The glue is the star of this project, so make sure you use a quality product that dries clear—this will give your finished piece that beautiful, glass-like effect.
Why it matters: Using too much or too little glue can affect how well the petals adhere and how the final piece looks.
Step 4: Create the Base Layer
Using your paintbrush or sponge, spread a thin layer of clear glue on your plastic sheet or baking tray. Do this to cover the area where you plan to place your petals.
Tip: For smaller petals, you can add the glue directly on top of the petals rather than under them—just make sure they’re coated!
Step 5: Arrange Your Petals
Now it’s time for the fun part! Using your hands or tweezers, arrange the flower petals on top of the glue in any design you like. Feel free to experiment with colors and shapes. You can create a gradient effect with different hues or even whimsical patterns if you’re feeling adventurous!
Troubleshooting: If the petals start to curl or stick together, don’t panic! Gently press them down into the glue and add more glue on top if needed.
Step 6: Seal It Up
Once you’re satisfied with your arrangement, add another layer of clear glue over the top of the petals. Make sure they are fully covered, as this will seal them in place and help protect them once the suncatcher is dry.
Safety Warning: If you're crafting with children, supervise them during this step, especially with the glue.
Step 7: Let It Dry
Now comes the hardest part—waiting! Allow your creation to dry for at least 24 hours or until it feels solid. Keep in mind that drying times may vary based on humidity and temperature.
Personal Anecdote: I often set a timer and make a plan to work on another craft during drying time. It helps the waiting game feel less daunting!
Step 8: Remove Your Suncatcher
Once dried, carefully peel your suncatcher off the plastic sheet or tray. If any edges stick, gently work them loose with your fingers or a thin spatula.
Step 9: Hang Your Suncatcher
Finally, find a sunny window and use a suction cup hook to hang your beautiful creation! Watch as the sunlight dances through your petals, creating a stunning display of colors in your home.
Creative Variations
- Layering: For a more three-dimensional look, try using multiple layers of petals and glue.
- Seasonal Themes: Craft suncatchers using leaves in the fall for a whole different look and feel.
- Clear Epoxy: If you want a sturdier suncatcher that lasts longer, consider using a clear epoxy instead of glue.
Troubleshooting Common Issues
- Bubbles: If you notice bubbles in your glue, gently pop them with a pin or needle before they dry.
- Color Leaking: Watch for excess moisture in fresh petals that might cause colors to bleed. Consider pressing your petals overnight to remove moisture before starting.
- Petals Lifting: If you notice any petals lifting after drying, you can add a bit of glue underneath and press them back down.
Conclusion
Crafting a Clear Glue Flower Suncatcher is not only a fulfilling project but also a gorgeous way to frame the beauty of nature. Whether you're crafting alone or with loved ones, this process can be incredibly rewarding. So gather your materials and let your creativity shine! I’d love to hear how your suncatchers turn out or any variations you make. Let’s bask in the sunlight together! Happy crafting!