How to Create a Colorful Fizz Experiment: A Fun and Engaging Craft for Everyone
Hello, fellow craft enthusiasts! Today, I’m thrilled to share one of my favorite science-inspired crafting activities: the Colorful Fizz Experiment. This project isn’t just visually stunning; it also delights the senses with its bubbling, fizzing reactions. Whether you’re planning a fun afternoon with your kids, looking for a vibrant addition to a science-themed birthday party, or simply exploring a cool activity to do at home, making colorful fizz will bring joy and excitement to your day.
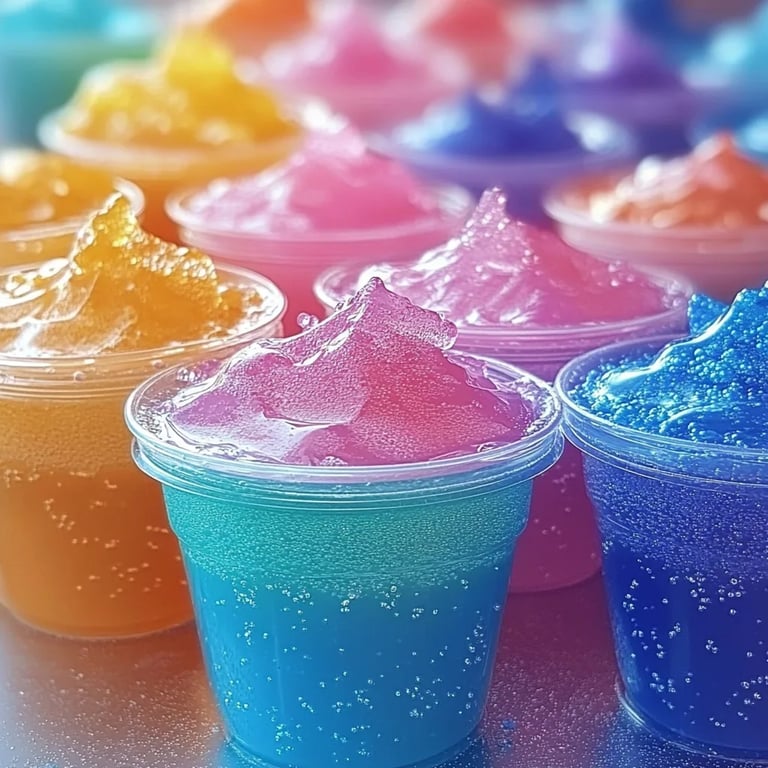
The Colorful Fizz Experiment is perfect for curious minds of all ages. It combines materials you likely already have at home, making it accessible and budget-friendly. By mixing vinegar and baking soda with a splash of food coloring, we create a fizzy reaction that bursts with color. This simple yet captivating scientific demonstration showcases fundamental chemical reactions while indulging our creative side.
Why the Colorful Fizz is So Popular
The Colorful Fizz Experiment has gained immense popularity because it's not only educational but entertaining. It's the perfect blend of science and art, captivating both children and adults alike. You can enjoy it during birthday parties, outdoor playdates, or even in your backyard during a sunny afternoon. Plus, it’s a fantastic opportunity to introduce children to basic scientific principles like acid-base reactions without the need for complex laboratory equipment.
Getting Started: Materials You'll Need
Before we dive into the step-by-step process, let’s gather our materials. You might be surprised to find that creating a Colorful Fizz is straightforward and requires minimal setup. Here’s what you’ll need:
Basic Ingredients
- Baking Soda: This is our base ingredient that creates the fizzing reaction.
- White Vinegar: Acting as the acid, it will react with the baking soda to create carbon dioxide bubbles.
- Food Coloring: This adds the vibrant colors that make the fizz visually appealing.
Additional Materials
- Clear Plastic Cups or Small Bowls: To contain your colorful fizz.
- Spoons or Droppers: For adding the food coloring and mixing.
- Pie Plates or Large Trays: To catch any overflow and keep the workspace clean.
- Measuring Spoons: For precise measurements of your baking soda and vinegar.
Step-by-Step Tutorial: Making Your Colorful Fizz
Now that we have everything we need, let’s get started! Follow these detailed steps, and I'll guide you through the process like a crafting mentor.
Step 1: Preparing Your Workspace
Find a clear and flat surface to set up your materials. I recommend using a pie plate or a large tray underneath your cups to catch any mess. It’s always easier to clean up this way—trust me, I’ve learned this the hard way!
Step 2: Measure and Mix
- Pour Baking Soda:
- Using a measuring spoon, add about 1 tablespoon of baking soda to each cup or small bowl. The amount might vary, but this is a good starting point.
- Why This Matters: Baking soda is the star of our experiment; it’s crucial for creating the fizzing effect. If you use too little, you might not get enough reaction.
- Add Food Coloring:
- Use a dropper or spoon to add about 3-5 drops of food coloring into each cup on top of the baking soda. Choose vibrant colors to make the fizz spectacle pop!
- Pro Tip: You can mix colors together for a tie-dye effect!
Step 3: Create the Fizzy Reaction
- Pour Vinegar:
- Now comes the fun part! Carefully measure about 2 tablespoons of vinegar and slowly pour it into each cup with the baking soda and food coloring.
- Watch the Magic Happen: This is where the fizzy reaction will occur. Bubbles will start to form as carbon dioxide gas is released.
- Observe and Enjoy:
- Sit back and watch the colorful fizz erupt! The reaction will produce lovely bubbles and foam, creating a vibrant display.
- You can take this opportunity to explain the science behind the reaction to anyone participating.
Troubleshooting Common Issues
While the Colorful Fizz Experiment is generally straightforward, sometimes things don’t go as planned. Here are a few common challenges along with their solutions:
- Not Enough Fizz? If the reaction seems lackluster, check your measurements. Try adding a bit more baking soda or vinegar.
- Colors Not Mixing? Give it a gentle stir after pouring vinegar to encourage the colors to blend together.
Safety First: Tips and Precautions
Although this experiment is safe, here are a few tips to ensure a smooth experience:
- Avoid Ingestion: Make sure that kids understand not to taste the materials involved since food coloring and vinegar should not be consumed in large quantities.
- Protect Clothing: Wear an apron or old shirts, especially if you’re using food coloring, as it can stain.
- Supervision is Key: Always supervise young children during this activity, especially when handling vinegar and food coloring.
Creative Variations to Explore
Once you’ve mastered the basic Colorful Fizz, why not get creative with variations? Here are a few ideas:
- Rainbow Fizz: Layer different colors of baking soda in your cups before adding vinegar.
- Glow-in-the-Dark Fizz: Add a few drops of tonic water to the vinegar for a glowing effect under black light.
- Incorporate Glitter: Mix in some edible glitter to create a sparkling effect in your reactions.
Final Thoughts and Personal Insights
Crafting and exploring science through activities like the Colorful Fizz Experiment brings me so much joy. I remember the first time I introduced this project to my niece; her eyes lit up with excitement as the colors danced and bubbled before her. It’s those moments that make crafting and learning truly magical.
By making this Colorful Fizz Experiment, you're not just entertaining; you're encouraging discovery and imagination. So gather your materials, invite family or friends, and enjoy the delightful experience of watching mundane ingredients come alive in colorful, fizzy splendor.
Thanks for joining me today on this colorful adventure. I can’t wait to hear about your experiences with the Colorful Fizz Experiment. Feel free to share your pictures, variations, or any questions in the comments below. Happy crafting!