Glow-in-the-Dark Cotton Candy Cookies: A Sweet Adventure into Edible Crafting
As an avid baker and crafting enthusiast, I can't help but feel a sense of joy when I blend the whimsical and delicious. Recently, I discovered the enchanting world of Glow-in-the-Dark Cotton Candy Cookies. These delightful treats are not just deliciously soft and chewy but also visually stunning, making them perfect for parties, sleepovers, or themed events. Imagine the excitement in your child’s eyes when they take a bite into a cookie that glows in the dark!
Whether you're baking for a birthday party or simply want to surprise your family with something outrageous and fun, these cookies are sure to impress. In this article, I will share my tried-and-true recipe, personal tips, and insights to help you create these quirky, glowing cookies. Let's dive into the world of edible crafts!
What Makes Glow-in-the-Dark Cookies Special?
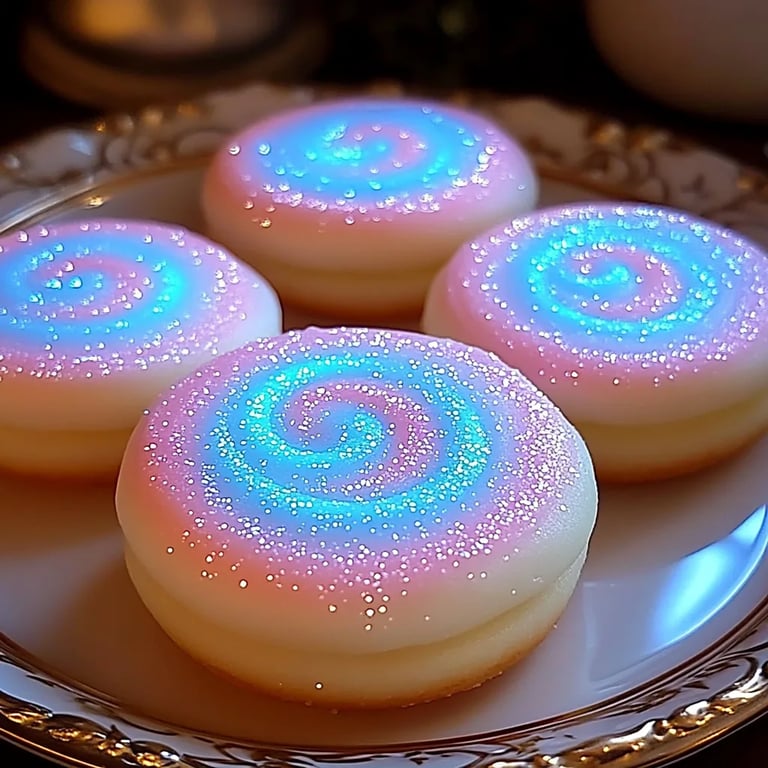
The magic behind these cookies lies in the clever use of neon colors and a safe, edible glow-in-the-dark powder made from spirulina or tonic water. This creates a playful, glowing effect that’s perfect for themed gatherings or even festive occasions like Halloween. It’s all about infusing creativity into baking!
Materials You'll Need
Before starting our baking adventure, let’s gather the ingredients and tools:
For the Cookies:
- 2 ½ cups all-purpose flour
- 1 tsp baking soda
- ½ tsp salt
- 1 cup unsalted butter, softened
- 1 cup granulated sugar
- ½ cup brown sugar, packed
- 1 tsp vanilla extract
- 1 egg
- ½ cup cotton candy (store-bought or homemade)
- Food coloring (neon colors)
- Glow-in-the-Dark edible powder (non-toxic)
For Topping:
- Additional cotton candy (for garnish)
- Extra glow-in-the-dark powder (optional for visual effect)
Tools:
- Mixing bowls
- Electric mixer
- Baking sheets
- Parchment paper
- Cookie cutters (if desired)
- Airtight container for storage
Step-By-Step Tutorial: How to Make Glow-in-the-Dark Cookies
Step 1: Preparing the Dough
Start by preheating your oven to 350°F (175°C). This ensures that your cookies will bake evenly once we’re ready.
Combine Dry Ingredients: In a medium bowl, whisk together the flour, baking soda, and salt. Make sure there are no lumps here; sifting can help with this!
Combine Wet Ingredients: In a large mixing bowl, cream together the softened butter, granulated sugar, and brown sugar using an electric mixer. Beat until the mixture is light and fluffy, about 2–3 minutes. This aeration is crucial for soft cookies.
Add Egg and Vanilla: Next, add the egg and vanilla extract to the butter-sugar mixture, mixing until well combined. This helps bind the ingredients together and adds flavor.
Step 2: Mixing it All Together
Now it’s time to combine our wet and dry ingredients! Gradually add the flour mixture to the wet ingredients while mixing on low speed. If the dough seems too dry, add a teaspoon of milk until it reaches a dough-like consistency.
Incorporate Cotton Candy: Gently fold in cotton candy and a few drops of your neon food coloring of choice. This is where the fun really begins! The cotton candy will add a sweet flavor, while the food coloring gives our cookies that vibrant hue.
Step 3: Adding the Glow Factor
This step is essential for our cookies to shine! Incorporate a teaspoon of glow-in-the-dark edible powder into the dough. Stir until fully combined and ensure that the glow is evenly distributed throughout.
Step 4: Shaping the Cookies
Using a cookie scoop or tablespoon, drop rounded balls of dough onto lined baking sheets, allowing space between them as they will spread.
Caution: Be mindful not to overpack your cookie dough. Overpacking can lead to thicker cookies that won't bake evenly, resulting in burnt edges and a doughy center.
Step 5: Baking the Cookies
Place the baking sheets in the preheated oven and bake for 10–12 minutes, or until the edges are golden but the centers are still soft. They'll puff up beautifully!
Once baked, let them cool for about five minutes on the baking sheet before transferring them to a cooling rack. This helps them firm up a bit!
Step 6: The Final Touch
Once the cookies are completely cooled, you can add additional cotton candy on top for an extra treat. If desired, lightly dust them with extra glow-in-the-dark powder for that spectacular glow at night!
Tips for Success
- Cotton Candy Choices: Feel free to use different flavors of cotton candy for unique tastes!
- Neon Food Coloring: Experiment with combinations to achieve vibrant hues. Just remember that a little goes a long way.
- Storage: Once cooled, store your cookies in an airtight container. They should stay fresh for up to a week.
Troubleshooting Common Issues
- Dough Too Sticky: If your dough is too sticky, gradually add more flour, a tablespoon at a time, until it reaches the right consistency.
- Flat Cookies: If your cookies spread too much, the butter may have been too warm or melted. Next time, try chilling the dough for about 30 minutes before baking.
- Not Glowing: Ensure you're using a proper edible glow powder—not all glow powders are safe for food. Always verify labels.
Alternative Methods and Ingredient Substitutions
- Flour Substitution: For a gluten-free version, substitute with almond flour or gluten-free all-purpose flour.
- Dairy-Free: You can use vegan butter or applesauce instead of regular butter for a dairy-free option.
Conclusion: Embrace Your Creative Spirit
Making Glow-in-the-Dark Cotton Candy Cookies is not just baking; it’s about creating an experience. Whether you're crafting for your kids, friends, or simply indulging your inner child, these cookies are bound to spark joy. Embrace the mess, the creativity, and the satisfaction that comes with baking something truly unique.
As you take your first bite of these magical cookies, allow yourself to bask in the glow—literally! Happy baking! 🌟