DIY Sugar Scrub for Soft Skin: A Complete Guide
Hello there! As someone who's spent countless afternoons crafting delightful beauty products in the comfort of my home, I am thrilled to share my beloved DIY sugar scrub recipe with you. Sugar scrubs have taken the beauty world by storm, and it’s no wonder why! They’re not only incredibly popular for their ability to exfoliate and soften skin, but they also smell divine and can be completely customized to suit your preferences.
What Is a Sugar Scrub?
A sugar scrub is a gentle exfoliating agent that helps remove dead skin cells, unveiling the soft and radiant skin underneath. Made primarily of sugar, oil, and optional essential oils or botanical ingredients, sugar scrubs can be used on various parts of the body, such as the hands, feet, legs, and even the face!
I love using my sugar scrub in the shower; it feels like a mini spa treatment each time! Not to mention, it makes my skin feel unbelievably soft and hydrated afterward. A sugar scrub is also an excellent gift idea—personal, thoughtful, and easy to make in bulk!
Why Make Your Own Sugar Scrub?
- Customization: The beauty of DIY is that you can tailor your sugar scrub to suit your skin’s needs or your scent preferences. Want a citrusy scrub for daytime use? Go for lemon! Prefer something soothing? Lavender is the way to go.
- Affordability: Store-bought scrubs can be quite pricey. Making your own is not only economical but keeps the cost down—perfect for budget-conscious beauty enthusiasts!
- Natural Ingredients: When crafting your scrub, you have complete control over what goes in it. This means no synthetic additives, parabens, or harsh chemicals. Just pure, delightful ingredients!
Materials Needed
- 1 cup of granulated sugar: This is your primary exfoliant. Brown sugar is an alternative if you prefer a gentler scrub.
- ½ cup of carrier oil: This can be coconut oil, olive oil, almond oil, or any oil that suits your skin type. Each type of oil has its own benefits, so choose what feels best for you.
- Essential oils (optional): A few drops of your favorite essential oil, such as lavender or peppermint, can add fragrance and additional benefits.
- Mixing bowl: For combining your ingredients.
- Storage container: Airtight jars or containers will work perfectly for keeping your scrub fresh.
Step-by-Step Tutorial: Making Your Sugar Scrub
Step 1: Gather Your Ingredients
Make sure to have all your ingredients and tools ready. This prep step might seem trivial, but it sets the stage for a smooth crafting experience. Plus, you'll avoid last-minute scrambles!
Step 2: Mix Sugar and Oil
In your mixing bowl, combine 1 cup of granulated sugar with ½ cup of your chosen carrier oil. I typically prefer to start with a 2:1 ratio of sugar to oil, but you can adjust this based on your texture preference. Need a drier scrub? Add more sugar; prefer it creamier? Add a bit more oil.
Why this matters: The sugar is what will gently exfoliate your skin, while the oil hydrates. Getting this balance right is the key to an effective scrub.
Common Mistake: Overmixing. If you combine too vigorously, you can create a paste instead of a scrub. The goal is a crumbly texture that holds together but isn’t wet.
Step 3: Add Essential Oils
If you wish to add some fragrance, now is the time! Just a few drops should suffice. Personally, I love adding around 10-15 drops of essential oil. Experiment with different scents, but remember to do a patch test before using any new oils directly on your skin to avoid allergies.
Tip: If you have sensitive skin, it's best to stick to lighter scents, such as chamomile or lavender.
Step 4: Mix Well
Using a spatula or spoon, gently mix until you achieve a uniform consistency. It's essential to ensure the sugar and oil are well integrated so the scrub has an even texture.
What could go wrong? If your scrub feels too oily, it might be best to adjust your sugar measurement. Alternatively, if it’s too greasy, simply add a little more sugar to the mix.
Step 5: Transfer to Storage Containers
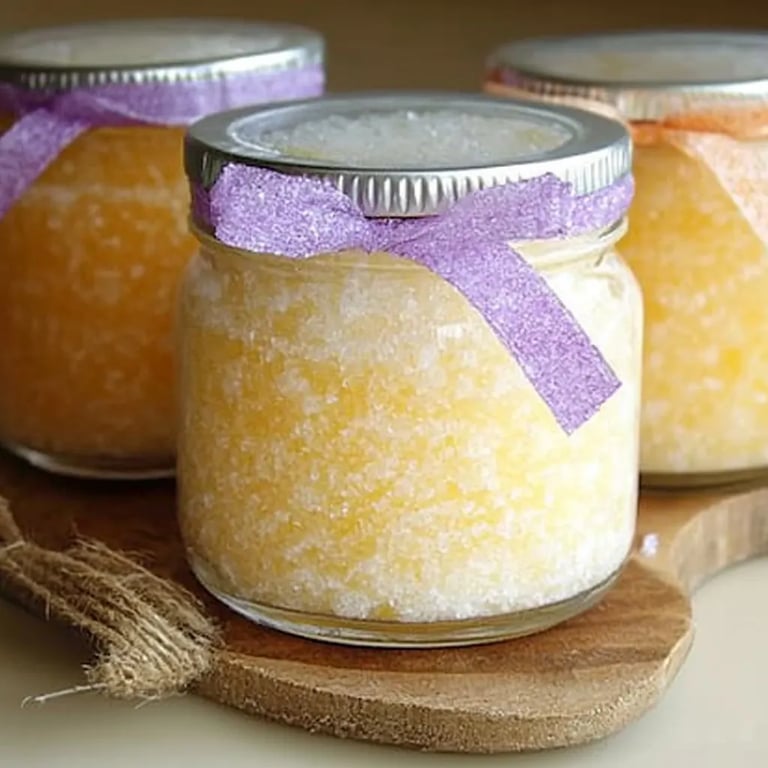
Once your scrub is mixed, scoop it into your airtight storage container. I love using cute glass jars—the kind that make great gifts too! Leave a little space at the top, as the scrub may expand slightly.
Step 6: Label and Store
Label your container with the date and any scents or added ingredients. The scrub should last about a month if stored in a cool, dry place, but I assure you, it won’t last that long—you’ll want to use it often!
Application Tips
To use your sugar scrub, simply take a small amount and massage it onto damp skin using circular motions. Avoid scrubbing too hard, as this can irritate the skin.
Important: Always rinse thoroughly and follow up with moisturizer afterward. Your skin will feel incredibly smooth, and the oil from the scrub will help lock in moisture.
Safety Warnings
- Always perform a patch test before applying any new ingredients to your skin, especially if you have sensitive skin or allergies.
- Be cautious of slippery surfaces after using sugar scrubs; they can make the tub or shower floor slick.
Creative Variations
- Coffee Sugar Scrub: Substitute half the sugar with coffee grounds for an invigorating and energizing scrub.
- Herbal Infusions: Add dried herbs like chamomile or rose petals for a more aromatic, floral touch.
- Seasonal Flavors: Get festive by adding pumpkin spice in the fall or peppermint essential oil around the holidays!
Final Thoughts
Making your own DIY sugar scrub for soft skin is not just a delightful experience; it’s an act of self-care that can elevate your daily routine. Whether you’re indulging in a quiet night in or giving thoughtful gifts to friends, homemade scrubs carry the warmth of love and effort in them.
So gather your materials, get creative with scents and textures, and enjoy the wonderful DIY journey you're about to embark upon. Cheers to soft skin and joyful crafting! Happy scrubbing!