DIY Reef in a Jar: An Incredible Ultimate Guide to Create a Colorful Aquatic Sanctuary
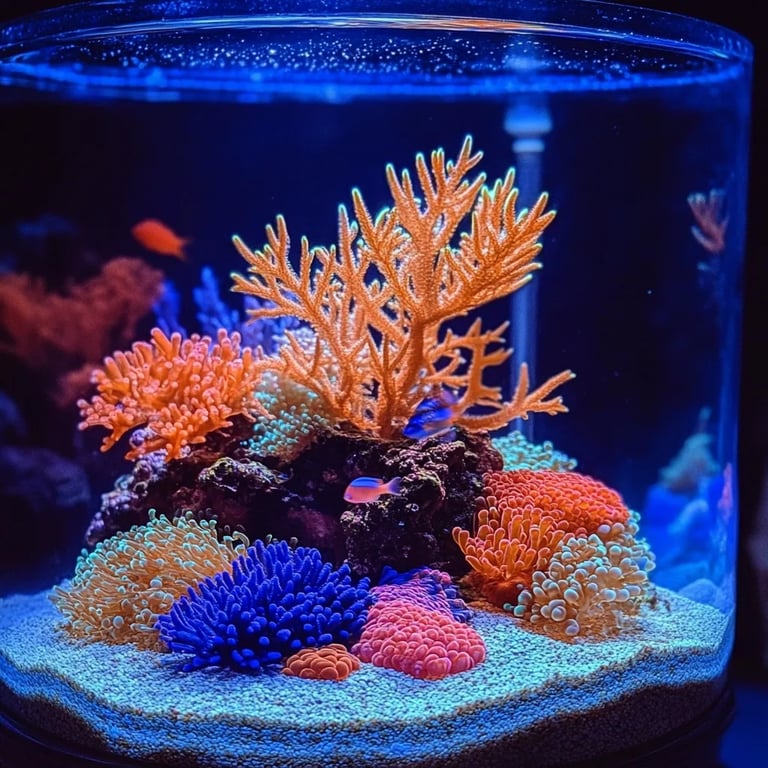
DIY Reef in a Jar allows you to bring the beauty of a vibrant reef ecosystem into your own home. It’s an amazing way to learn about marine life while creating a stunning decorative piece. This mini aquarium project will not only beautify your space but also ignite your creativity and passion for marine biology. Imagine peering into your glass jar and witnessing colorful fishes swimming amidst lush corals and soft waves — it’s absolutely enchanting!
A DIY Reef in a Jar is ideal for those who love aquatic themes or have an interest in ocean conservation. You don’t need any special skills or extensive equipment to create your underwater paradise. Just gather a few supplies, follow some simple instructions, and you’ll have a beautiful miniature reef to display. Whether you're looking for a fun arts and crafts project for yourself, family bonding time, or even an educational activity for children, this DIY project is perfect for everyone.
With its various colors and styles, decorating your jar can be an astounding way to express yourself artistically. The first time you see your reef come to life, the sense of accomplishment will make all your efforts worthwhile. So, if you’re ready to embark on this aquatic adventure, let’s dive deeper into the world of creating your very own DIY Reef in a Jar!
Why You’ll Love This Recipe
Creating a DIY Reef in a Jar is not just about assembling materials; it’s about the joyous experience of crafting something uniquely your own. Here are several compelling reasons why you'll adore this project:
- Easy and Accessible: Most materials for this project can be found around your home or purchased affordably at craft stores.
- Low Maintenance: A reef in a jar requires minimal upkeep compared to traditional aquariums, making it suitable for busy lifestyles.
- Educational Experience: It’s an incredible way to learn about marine ecosystems, the importance of preservation, and the role of different species in a reef.
- Creative Expression: You can personalize your reef by using various decorations, seashells, and marine elements to reflect your style.
- Stress Relief: Engaging in a hands-on project has been shown to reduce stress and promote mindfulness, allowing you to unwind while creating beauty.
- Perfect Gift Idea: A completed reef in a jar makes a heartfelt gift for loved ones who share your passion for marine life or home decor.
With such an exciting blend of educational and creative aspects, it’s clear why a DIY Reef in a Jar is capturing hearts everywhere.
Preparation and Cooking Time
Preparing your DIY Reef in a Jar will take about 1 hour, but the time may vary based on your ideas and materials. Here's a breakdown of the preparation time:
- Preparation Time: 20-30 minutes
- Construction Time: 30 minutes
- Final Adjustments and Decoration: 10-15 minutes
By setting aside this time, you can focus entirely on your project, making the most of the creative experience.
Ingredients
- 1 clear glass jar or container with a lid
- Clean aquarium gravel or sand
- Decorative artificial corals (various types)
- Small seashells and pebbles
- Aquarium-safe decorations (plastic plants, rocks)
- Water (optional, depending on design)
- Small figurines or items for personal touch (optional)
- Tweezers (for precise placement)
- Small spoon or scoop
Step-by-Step Instructions
Creating your DIY Reef in a Jar is simple when you follow these step-by-step instructions:
- Choose Your Jar: Select a clear glass jar with a lid, ideally wide enough to have a good view of your reef.
- Clean the Jar: Ensure the jar is thoroughly washed and dried to avoid contaminants.
- Layer the Base: Add a layer of clean aquarium gravel or sand to the bottom of your jar, approximately 1-2 inches deep.
- Artful Arrangement: Use your tweezers to place decorative artificial corals into the jar. Arrange them to create depth and variety in height.
- Add Sea Life Decorations: Insert any small figurines or decorations that represent marine life, like small fish or starfish.
- Incorporate Shells and Pebbles: Scatter seashells and pebbles strategically to add texture and visual interest to your reef.
- Use Water (Optional): If you want an authentic look, carefully add water to reach just above the gravel layer, ensuring decorations stay in place.
- Final Touches: Adjust your arrangement as needed, using the tweezers to make any final changes.
- Seal the Jar: If you chose to use water, secure the lid tightly. If not, you can leave it open for fresh air circulation.
- Display with Pride: Place your completed DIY Reef in a Jar in a well-lit area that won’t get direct sunlight to maintain its vibrant colors.
By following these steps, you'll craft a stunning aquarium display that never goes out of style.
How to Serve
Serving your DIY Reef in a Jar isn’t just about its visual display; it’s also about creating an atmosphere to appreciate this work of art. Here are some thoughtful suggestions on how to enjoy your reef:
- Choose the Right Spot: Place it on a shelf, dining table, or desk where it can be easily admired. Natural light enhances its beauty, but avoid direct sunlight that may fade the colors.
- Pair with Aquatic Themes: Incorporate other marine-inspired decor around the jar, such as ocean-themed sculptures, candles, or paintings.
- Engage Guests: Invite friends and family to enjoy the reef by sharing its creation story and the marine life represented inside.
- Update Regularly: Occasionally refresh the design by changing some elements or adding seasonal decorations to keep the reef dynamic.
- Use as a Centerpiece: Feature it as a centerpiece during gatherings or dinners to spark conversations about marine life and conservation efforts.
By presenting it thoughtfully, you’ll turn your DIY Reef in a Jar into a captivating focal point that evokes curiosity and appreciation for the beauty of the ocean.
Additional Tips
- Choose Non-Toxic Materials: Ensure that all decorative materials are aquarium-safe. This is especially important to prevent any harmful chemicals from leaking into your reef.
- Experiment with Layout: Don’t be afraid to change up the arrangement of your corals and decorations. This can help keep your reef looking fresh and vibrant.
- Color Coordination: Consider selecting colors that are complementary. A well-thought-out color scheme can make your DIY Reef in a Jar more visually appealing.
- Add a Personal Touch: Incorporate items that hold personal significance, such as souvenirs from ocean trips or family memorabilia related to the sea.
- Lighting: Position your jar where it can catch natural light. However, be cautious to avoid direct sunlight, which can cause fading.
Recipe Variation
Feel free to try these fun variations to make your DIY Reef in a Jar even more unique:
- Theme-Based Designs: Create a seasonal theme, such as a Halloween reef with spooky decorations or a holiday reef using festive ornaments.
- Glow-in-the-Dark Elements: Incorporate glow-in-the-dark paints or decorations for a mesmerizing nighttime display.
- Natural Elements: For a more rustic look, consider using dried plants, driftwood, and natural pebbles.
- Miniature Aquatic Life: Use small resin marine animals like dolphins, turtles, or crabs to create a more lively underwater scene.
Freezing and Storage
- Storage: If you add water to your reef, ensure the lid is tightly sealed, and keep it in a cool, dark place. It’s best to display your reef rather than store it.
- Refreshing the Design: Every few months, you might want to refresh your reef. Simply remove the old decorations and replace them with new ones to keep it looking vibrant and exciting.
Special Equipment
To successfully create your DIY Reef in a Jar, you will need the following tools:
- Tweezers for precise placement of decorations
- Small spoon or scoop for adding gravel or sand
- A clean glass jar with a secure lid to contain your design
- Optional: a small brush for cleaning the interior of the jar
Frequently Asked Questions
Can I use real plants in my DIY Reef in a Jar?
Yes, you can use real aquatic plants, but it requires more maintenance and careful consideration of light and water conditions.
How long will my reef last?
Without water, your reef can last indefinitely, though you may want to refresh the decorations regularly.
Is it suitable for children's projects?
Absolutely! Crafting a DIY Reef in a Jar is a fantastic way for children to learn about marine life while engaging in a hands-on activity.
Can I include live fish?
While tempting, a jar is not a suitable environment for live fish. Consider creating a purely decorative reef instead.
What if I want to change the color scheme?
You can easily update your jar by removing some elements and adding new colors or decorations to suit your style.
Conclusion
Creating a DIY Reef in a Jar is a delightful project that combines artistic expression and an appreciation for marine life. This miniature aquarium showcases your creativity while providing an educational experience about aquatic ecosystems. With various customization options and easy maintenance, your reef can evolve alongside your interests. So grab your materials and embark on this enchanting journey to create your very own aquatic sanctuary right at home!