DIY Preserved Flower Necklace: A Step-By-Step Guide to Crafting Timeless Jewelry
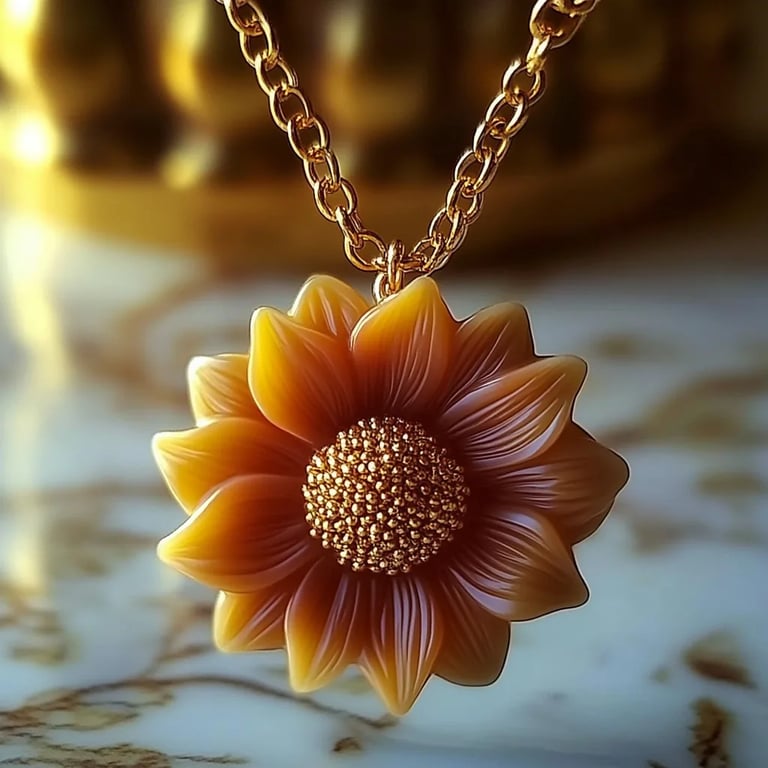
As an avid crafter and lover of all things floral, I can hardly contain my excitement about creating a DIY Preserved Flower Necklace. Not only is this piece of jewelry a stunning adornment, but it also carries a unique sentiment—I mean, who doesn't love to wear a little piece of nature? Preserved flower jewelry has gained immense popularity in recent years due to its charming aesthetics and the personal touch it brings to any outfit. It’s perfect for various occasions: weddings, birthdays, or just to add a touch of whimsy to your everyday attire.
In this guide, I aim to share with you all the steps I've learned (often through trial and error) on how to create your very own preserved flower necklace. We’ll dive deep into each process, so let’s roll up our sleeves and create something beautiful together!
Why Make a Preserved Flower Necklace?
Before we jump into the nitty-gritty, let’s talk about why you might want to create a preserved flower necklace. These necklaces are not only a delight to wear, but they also carry a profound meaning. They can evoke memories of a special day or serve as a beautiful reminder of your favorite flowers. Whether you are gifting it or keeping it for yourself, it’s a unique blend of art and emotion.
Materials You'll Need
- Preserved Flowers: You can use dried flowers like lavender, daisies, or tiny roses. Purchase these from a craft store or dry your own.
- Resin: Clear epoxy resin is a must for encasing your flowers. Look for a non-toxic epoxy for safety.
- Necklace Findings: This includes a chain, jump rings, and a bail (the part that attached the pendant to the chain).
- Silicone Mold: Choose a mold shape that complements your flower arrangement.
- Mixing Tools: Popsicle sticks or plastic cups will work for blending the resin.
- Safety Gear: Gloves and a mask are essential to protect yourself from fumes and resin.
Step-by-Step Tutorial
Step 1: Choose Your Flowers
Why it Matters: The flowers you choose dictate the aesthetics of your necklace. Look for smaller blooms, as they will fit better in the mold.
Tips: I recommend starting with flowers that hold their shape and color well when dried. Consider pressing flowers for a traditional touch, or buy pre-dried varieties.
Step 2: Prepare Your Workspace
Why it Matters: A clean and organized workspace minimizes errors and helps maintain focus.
How to Do It: Cover your work area with plastic or newspaper. Having everything within arm's reach, like your mixing tools and flowers, is also crucial.
Step 3: Mix the Resin
Why it Matters: Finding the right balance ensures successful curing and minimizes bubbles.
How to Do It: Follow the manufacturer's instructions for mixing your resin. Typically, the ratio is 1:1 for resin and hardener. Use a clean mixing cup and stir slowly to avoid bubbles.
What Could Go Wrong: Too many bubbles can ruin the final product. If this happens, let your resin sit for a few minutes to allow bubbles to rise, then mix again slowly.
Step 4: Layer the Flowers
Why it Matters: The arrangement of flowers determines the visual impact of your necklace. Layering also helps prevent the flowers from floating to the surface.
How to Do It: Pour a thin layer of resin into the mold and then strategically place your flowers. You can experiment with different placements. I like to use tweezers for better precision.
Creative Variations: Consider adding glitter or small beads for a personal touch!
Step 5: Pour More Resin
Why it Matters: A generous covering will encase the flowers, giving your necklace a polished look.
How to Do It: Slowly pour more resin over the flowers until they’re fully submerged. Shrinkage is normal as resin cures, so don’t worry if they float a little. You can add more resin later if needed.
Step 6: Curing
Why it Matters: Allowing the resin to cure fully is crucial for durability.
How to Do It: Cover your mold with a plastic sheet to prevent dust from settling on your piece, and let it cure for about 24 hours in a dust-free environment.
Troubleshooting Common Issues
- Bubbles: Use a toothpick to pop them or apply a heat gun carefully to release trapped air.
- Wet Spots: If you see wet areas after curing, it likely needs more time. Leave it for another few hours.
- Discoloration: UV light can cause yellowing over time. Consider using UV-resistant resin in the future.
Step 7: Finishing Touches
After the resin has fully cured, gently remove your pendant from the mold. You may need to sand down any sharp edges with fine-grit sandpaper.
Step 8: Attaching the Findings
Why it Matters: This final step transforms your pendant into a wearable piece of art.
How to Do It: Attach the bail to your pendant using super glue. Then use jump rings to connect the bail to your chain.
Tips for Success
- Patience is Key: Each step deserves your full attention. Rushing can lead to mistakes.
- Stay Safe: Work in a well-ventilated area and wear gloves and a mask when handling resin.
- Experiment: Don’t be afraid to try different flowers or molds until you find the perfect combination!
Final Thoughts
Creating your own preserved flower necklace is truly a rewarding experience. It’s more than just crafting; it’s an expression of creativity and sentimentality. I still remember the first one I made, how proud I felt wearing my blooming masterpiece each day.
As you embark on your necklace-making journey, remember that crafting takes practice and experimentation. Embrace any mistakes as learning moments, and don’t hesitate to share your creations with friends and family. Whether you’re looking to enhance your jewelry collection or create a heartfelt gift, this DIY project will undoubtedly add a sprinkle of charm to your life.
Happy crafting! May your creations bloom just like the flowers you choose. 🌸