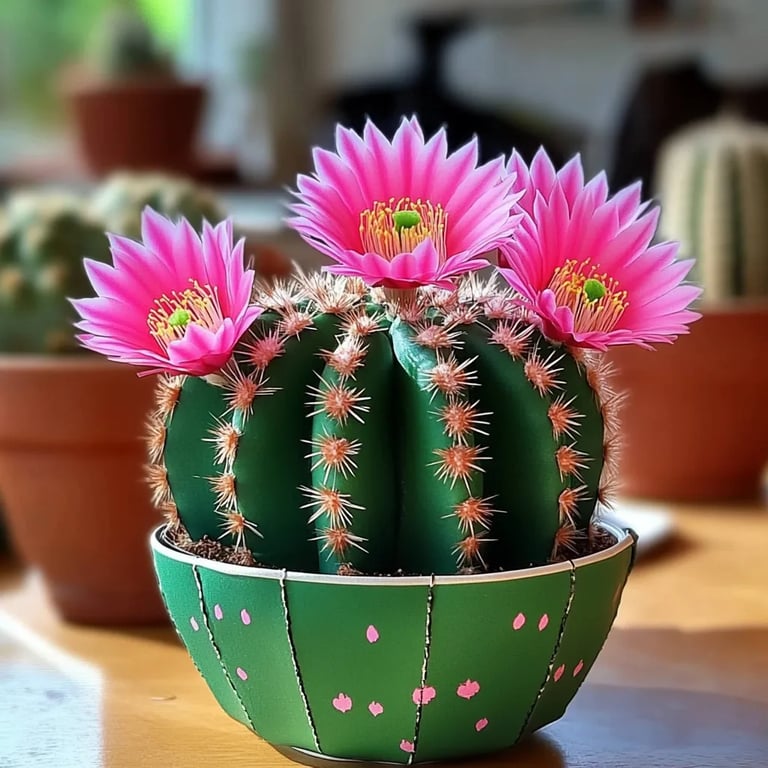
DIY Paper Plate Cactus: An Incredible Ultimate Guide
DIY Paper Plate Cactus projects are an amazing way to embrace your creative side while also crafting an adorable decoration for your home. With minimal supplies and a step-by-step process, creating a cute paper plate cactus allows you to tap into your artistic flair. Not only will this craft keep your hands busy, but it will also bring a touch of whimsy into your living space. Whether you want a fun activity for children or a calming project for adults, this guide will help you achieve delightful results.
The charm of a DIY Paper Plate Cactus lies in its simplicity and versatility. This craft is perfect for individuals of all ages and can be customized in endless ways, allowing your imagination to run wild. From vibrant colors to unique patterns, the possibilities are as expansive as a desert landscape. In this article, we will explore why you’ll love creating paper plate cacti, outline the preparation and materials needed, and provide detailed instructions to ensure your crafting experience is delightful.
Why You’ll Love This Recipe
Creating your own DIY Paper Plate Cactus will capture your interest for various reasons. Here are a few compelling points to consider:
- Fun for Everyone: This craft is suitable for all ages, making it perfect for family activities or play dates.
- Inexpensive Materials: Most of the supplies are low-cost and easy to find, making this a budget-friendly project.
- Encourages Creativity: You can personalize your cactus with various colors, designs, and embellishments—no two creations will be alike!
- Decorative Appeal: Once finished, your paper plate cacti can adorn your home, adding a cheerful touch to any room.
- Great for Events: Consider this project as a fun addition to themed parties or classroom activities.
- Minimal Cleanup: Since the project uses paper plates and basic craft supplies, cleaning up afterward is a breeze.
With all these factors at play, it’s clear why so many people find joy in making DIY Paper Plate Cactuses, whether for fun or décor.
Preparation and Crafting Time
Taking on a DIY Paper Plate Cactus doesn’t require much time. Here’s a breakdown of how long the entire crafting experience will take:
- Preparation Time: 10 minutes
- Crafting Time: 30-45 minutes, depending on your creativity and detail
- Drying Time: 10-20 minutes for paint to dry
Considering these times, you can have your very own paper plate cacti created within an hour!
Materials
- Paper plates (2-3 per cactus)
- Green acrylic paint or markers
- Scissors
- Glue (white school glue or hot glue)
- Craft foam or felt (for flowers or decorations)
- Decorative embellishments (googly eyes, sequins, etc.)
- Paintbrushes (if using paint)
- A pencil and ruler (for measuring and marking)
Step-by-Step Instructions
Creating your DIY Paper Plate Cactus is easy with these straightforward steps:
- Prepare Your Workspace: Gather all materials and lay them out on a flat surface.
- Paint the Plates: Use green paint to color the bottom side of the paper plates. Let it dry completely.
- Cut the Plates: For each cactus, take one plate and cut it into a triangular or spiky shape to give it a cactus-like appearance.
- Layer the Plates: If you have multiple plates, stack and glue them to create height and dimension. Be creative but stable!
- Create Flowers: Cut flower shapes from craft foam or felt, and glue them onto the cactus for added decoration.
- Add Details: Use markers or paint to add features like eyes, spines, or patterns. Go wild with your design!
- Allow to Dry: Let everything sit for a while to ensure all glue and paint are dry.
- Display: Find a perfect spot in your home to showcase your unique DIY Paper Plate Cactus!
How to Serve
To fully enjoy your DIY Paper Plate Cactus, consider the following tips for display:
- Group Display: Create a mini garden by displaying multiple cacti of varying sizes and colors on a shelf or table.
- Incorporate Other Decor: Pair your cacti with other decorative elements like faux succulents or natural-looking rocks for a complete look.
- Gift Idea: Share your creation with friends or family as a charming gift or as part of a larger craft-themed gift basket.
- Seasonal Decor: Keep the cacti on display year-round or rotate them according to seasons or themes by switching colors and embellishments.
By implementing these serving ideas, you turn your delightful DIY Paper Plate Cactus into an eyecatching addition to your craft decor, making it not just a piece of art but a conversation starter!
Additional Tips
- Get Creative: Don't hesitate to experiment with textures. Use crumpled tissue paper or fabric scraps to give your cactus a tactile feel.
- Use Different Colors: While green is traditional, adding splashes of pink or purple can make your cactus pop.
- Personalize the Project: Incorporate names, quotes, or sayings on your cacti to add a personal touch, making them unique to your space.
- Include Other Crafts: Combine your cactus projects with other crafts like paper flowers or even DIY picture frames for a complete decorative set.
Recipe Variation
Feel free to explore variations to keep your craft fresh and exciting. Here are a few ideas:
- Themed Cacti: Create a holiday-themed cactus, like a snow-covered version for winter, using white paint and glitter for a frosty effect.
- Birds and Bugs: Add paper birds or bugs to your cactus for a playful outdoor scene.
- Multi-Layered Cacti: Instead of just stacking your plates, create multiple layers of varying sizes to mimic a real cactus's growth pattern.
Freezing and Storage
- Storage: Keep your finished DIY Paper Plate Cacti in a cool, dry place. They can last indefinitely if kept away from moisture and direct sunlight.
- Repurposing: If one gets worn out or damaged, consider disassembling it and reusing parts for new projects or different crafts.
Special Equipment
To create your DIY Paper Plate Cactus, you may want to gather some basic equipment for the best results:
- Cutting Mat: Protect your surfaces when cutting the paper plates.
- Hot Glue Gun: This provides a quicker bond than regular glue, ensuring your cactus remains intact.
- Cup for Mixing Paint: If blending colors, a small cup can be helpful to create custom shades.
Frequently Asked Questions
Can I use different types of plates?
Yes, you can use heavy-duty paper plates or even cardboard plates for a sturdier base.
How do I make my cactus more realistic?
Consider using techniques like shading with darker greens or adding textured elements using paint or fabric.
Can younger kids participate in this activity?
Absolutely! Adult supervision can help with the cutting and gluing, while younger kids can focus on decorating.
Are there alternative materials for decoration?
Yes! You can use buttons, yarn, or even natural elements like twigs to enhance your design.
How can I ensure my cactus stands?
Be sure to glue the bases securely and allow ample drying time for stability before displaying.
Conclusion
Creating a DIY Paper Plate Cactus is not only a delightful craft but also a way to express creativity while making charming decorations. This project is suited for all ages, allowing for personal interpretation and imagination. The ease of materials, combined with the fun of creating, makes this an ideal activity. Whether you’re looking to enhance your decor, engage with family, or simply enjoy crafting, the DIY Paper Plate Cactus is sure to bring joy to your space. Gather your supplies, unleash your creativity, and enjoy the whimsical nature of this charming craft!