DIY Mini Rain Cloud Science Experiment in a Jar: A Fun and Educational Project
As someone who has always had a soft spot for crafting and science, I couldn’t help but fall in love with the DIY Mini Rain Cloud Science Experiment in a Jar. It’s not just a charming little activity; it’s a wonderful way to explore the science of weather through hands-on experimentation. Perfect for the curious minds of children or even for adults looking to reconnect with their inner child, this delightful project explains cloud formation and precipitation in a captivating, visual way.
In today’s fast-paced world, engaging in such DIY projects provides not just a learning opportunity but also a cherished moment of bonding with family and friends. These mini rain clouds are a fantastic choice for rainy afternoons, science fairs, or even as an engaging party favor for kids' birthdays!
Why This Experiment is So Popular
The popularity of the mini rain cloud experiment stems from its simplicity and effectiveness in demonstrating key scientific principles. It beautifully illustrates the water cycle, a critical concept for kids, and does so in an engaging and visually stimulating way. Plus, it requires minimal materials that are likely already in your home or can be obtained quite easily.
Materials Needed
Before we delve into the step-by-step process, let’s gather all the materials you will need. Fortunately, you won't have to break the bank for this experiment:
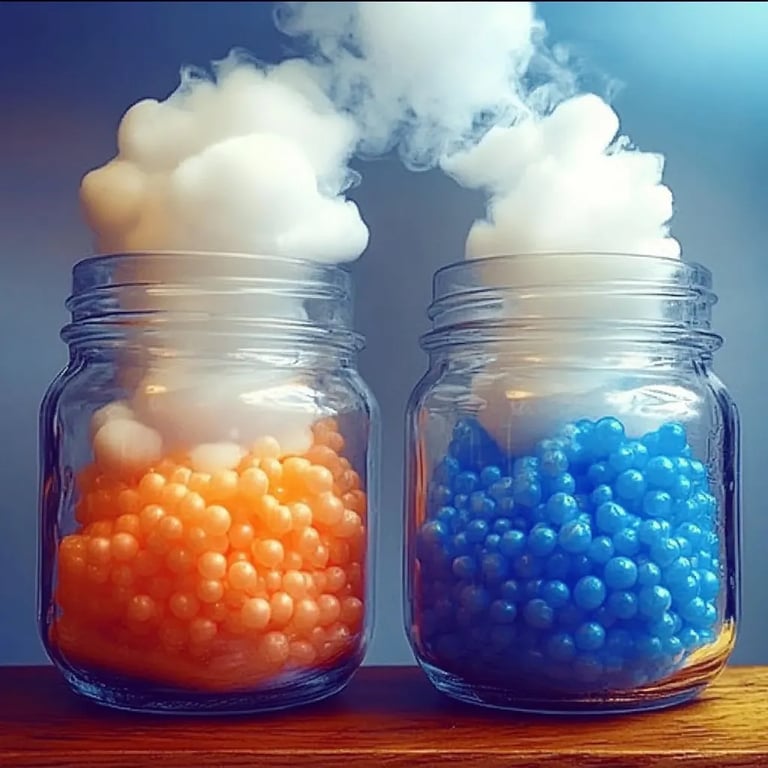
- A clear glass jar or a large cup: This allows for easy visibility of the "rain cloud."
- Water: This will serve as the environment in which the entire experiment occurs.
- Shaving foam: This acts as our “cloud.” Make sure to use regular shaving foam, not gel, for best results.
- Food coloring: Several colors work well—blue, red, green, etc. I love using blue for a classic rain look!
- Droppers or a spoon: Used to add the colored water to the shaving foam cloud.
- A plate: Optional, but helpful for catching any overflow.
- Paper towels: For cleaning up and absorbing any spills.
Step-by-Step Tutorial
Now that we have everything we need, let me guide you through this engaging experiment.
Step 1: Prepare the Jar
What to do: Fill the clear glass jar about two-thirds full with water.
Why it matters: This water will be the ocean for our mini rain cloud. The amount of water can change how quickly the "rain" appears, so adjust it according to your preferences.
Tip: If you find that there's not enough water in your jar after adding the cloud, you can always top it up!
Step 2: Create the Cloud
What to do: Take your shaving foam and spray a generous amount on the top of the water in the jar. Aim for a cloud-like shape.
Why it matters: The shaving foam represents the cloud and will hold the colored water—and this is where the magic happens!
What could go wrong: If you use gel shaving cream, it won’t hold shape as well and might not mix properly with the water.
Fix it: If your cloud sinks rather than floats, you may need to add more foam or try a different brand.
Step 3: Prepare Colored Water
What to do: In a separate bowl or cup, mix food coloring with some water. You can be creative here, mixing colors to see what happens. Use about 1-2 drops of food coloring for a subtle effect.
Why it matters: The colored water simulates rain, allowing us to observe how the clouds release precipitation as they reach saturation.
Tip: Try to keep colors separate for distinct rain effects!
Step 4: Add the Colored Water to the Cloud
What to do: Using the dropper or a spoon, slowly drip the colored water onto the shaving foam cloud. Watch closely!
Why it matters: This step allows you to observe how the ‘cloud’ can only hold so much water before it becomes saturated.
What could go wrong: If the drops are too large, they might sink instead of resting on the cloud surface.
Fix it: Make smaller drops and be patient; it often takes a moment for the cloud to ‘absorb’ the water.
Step 5: Observe the Magic
What to do: Now, sit back and watch as the colored water trickles down through the foam and into the jar, resembling rain.
Why it matters: This moment visually represents how clouds work in the real world, creating precipitation as they fill with water vapor.
Tip: Encourage others to guess how long it will take for “rain” to appear, making it a fun guessing game!
Creative Variations
- Add Glitter: For a sparkly effect, mix in a little edible glitter or biodegradable glitter to the foam for a whimsical touch.
- Experiment with Density: Try using different sizes of jars or different amounts of water and shaving cream. How do these changes affect how quickly the "rain" appears?
- Themed Clouds: Use food coloring to create themed clouds—how about a sunset cloud with red and yellow, or a thunderstorm cloud with dark blue and purple?
Safety Considerations
While this experiment is safe for most ages, I recommend supervising younger children, especially when handling food coloring. Additionally, keep a good roll of paper towels handy for any spills!
Final Thoughts
I love how this mini rain cloud project demonstrates a scientific principle while allowing for creativity. Plus, it’s incredibly rewarding to see a child’s eyes light up at the sight of “rain” in a jar! Embrace the mess and enjoy the process—remember, crafting is about exploration and learning just as much as it is about the finished product.
So go ahead, gather those materials, and enjoy the spectacular sight of your very own DIY mini rain cloud—it’s a delightful way to bring science to life right before your eyes. Happy crafting!