DIY Kids Lantern Craft: Light Up Your Imagination
Hello, crafty friends! Today, I'm thrilled to share a project close to my heart: DIY kids lanterns! This fun and delightful craft is not just about making something beautiful; it’s also about creating memories with your kids, sparking their creativity, and lighting up their imaginations. Lanterns can be used for various occasions, from enchanting backyard parties to cozy winter evenings, or simply as charming decorations that add a touch of whimsy to any room.
But why are lanterns so popular among children and parents alike? These glowing treasures provide a sense of wonder and excitement that can brighten any child's day. They invite storytelling, spark imagination, and encourage outdoor play during dusk and nighttime, when everything feels a bit magical. Plus, they’re an excellent way for kids to get hands-on with crafting, enhancing their fine motor skills while they explore textures, colors, and shapes. So, let's roll up our sleeves and dive into creating these lovely lantern crafts!
Materials Needed
Before we jump into the crafting process, let's gather our supplies. Most of these materials are easily found around the house or at your local craft store, making this an accessible project for everyone.
- Glass jars (like mason jars or old pickle jars)
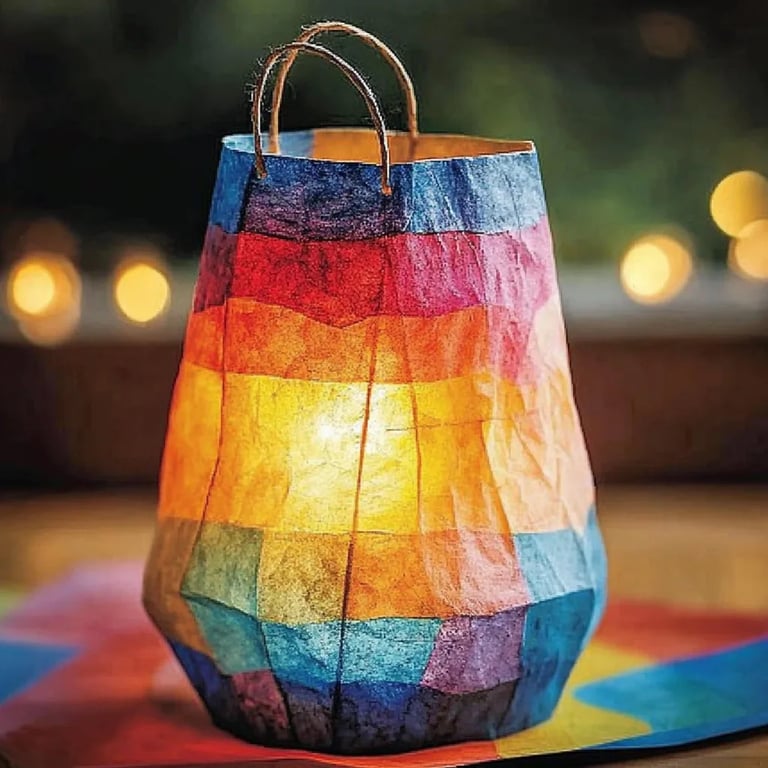
- Tissue paper (variety of colors)
- Mod Podge or watered-down white glue
- Paintbrush (for applying glue)
- LED tealight candles (for safe lighting)
- Scissors
- String or twine (for hanging)
- Clear tape
- Optional: Glitter, stickers, or other embellishments for decoration
Now that we have our materials, let’s get crafting!
Step-by-Step Tutorial
Step 1: Prepare Your Work Area
First things first, set up a clean, well-lit work area. Lay down some newspaper or a plastic tablecloth to catch any spills, especially since Mod Podge can be a bit messy. This part is essential to avoid any mishaps that could ruin your crafting space—or your mood!
Step 2: Cut Tissue Paper
Have your kids pick their favorite colors of tissue paper. Encourage them to envision what their lantern might look like. Tear or cut the tissue paper into small squares or shapes—about 2 inches by 2 inches is ideal. This is a wonderful opportunity to discuss colors and even patterns; consider themes like nature, seasons, or animals!
What Could Go Wrong:
If you're too excited and cut large pieces, they may not adhere well to the jar surface, leading to uneven patches. To fix this, simply trim them down as needed and ensure they're all roughly the same size.
Step 3: Apply the Glue
Using a paintbrush, apply a layer of Mod Podge to the surface of the jar where you want to attach the tissue paper. Here’s where the magic starts to happen! The glue acts both as an adhesive and a sealant, allowing the light from the LED tealights to shine through beautifully.
Tip: Don’t worry if the glue looks milky; it dries clear!
Step 4: Attach Tissue Paper
Now it's time to stick on those colorful tissue paper pieces. Encourage your kids to overlap the edges slightly—to create a beautiful, stained-glass effect. Once applied, gently brush another layer of Mod Podge over the top of the tissue paper. This seals the paper and gives the lantern a lovely glossy finish.
Safety Warning:
Mod Podge can be sticky, and little hands might want to explore! Keep the glue out of reach until it’s time to apply it, and supervise closely.
Step 5: Add Embellishments (Optional)
This step is entirely up to you! Use glitter for a magical sparkle, or stickers for added fun. Look around your house for anything that could enhance your lantern’s personalized touch.
Step 6: Drying Time
Allow your lanterns to dry completely. This usually takes about 1-2 hours. While waiting, you can clean up your work area and perhaps share stories of your favorite lantern moments—like camping trips or magical nights spent in the garden.
Step 7: Insert the LED Tealights
Once dry, carefully place an LED tealight candle inside your jar. These are crucial for safety, especially if kids are handling the lanterns, as they don’t pose a fire hazard. We want to keep the joy going, not worrying about safety!
Additionally, if you want to make them portable, use a piece of string to create a hanging mechanism. Simply tie one end around the jar’s neck and secure it with clear tape—this way, your little ones can carry them safely.
Creative Variations and Alternative Methods
Upcycled Lanterns: Instead of using glass jars, try using tin cans. With adult supervision, use a hammer and a nail to create designs on the can (which will be illuminated once filled with water and frozen). Once the ice melts, you can paint and place a tealight inside.
Light Up the Night: Use glow-in-the-dark paint to add an extra layer of fun. Kids will love the surprise of glowing lanterns at night!
Seasonal Themes: Each season can inspire different colors and designs—from autumn leaves to winter snowflakes.
Final Thoughts
There you have it—a personal guide to creating enchanting DIY kids lanterns! I hope this journey fuels your creativity and encourages cherished moments with your children. Remember, crafting is not just about the end product, but about the process, the laughter, and the stories that unfold along the way.
These lanterns can brighten up the backyard for a party, serve as whimsical night lights, or even be given as thoughtful gifts. The sky is the limit when it comes to creativity! I'm excited to hear how your lanterns turn out, so share your projects, experiences, and variations in the comments below. Happy crafting, and may your lanterns shine brightly!