DIY Calm-Down Bottles: An Incredible Ultimate Guide
DIY Calm-Down Bottles are a wonderful way to address stress and anxiety. These sensory bottles can captivate individuals of all ages, providing a calming effect through visual appeal and tactile engagement. Whether you’re a teacher, a parent, or simply seeking solace amid daily chaos, incorporating these bottles into your routine can make a significant difference. Imagine a simple tool that not only captures attention but also promotes relaxation and mindfulness.
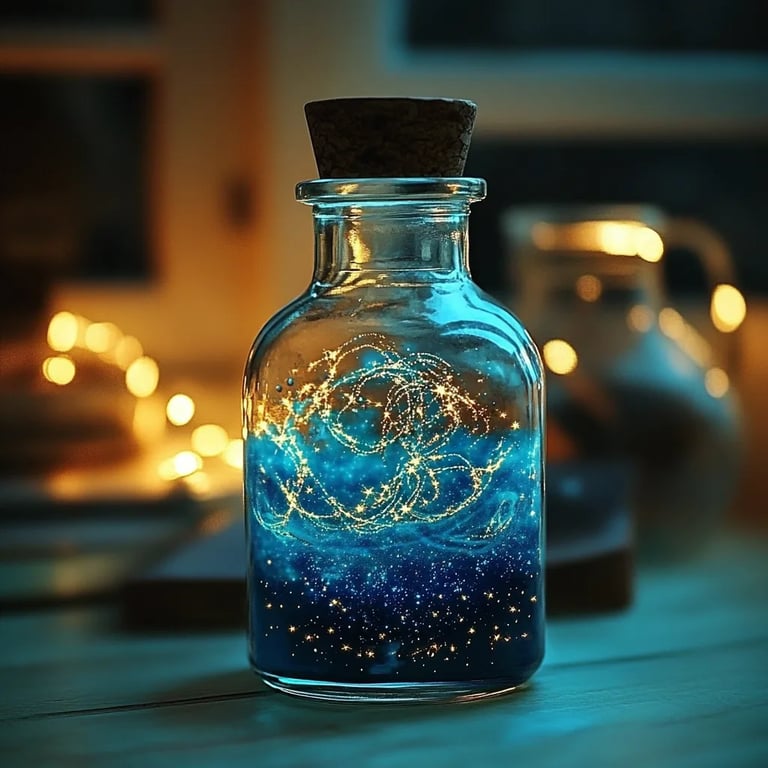
Creating DIY Calm-Down Bottles is not just a fun craft; it's a therapeutic activity. When the world feels overwhelming, these bottles serve as a beacon of calm. As the glitter swirls or the colors blend, they allow for a moment of peace, making them perfect for both children and adults alike. In this article, you will learn why these bottles are essential, how to prepare them, and the best ways to use them. Let’s dive into the amazing benefits and usability of DIY Calm-Down Bottles!
Why You’ll Love This Recipe
DIY Calm-Down Bottles are loved by many for several reasons. The accessibility of materials, simplicity of creation, and effectiveness of the final product make this craft a must-try. Here are some compelling reasons to embrace these bottles:
- Easy to Make: Most bottles require only a few items that you likely have at home.
- Customizable: You can personalize the contents to fit individual preferences, whether it’s glitter, beads, or themed colors.
- Therapeutic Benefits: They promote mindfulness and self-regulation, making them useful tools in reducing anxiety.
- Engaging Activities: Crafting these bottles can be a fun group activity for friends or family.
- Versatile Use: Perfect for calming down in stressful situations or as a decorative piece in your home.
- Cost-Effective: Creating your own bottles is much more affordable than purchasing commercial sensory tools.
These reasons highlight how DIY Calm-Down Bottles are not just visually appealing but also functional. Each swirl and color change creates an immersive experience that encourages relaxation and emotional balance.
Preparation and Cooking Time
Creating your own DIY Calm-Down Bottles typically involves a short preparation time and an easy assembly process. Here’s how the timing breaks down:
- Preparation Time: 10-15 minutes (for gathering materials and preparing contents)
- Assembly Time: 15-20 minutes (to fill and decorate the bottles)
With minimal time investment, anyone can create a bottle that offers hours of calming engagement.
Ingredients
- Empty plastic or glass bottles (like water bottles or mason jars)
- Distilled water (for longevity)
- Clear corn syrup or glycerin (to slow down movement)
- Glitter (various colors)
- Small beads or sequins (optional)
- Food coloring (optional for added color)
- Small figurines or objects (optional, such as plastic animals or flowers)
- Funnel (for easier pouring)
- Hot glue (for sealing the lids, if using)
Step-by-Step Instructions
Creating your DIY Calm-Down Bottles is a straightforward process. Follow these easy steps to make your very own:
- Gather Materials: Collect all the ingredients listed above, ensuring you have a clean working space.
- Prepare the Bottle: If using plastic bottles, remove labels, and ensure they are clean and dry.
- Create the Base: Pour distilled water into the bottle until it’s about halfway full.
- Add Glycerin or Corn Syrup: To slow the movement of materials, add a few tablespoons of clear corn syrup or glycerin.
- Incorporate Glitter: Sprinkle in a generous amount of glitter for visual appeal. Feel free to mix colors!
- Optional Additions: If desired, add small beads, figurines, or food coloring to enhance the effects.
- Fill the Bottle: Fill the rest of the bottle with more distilled water, leaving a little space at the top.
- Seal the Bottle: If using a plastic bottle, you can secure the cap tightly; for glass bottles, consider using hot glue to seal the lid.
- Shake and Test: Give the bottle a gentle shake to see the effects of the glitter and other materials. Adjust contents as needed.
- Decorate (Optional): Personalize the bottle with stickers or decorative tape to make it more engaging.
Each step guides you toward creating a calm-down bottle that not only looks beautiful but serves its calming purpose effectively.
How to Serve
When it comes to using your DIY Calm-Down Bottles, consider the following suggestions to maximize their calming benefits:
- Designated Calm Space: Create a special area in your home or classroom where the bottles can be accessed for calming activities.
- Mindfulness Moments: Encourage individuals to use the bottle during stressful moments, guiding them to focus on the movement and colors.
- Incorporate into Routines: Use the bottles as part of relaxation or bedtime routines to promote winding down.
- Group Activities: Use these bottles in group settings to facilitate discussions about emotions and coping strategies, fostering emotional awareness.
- Gift Them: Consider giving these bottles as gifts to friends or family members who may benefit from a little extra calm in their lives.
By presenting DIY Calm-Down Bottles thoughtfully, you promote well-being and mindfulness in every experience.
Creating DIY Calm-Down Bottles is a fulfilling and beneficial project that can enhance mindfulness and serve as a wonderful tool for stress relief. Whether you choose to craft these bottles for yourself or share them with others, their impact can be truly transformative.
Additional Tips
- Choose Safe Materials: Ensure the bottles you use are safe and free from harmful chemicals. If using glass, take care to avoid breakage.
- Stay Organized: Keep your workspace tidy by having all materials at hand. This makes the crafting process smoother and more enjoyable.
- Experiment with Textures: Incorporate items with different textures, such as pebbles or pom-poms, to create diverse sensory experiences.
- Use Natural Dyes: If you prefer an eco-friendly approach, consider using natural food dyes from fruits or vegetables instead of artificial ones.
- Involve Others: Crafting with friends or family can enhance the experience. Share ideas and customize each person’s bottle for a unique touch.
Recipe Variation
There are endless possibilities to customize your DIY Calm-Down Bottles! Here are a few exciting variations to inspire you:
- Nature-Themed Bottle: Fill with water, natural twigs, small stones, and wildflower seeds for a serene outdoor experience.
- Ocean-Inspired Bottle: Add blue food coloring, shells, and blue glitter to create an ocean effect, reminiscent of a day at the beach.
- Glow-in-the-Dark Bottle: Use glow-in-the-dark paint or glitter with distilled water to create a nighttime calming bottle.
- Seasonal Bottles: Change the contents with the seasons, such as red and green for winter holidays, or pastel colors for spring.
Freezing and Storage
- Storage: DIY Calm-Down Bottles can be stored in a cool, dry place. Avoid direct sunlight to prevent the contents from fading.
Special Equipment
To effectively create your DIY Calm-Down Bottles, here are some handy tools you may need:
- Measuring spoons for accurate ingredient quantities
- Clean funnel for easily pouring liquids into the bottle
- Small containers for mixing colors or glitter before adding
- Hot glue gun for securing lids on glass bottles
- Labels or markers for personalizing the bottles after completion
Frequently Asked Questions
How long do DIY Calm-Down Bottles last?
With proper sealing and storage, your bottles can last indefinitely. However, over time, glitter may settle, so occasional shaking may refresh them.
Can I use any kind of bottle?
Yes, both plastic and glass bottles are suitable. Just ensure that plastic bottles are recyclable and free from harmful chemicals.
Are DIY Calm-Down Bottles safe for children?
Yes! As long as you supervise and ensure all materials are non-toxic and age-appropriate, they are safe for children of all ages.
Can I use essential oils in my bottles?
Absolutely! A few drops of calming essential oils like lavender can enhance the therapeutic benefits, though they should be used sparingly.
Are there any age restrictions for these activities?
While crafting is suitable for most ages, adult supervision is advisable for younger children to prevent any choking hazards with smaller items.
Conclusion
DIY Calm-Down Bottles present a remarkable way to promote relaxation and mindfulness. By engaging in this simple yet creative project, individuals can find their own calm amidst the chaos of everyday life. Whether you’re seeking a personal retreat or an engaging activity for the family, these bottles can serve both purposes beautifully. They are not just crafts; they are powerful tools for mental wellness. So gather your materials and start crafting a bottle that resonates with your style and needs. The journey to tranquility is just a bottle away!