Dive Into Crafting: How to Make a Captivating Ocean Sensory Bin
As an avid crafter and a big fan of sensory play, I absolutely adore creating sensory bins tailored to evoke the wonders of the sea. The ocean sensory bin is a delightful activity that not only entertains children but also engages their creativity and curiosity about the marine world. {Insert the keyword "ocean sensory bin" here for SEO purposes.} In this post, I’m thrilled to share my personal insights, tips, and a detailed tutorial on how to create your very own ocean sensory bin.
Why an Ocean Sensory Bin?
Sensory bins are a wonderful tool for early childhood development, promoting exploration and imagination while enhancing fine motor skills. Kids can explore textures, colors, and materials through tactile play. The ocean-themed sensory bin is especially loved because it introduces children to marine life while encouraging imaginative play. Whether it's for a playdate, a rainy day indoors, or an educational project, this sensory bin is versatile enough to fit various occasions.
Materials You'll Need
Before jumping into the steps, let’s gather our materials. I promise, the process is oh-so-simple, and most of what you need is likely already lurking in your craft drawer! Here’s what you’ll need:
- Base Material: 1 box of blue or green colored rice or shredded paper (about 5 cups)
- Ocean Themed Accessories: Mini sea creatures (like fish, starfish, and dolphins), shells, and ocean-themed figurines.
- Containers and Tools: A shallow plastic bin (like a storage bin or a large tray), spoons or scoops for digging, and small containers for sorting or transferring the materials.
- Optional Items: Natural elements like sand or pebbles, seaweed for texture (can use fabric or faux greenery), or glitter for a magical touch.
Step-by-Step Guide to Making Your Ocean Sensory Bin
Step 1: Prepare the Base
Why is it Important?
Creating the base of your sensory bin is the foundation of your ocean theme. This is where the beauty of the sea comes to life!
- Color Your Rice (if using): If you opt for colored rice, this part is crucial. Place 2 cups of uncooked rice in a ziplock bag along with a few drops of blue food coloring and a splash of vinegar (to help the color adhere). Seal and shake until the rice is evenly coated. Spread it out on a tray to dry.
Tip: Make sure to let the rice dry completely for a few hours before using it to prevent a mess.
Potential Pitfall: If the color seems too dull, add a bit more food coloring and shake again until you reach your desired hue.
- Arrange the Base Material: Pour your dry, colored rice or shredded paper into the bin. Layer it in a way that creates depth; I usually go for about 2-3 inches thick.
—
Step 2: Add Ocean Treasures
Why is it Important?
The accessories are what truly brings the ocean to life! They invite children to explore and interact.
- Scatter Sea Creatures and Shells: Disperse your mini ocean figures and shells throughout the base. The aim is to make kids curious about what they might unearth as they dig through.
Tip: Use varying sizes and color contrasts. It helps to set a vivid scene.
- Incorporate Natural Elements: If you’re using any natural material like sand or pebbles, create little “islands” or patches throughout the bin.
—
Step 3: Set Up the Tools
Why is it Important?
Having tools helps create interactive play. Children will want to scoop, sort, and dig, which strengthens their motor skills.
- Add Containers: Place small cups or containers in the sensory bin for kids to scoop and collect materials.
- Include Tools: Put in some scoops or spoons that would help children dig through the rice or paper.
—
Creative Variations and Tips
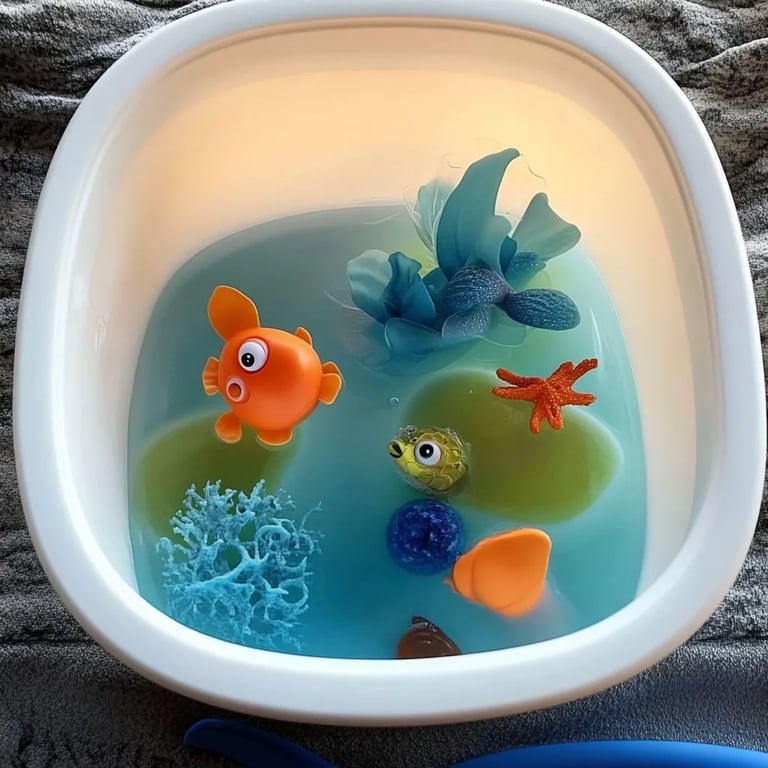
- Add Water: For an adventurous twist, you can create a wet sensory bin by adding a shallow layer of water to your bin. This makes it a more immersive experience but does require supervision!
- Sensory Tagging: If your child is up for it, provide cards that name each creature or sea item. Incorporate literacy by encouraging them to match the figures with their corresponding names.
- Use Scent: Add a drop of essential oil (like peppermint or eucalyptus) to enhance the sensory experience. A little goes a long way!
Safety Warnings
- Choking Hazard: Be wary of small pieces that could be a choking hazard for younger children. Always supervise playtime.
- Hyper Allergies: If you choose to incorporate any textured items like fabric or natural materials, ensure there are no allergens involved.
—
Personal Anecdotes
When I first made my ocean sensory bin for my little ones, I was stunned at how absorbed they became! We spent hours together exploring our mini ocean. It even sparked an impromptu family lesson about ocean life, reinforcing what we learned in school.
Conclusion
Creating an ocean sensory bin is a fulfilling and fun project that brings joy not just to children, but to the whole family. Crafting together nurtures creativity and sparks curiosity about the aquatic world. I hope you feel inspired to dive in and create your own sensory bin.
Remember, whether it’s for play, learning, or just to spark the imagination, the ocean sensory bin is bound to make waves in your home! If you have your own tips or variations, I would love to hear them in the comments. Happy crafting!