Discover the Magic of Fizzy Art: A Step-by-Step Guide
Hello fellow crafters! Today, I'm thrilled to share one of my absolute favorite activities: creating *Fizzy Art*. If you haven’t heard of it yet, fizzy art is a delightful combination of science and creativity that captivates both children and adults alike. Imagine watching vibrant colors burst and dance across a page while a fizzy reaction unfolds right before your eyes. It’s a magical experience that can be used for everything from fun weekend crafts to educational demonstrations in a classroom. The popularity of fizzy art comes from its interactive nature and the sheer joy it brings to the creative process. Whether you're looking for a rainy day activity, a unique gift for a child, or an engaging science project, fizzy art is the perfect solution!
What You'll Need
Before diving into the crafting process, let's go over the materials you'll need. Fortunately, most of these are simple household items. Here’s the list:
Materials:
- Baking soda – the star of our fizzy explosion.
- White vinegar – the catalyst for our fizzy reaction.
- Food coloring – for vibrant, eye-catching colors.
- Water – to mix certain components.
- Muffin tin or small cups – to organize your colors.
- Paper (watercolor paper works best) – this will be your canvas.
- Spoon or dropper – for dripping the mixture onto paper.
- Tray (optional) – to catch any runaway fizz.
- Dish soap (optional) – this can add some bubble-like effects.
Safety Note
While all these materials are generally safe, it's a good idea to wear an apron or old clothes, as you might get a little messy. If using this project with younger children, supervising them closely is essential, particularly when using food coloring, which can stain fabrics.
Step-by-Step Tutorial
Now, let's get into the bubbly action! Here’s how I create my fizzy art from start to finish.
Step 1: Prepare Your Workspace
Setting up your crafting space is crucial. I like to work on a table covered with newspaper or a plastic tablecloth. This makes clean-up a breeze, especially once the fizzing begins and some colors might travel off the paper.
Step 2: Mix the Baking Soda Solution
In your muffin tin or small cups, add about 1 tablespoon of baking soda in each cup. If you want multiple colors, use several cups. Each cup will represent a different hue of your fizzy art.
Common Mistake: Not Enough Baking Soda
If you don’t use enough baking soda, your reaction won’t be as dramatic. Ensure a good amount in each cup for maximum fizz!
Step 3: Add Color
Next, add a few drops of food coloring to each cup of baking soda. Don’t be shy—more coloring will create bolder, more beautiful explosions!
Step 4: Create the Vinegar Mixture
In a separate cup, mix about 1 cup of vinegar and 1 tablespoon of dish soap (if you’re using it). The dish soap will create more bubbles and enhance the fizzing effect, making it super fun!
Step 5: Squeeze it Out
Now for the fun part! Using your dropper (or spoon if you don’t have one), carefully drizzle the vinegar mixture over the baking soda mixtures in the cups. Watch the magic happen as vibrant colors bubble and fizz!
Tip: Control the Fizz
If you want to control the fizz, add vinegar slowly. This step is all about timing—too much vinegar at once can result in an overwhelming fizz that may go off the edges of your paper instead of staying contained.
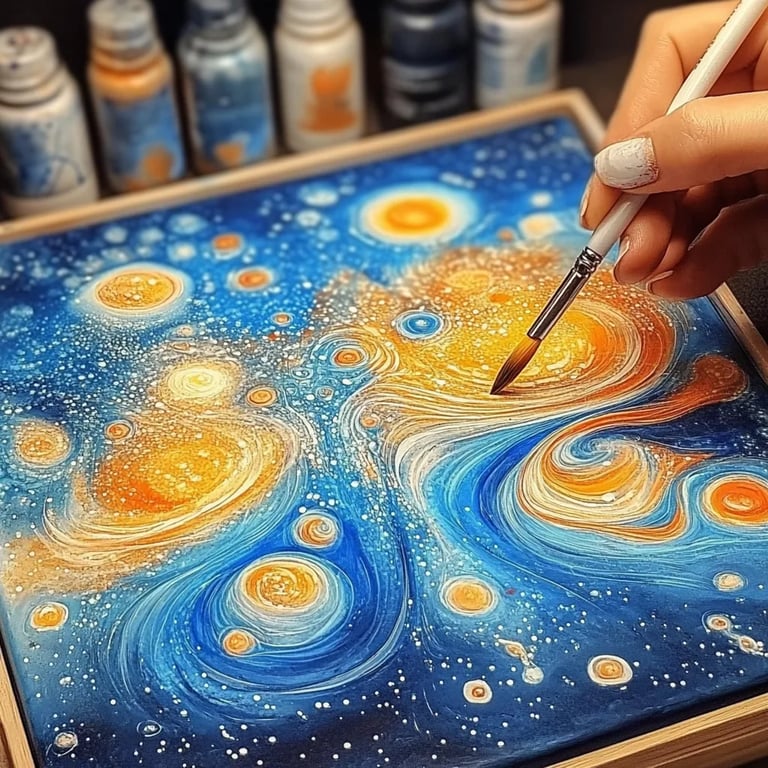
Step 6: Apply to Paper
Once you’re satisfied with the fizz, take the vibrant mixtures and drip them onto your watercolor paper. You can create patterns and swirls or even a complete masterpiece. The key is to be creative and have fun!
What Could Go Wrong
Even the best of us make mistakes! If the fizz isn’t spreading as much as you’d like, you can always add more vinegar. Additionally, if the colors are blending too much and turning into one muddy hue, try dropping a bit more color in the affected areas.
Step 7: Let It Dry
Once you’ve finished decorating your paper, allow it to sit aside and dry. The finished piece can take about 30 to 60 minutes to fully dry, depending on the thickness of the application.
Cleanup
After your art is done fizzing and drying, clean your space. The good news is that baking soda and vinegar clean up easily with warm soapy water. Just be sure to dispose of your creations in an eco-friendly manner!
Creative Variations
Once you’ve mastered the basics, there are endless ways to customize your fizzy art. Here are some creative variations to spark your imagination:
- Stencil Art: Use stencils to create shapes or letters by placing them over the paper and removing them once the fizzing has taken place.
- Marbleizing: If you want a marbled effect, gently swirl the colors on the paper before drizzling more vinegar.
- Layering: Allow the first layer to dry completely before adding additional layers for depth.
Personal Anecdote
I remember the first time I introduced fizzy art to my niece. Her eyes lit up as the colors burst into a dance of vibrant hues. We giggled at the unexpected moments when the colors fizzed too much and spilled off the paper, leading us to create “clean-up art” with the remainder. It became a cherished memory and a beloved repeat activity.
Final Thoughts
Fizzy art is more than just a craft; it’s a wonderful way to spark creativity and ignite curiosity. The joy that comes from watching the reaction unfold is as rewarding as the final artwork itself. Plus, it serves as a fantastic introduction to scientific principles of reactions, making it perfect for educational settings.
So, gather your materials and dive into the bubbly world of fizzy art. Trust me; once you start, you won’t want to stop! Remember to enjoy the process, if things don't go as planned, that’s all part of the creative journey. Happy crafting, and may your fizzy art create magical memories!