Creating Your Own Rainbow Suncatcher Craft: A Step-by-Step Guide
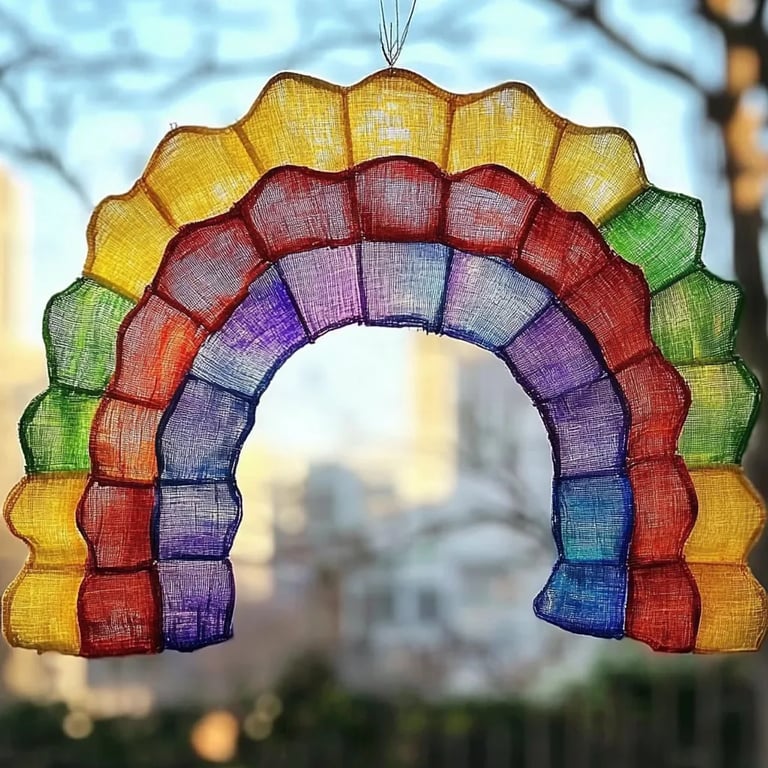
Hello, fellow crafters! Today, I’m thrilled to share my all-time favorite DIY project: the Rainbow Suncatcher Craft. This delightful creation not only brings a splash of color into my home but also transforms ordinary sunlight into a dazzling display of shimmering rainbows. I find that making suncatchers during the changing seasons helps me embrace the beauty of nature while keeping my crafting skills sharp. They’re perfect for brightening up windows, adding charm to your garden, or simply lifting your spirits on a cloudy day.
Whether you're looking for a fun afternoon project with the kids or a solo endeavor to unwind, these suncatchers are incredibly versatile and engaging. The process of creating them is as rewarding as the final product, and honestly, there’s nothing like seeing the sunlight stream through your handiwork, scattering vibrant colors around your space!
What You'll Need
Before we dive into the making process, let's gather our materials. You won’t need anything too fancy, and if you’re a bit resourceful, you can even find substitutes around the house!
Essential Materials:
- Watercolor Paper or Transparency Sheets: These will form the base of your suncatcher. Watercolor paper works beautifully, absorbing colors like a dream.
- Child-safe Scissors: If you have little ones helping out, make sure you use scissors appropriate for their age.
- Glue Stick or Mod Podge: A strong adhesive is essential to hold everything together.
- Pencil or Pen: For sketching out your design.
- Tissue Paper: This is what brings color to your suncatcher! You can use various shades, but a rainbow palette is particularly fun.
- String or Fishing Line: To hang your suncatcher. Choose something clear for an aesthetically pleasing finish.
- Hole Puncher: This is optional but will help in creating a space to thread your string.
Optional Tools:
- Paintbrush: If you're using Mod Podge, a brush can help make the application easier.
- Ruler: To ensure straight cuts, especially if you opt for geometric designs.
Step-by-Step Tutorial
Now that we have everything in place, let’s dive into the crafting process. Remember, crafting is all about having fun, so feel free to add your personal flair along the way!
Step 1: Designing Your Suncatcher
Using a pencil, sketch out the design for your suncatcher. Whether you choose swirls, geometric patterns, or floral motifs, this initial step will provide you with a roadmap for the rest of your project. What matters here is to keep it simple—overly intricate designs may not hold up as well when it comes time to glue the tissue paper.
Step 2: Cutting the Base
Take your scissors and carefully cut out your design on the watercolor paper or transparency sheet. If you're using watercolor paper, consider cutting it to a maximum size of 8"x10" so it can fit comfortably in most windows. Remember to take your time with this step as precision matters, specifically when you’re cutting out delicate shapes. Mistakes can happen—don't fret; simple use of tape can fix tiny tears temporarily.
Step 3: Preparing the Tissue Paper
Next, tear your tissue paper into roughly 1-inch squares. Don't stress about perfection here; an organic, uneven look often enhances the final product. Different sizes and shapes will create depth and texture once glued down.
Step 4: Gluing Down the Tissue Paper
Now comes the fun part! Apply glue generously over the area you want to fill with color. If you're using a glue stick, it often works best when the glue is somewhat tacky. Then begin laying your tissue squares on top. Think of it as creating a vibrant mosaic. Make sure to overlap the squares slightly to prevent any gaps, ensuring that when the sunlight hits, it’s a glorious burst of color rather than a fragmented view.
Step 5: Securing Your Work
Once you've filled in your design, it’s time to seal it. If you used Mod Podge, brush a thin layer over the top where you placed the tissue paper. This helps secure everything in place and adds a glossy finish when it dries. Allow this to dry completely for at least a couple of hours, or overnight for the best results.
Step 6: Adding a Hanging Mechanism
After your suncatcher has dried, it’s time to hang it. If you'd like to use a hole punch, carefully create a hole near the top. If you want to stick with simplicity, you can use a bit of string or fishing line and tie it directly onto the suncatcher’s edge. Hang it up in your favorite window. I often find that east-facing windows provide the best lighting for this project.
Troubleshooting Common Issues
Crafting is all about experimentation, and sometimes things don’t go as planned. Here are some common issues you might encounter and how to fix them:
- Tissue Paper Tears: Don’t worry! If a piece tears while you’re gluing, let it dry and then use a dab of glue to reinforce it.
- Uneven Colors: If you feel one part is too patchy, add more tissue paper squares post-drying for a more uniform look.
- Bubble Troubles: If you notice bubbles forming when you apply Mod Podge, use your brush to gently smooth them out or pop them with a needle.
Tips and Creative Variations
- Layering Colors: Want to step it up? Consider layering your tissue paper for a more dynamic look. Instead of just using one color per square, try overlapping two or more shades to create blends.
- Stenciled Designs: Use stencils to create very specific outlines or patterns if freehanding isn’t your forte. You can even cut stencils from scrap paper!
- Seasonal Variations: Change up your colors depending on the season—think oranges, reds, and browns for fall or icy blues and whites for winter themes.
- Themed Suncatchers: Create themed suncatchers for holidays! Red and green for Christmas, pastels for Easter, or all colors of the rainbow for Pride Month.
- Group Projects: This craft is perfect for group activities! Set up a crafting day with friends or family. Each person can create their own design and hang them together for a vibrant display.
Final Thoughts
Crafting your own Rainbow Suncatcher is not only a creative activity but also an opportunity to design something beautiful that enhances your space. As you hang your creation and enjoy the way it dances with sunlight, know that you’ve poured your heart and creativity into something truly unique. Don’t forget to embrace your mistakes; they’re often the most exciting part of the process!
So gather your materials, turn on your favorite tunes, and dive into this wonderful craft. I can’t wait to see what you come up with! Happy crafting!