**Creating Your Own DIY Glitter Jar: A Sparkling Crafting Adventure**
Hello fellow crafters! Today, I’m thrilled to share a heartfelt and whimsical project that’s perfect for all ages: the DIY Glitter Jar. This mesmerizing craft has become incredibly popular, and it’s not hard to see why. A glitter jar offers a visual treat and is a wonderful tool for mindfulness and relaxation; it’s like having a little piece of magic right in your hands. You can use it as a calming decoration in your home, a gift for loved ones, or even as a playful sensory tool for kids.
Whether you’re feeling a bit overwhelmed or just need a moment to reset, creating your own glitter jar can be a delightful and soothing process. So let’s dive into this crafting journey together!
—
What You’ll Need:
Before we start, let's gather all the materials you'll need for your glitter jar. Don’t worry; most of these items are likely around your home or easily found at your local craft store.
- A Clean Jar with a Lid: This could be an old mason jar, a plastic bottle, or any container with a secure top. (I find glass jars add an elegant touch!)
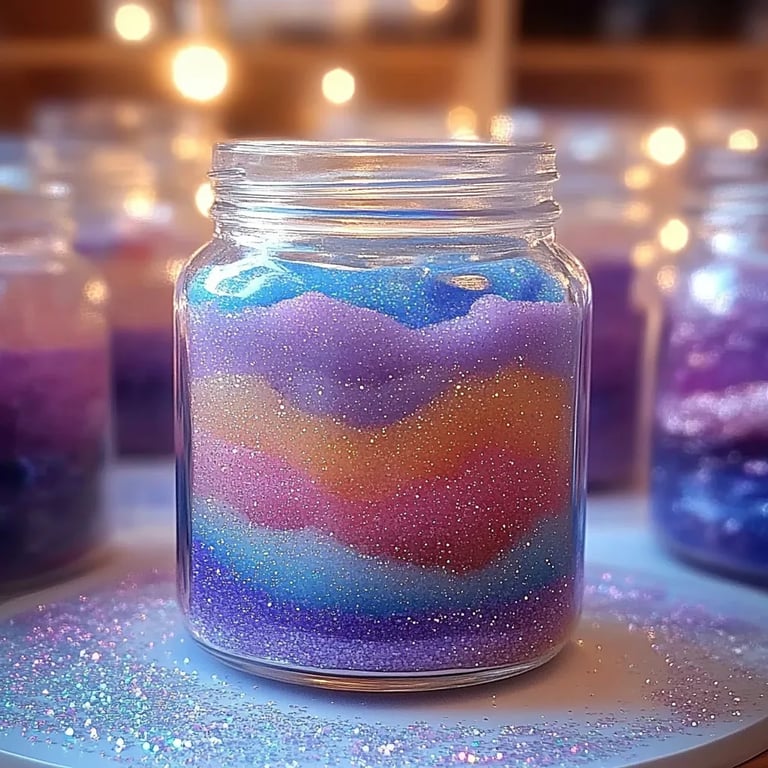
- Glitter: You can choose from various types – fine glitter, holographic, or chunky glitter – depending on your desired effect. A mix can be fun!
- Water: This is your base. Distilled water is ideal as it reduces the risk of algae growth.
- Clear Glue or Glycerin: This helps slow down the glitter's descent, creating that beautiful, swirling effect. Craft glue is perfect; glycerin is a bit more viscous if you want a stronger effect.
- Optional Add-ins: Small beads, sequins, or glitter shapes for extra flair, and food coloring for a pop of color.
—
Step-by-Step Instructions
Step 1: Prepare Your Jar
Start by washing your jar thoroughly to ensure no dust or residues will interfere with the aesthetics of your glitter jar. It’s essential to let it dry completely to avoid cloudiness in the water.
*Tip: If you want to personalize your jar, you can paint the lid or decorate the exterior with craft tape or stickers!*
Step 2: Mix the Glitter Goo
In a separate bowl, mix about two parts water with one part clear glue or glycerin. For example, if you're using 2 cups of water, add about 1 cup of glue. This mixture will create a thick solution that allows the glitter to float gently rather than just falling straight to the bottom.
*Why this matters: If you skip the glue or use too much water, the glitter will settle too quickly, and you'll lose that mesmerizing effect!*
Step 3: Add the Glitter
Now comes the fun part! Add your glitter to the glue and water mixture. I recommend starting with about 2 tablespoons or more, depending on your preference. Feel free to mix different colors and types for an eye-catching effect.
*Potential Pitfall: If you add too little glitter, your jar may look sparse. On the other hand, too much can lead to a muddy look. Find a balance that makes your heart sing!*
Step 4: Coloring (Optional)
If you're using food coloring, now is the time to add it to the mixture. Start with one drop, then stir it in and check if you’d like to deepen the color. It's amazing how just a little can dramatically change the appearance!
Step 5: Fill the Jar
Once you’re satisfied with the glitter goo, carefully pour the mixture into your jar. Leave a little space at the top to allow for air, and so the mixture does not overflow when you place the lid on.
*Tip: Use a funnel or a piece of paper rolled into a cone to avoid spills when pouring!*
Step 6: Seal It Up
Screw on the lid tightly and give it a gentle shake. Watch the glitter dance and swirl about as you move the jar!
*Important Safety Warning: If using a glass jar, ensure it’s securely closed and handle it with care, especially with little ones around.*
Adding a Personal Touch
For added creativity, consider decorating the outside of your jar. You could wrap it in twine, stick on some washi tape, or even paint designs that inspire you. This gives your glitter jar a personal touch and makes it a gorgeous piece of home decor.
*Personal Anecdote: I once made a glitter jar as a gift for a friend and painted the jar with a beautiful sunset design. She loved it so much that it became a centerpiece in her living room!*
Troubleshooting Common Issues
- Glitter Sinks Too Fast: If your glitter settles quickly, try adjusting the water-to-glue ratio; a little more glue can slow things down.
- Air Bubbles: If you notice air bubbles trapped in your jar, gently tap the sides after sealing to encourage them to rise and escape.
- Muddy Appearance: Too much glitter can create a murky effect. Consider removing some glitter or adding more glue-water mixture for clarity.
Variations & Creative Ideas
The beauty of the DIY glitter jar is that it can be tailored for any mood, occasion, or personality. Here are some fun twists you can explore:
- Themed Glitter Jars: Create jars to match the seasons (pastel colors for spring, warm tones for fall) or holidays (red and green for Christmas, blue and white for winter).
- Scented Glitter Jars: Add a few drops of essential oils to the mixture for a calming aroma while you enjoy watching the glitter swirl.
- Minute-Made Motivational Jar: Write inspirational quotes on small pieces of paper, jam them in the jar, and let each shake reveal a positive affirmation.
—
Conclusion
Making a DIY Glitter Jar is more than merely a craft; it's an act of mindfulness, creativity, and self-expression. It provides a way to decompress and tap into your creative side. I hope this guide has inspired you to embark on this sparkly adventure. Remember, there’s no right or wrong way to create your glitter jar—allow yourself the freedom to experiment and enjoy the process. Happy crafting, my friends! ✨