Creating Your Own DIY Fake Aquarium: A Step-by-Step Guide
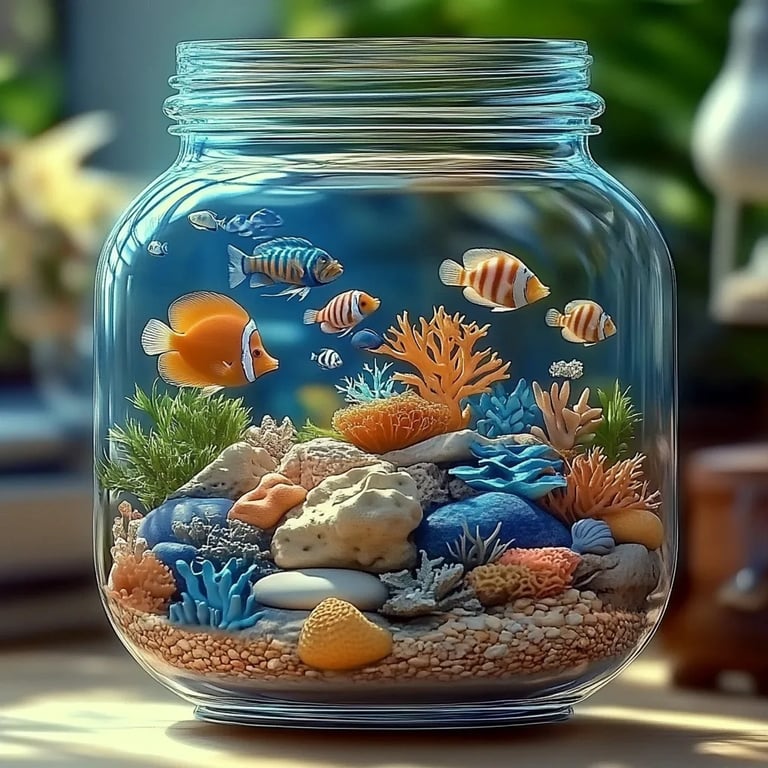
Hello dear readers! Today, I'm excited to share a project that's close to my heart—creating a DIY fake aquarium! As a seasoned crafter who loves bringing imaginative concepts to life, I can assure you this project is not only fun but also incredibly rewarding. Whether you’re looking to decorate your home or searching for a delightful gift, this faux aquarium is a fantastic choice that adds a touch of charm to any space.
Why DIY Fake Aquariums Are Popular
Fake aquariums have gained significant popularity for various reasons. They provide the visual appeal of real aquariums without the maintenance challenges of actual fishkeeping—no water changes, no feeding, and of course, no need for live fish. They can be used for decorative purposes in homes, offices, or as a fun project with kids.
Furthermore, a DIY fake aquarium allows for customization. You can create a piece that truly reflects your creativity and personal style. Plus, it serves as a fantastic conversation starter, making it a perfect addition to any living space.
Materials You'll Need
Before diving into the crafting process, let's gather our materials. Here’s what you’ll need:
- A clear glass or plastic container (aquarium-style tank)
- Colored marbles or glass stones (for the “substrate”)
- Fake aquatic plants (various sizes and types)
- Decorative pebbles or sand
- Resin (or water for a simple version)
- Miniature figurines (optional)
- Hot glue gun and glue sticks
- Fishing line or transparent thread (optional for hanging decorations)
- Craft scissors
- Tweezers (for placing small decorations)
- Small rocks or weights (to anchor plants)
Step-by-Step Tutorial: Making Your DIY Fake Aquarium
Let’s embark on this creative journey together!
Step 1: Choose Your Container
The first step is to pick the right container. I recommend a glass or clear plastic aquarium. Choose one that resonates with your aesthetic—whether it’s round, rectangular, or uniquely shaped. A container with a lid works wonderfully if you want to prevent dust from settling inside.
Why this matters: The container is the foundation of your aquarium and establishes its scale and ambiance. A larger aquarium allows for more customization but requires more materials.
Step 2: Create the “Substrate”
Start by adding colored marbles or glass stones to the bottom of your aquarium. This layer will act as the substrate for your faux aquatic plants.
- Spread a thin layer of stones evenly across the bottom.
- Use different colors for added visual interest or create a gradient effect.
Tip: If you don’t have colored marbles, consider using aquarium gravel or even crushed glass. Just ensure whatever you use is clean!
Common issue: The marbles may slide around when you add decorations. To fix this, gently press down to compact them and consider adding a layer of hot glue to secure them in place.
Step 3: Arrange Fake Plants
Now comes the fun part! Take your fake aquatic plants and arrange them within the substrate. Vary the height and placement for a natural look.
- Use taller plants in the back and shorter ones towards the front for depth.
- If your plants have stems, you can attach small rocks or weights at the bottom for stability.
Creative Variation: If you want to mix it up, add faux jellyfish using a transparent string to suspend them above the substrate.
Tip: Spend some time adjusting the plants. Trust me, the arrangement can dramatically alter the appearance of your aquarium!
Step 4: Adding Decorative Elements
Now it’s time to personalize your aquarium even further. Using miniature figurines like sea turtles, treasure chests, or even tiny divers can bring your creation to life.
- Position the figurines throughout the plants and substrate.
- Use a hot glue gun to secure them in place.
Safety Warning: Be cautious with hot glue. Allow it to cool before you handle it.
Personal Anecdote: When I first started making my aquariums, I added too many decorative pieces, and it looked overcrowded. It’s okay to experiment—we learn what works best with each new attempt!
Step 5: Seal the Deal (optional)
For a more authentic look and to simulate Water, you can add resin or water. If using resin, follow the manufacturer’s instructions carefully.
- Carefully pour resin over the plants, ensuring it covers the substrate but doesn’t overflow.
- Allow it to cure as recommended. If you’re using water, fill the aquarium gently—make sure not to disturb the plants too much!
What could go wrong: If your resin bubbles or doesn’t mix properly, see if you can gently agitate it with a toothpick or knife.
Step 6: Final Touches
Once everything is set, examine your aquarium from different angles. Check for any gaps or areas needing more decoration. This is where you can add smaller pebbles or shells to fill spaces.
Tip: Add lights or place your aquarium near a bright window to enhance its vibrancy!
Conclusion
And there you have it! Your own beautifully crafted DIY fake aquarium ready to showcase. Not only is this an impressive decoration, but it also serves as a reminder of your crafting journey and creativity. As you experiment with colors, themes, and decorations, you’ll develop your unique styles.
Feel free to share your creations with friends and family or even on social media. It’s always delightful to inspire others with your handiwork! Crafting is a wonderful adventure, and I’m thrilled you’ve embarked on this one with me. Happy crafting!