##Creating Your Own DIY Aroma Stones: A Comprehensive Guide
Hello, fellow crafting enthusiasts! Today, I’m thrilled to share an enjoyable and aromatic craft that has become a delightful staple in my home—DIY aroma stones. If you’ve been searching for a way to infuse your space with soothing fragrances and promote a sense of calm, then you’re in the right place! In this article, I’ll walk you through the ins and outs of making your very own aroma stones, where I'll cover everything from the materials you’ll need to troubleshooting common problems.
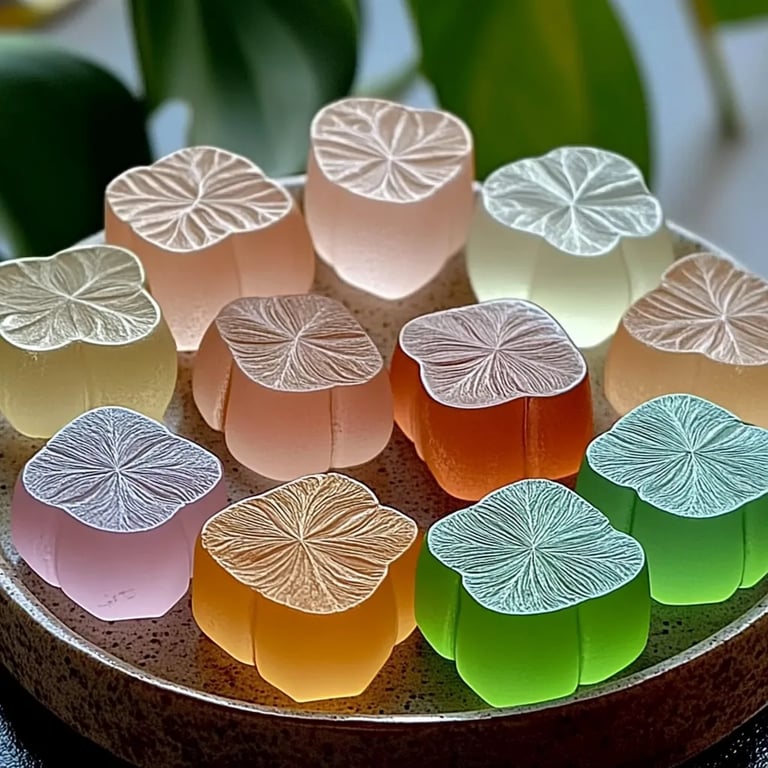
What Are DIY Aroma Stones?
Before we dive into the crafting process, let’s chat about what aroma stones are and why they’ve gained so much popularity. Essentially, aroma stones are small, decorative pieces made from a absorbent material that can be infused with essential oils. They serve as natural diffusers, releasing delightful scents into your living space.
These little gems are perfect for all kinds of settings: a spa-like atmosphere in your bathroom, a refreshing scent in your kitchen, or even as a thoughtful gift for loved ones. They’re especially valued by people who prefer a non-flame option compared to traditional candles or wax melts. Plus, the crafting process can be a wonderfully therapeutic experience!
Materials You’ll Need
For making aroma stones, you’ll need:
- Baking soda (1 cup) – This is the main ingredient that gives the stones their shape and texture.
- Cornstarch (1/3 cup) – It helps to bind the baking soda, ensuring the stones hold together well.
- Water (1/2 cup) – Activates the mixture and gives it the right consistency.
- Essential oils (20-30 drops) – Pick your favorite scents! Lavender, eucalyptus, and citrus blends are all great options.
- Silicone molds or cookie cutters – These will help shape your stones. Feel free to use fun shapes or traditional round shapes.
- Mixing bowl and spatula – For combining your ingredients.
- Baking sheet (if you’re using cookie cutters) – For baking your stones if you choose that technique.
- Optional: Food coloring – If you want to add a pop of color to your stones.
Step-by-Step Instructions
Step 1: Prepare Your Workspace
Begin by setting up a clean and clutter-free workspace. I like to lay down some newspaper or a craft mat for easy cleanup. Make sure you have all your materials within arm's reach. This helps your crafting process run smoothly and keeps you from scrambling around mid-project.
Step 2: Mix Your Dry Ingredients
In a mixing bowl, combine the baking soda and cornstarch. This step is crucial as it provides the foundational texture for your aroma stones. Mixing these dry ingredients well allows them to distribute evenly, ensuring consistency in your stones.
Step 3: Add Water and Essential Oils
Gradually add the water to your dry mixture while stirring. Aim for a dough-like consistency. Pay attention, as using too much water can lead to a runny mixture; if this happens, just add a bit more baking soda until you reach the right texture. Once combined, add 20-30 drops of essential oil. This is where the magic happens! You can experiment with different combinations; for instance, lavender and bergamot blend beautifully.
Step 4: Incorporate Optional Color
If you’d like to add some vibrancy to your stones, now’s the time to mix in a few drops of food coloring. This not only makes your aroma stones visually appealing but also adds a personal touch. Mix until you achieve your desired color.
Step 5: Form Your Stones
Now, transfer the mixture into your silicone molds or press it into your cookie cutters laid on a baking sheet. Make sure to pack it in tightly to avoid air pockets, which can lead to cracking during drying. If you notice any excess mixture, feel free to mold it into smaller shapes for bonus aroma stones!
Step 6: Drying Your Stones
Depending on the method you choose, you can either:
- Allow your stones to air-dry for 24-48 hours.
- Bake them in the oven at a low temperature (around 175°F or 80°C) for about 1-2 hours to accelerate the process. If using an oven, keep an eye on them to prevent them from browning.
Step 7: Final Touches
Once your aroma stones are completely dry and firm, pop them out of the molds or cookie cutters. You may notice some rough edges; a quick file or sandpaper can smooth these out. Now, they’re ready to be infused and enjoyed!
Tips and Common Pitfalls
- Consistency Matters: If your mixture is too wet, the stones may not hold their shape and could crumble. Ensure you measure accurately.
- Scent Strength: Remember that more essential oils will provide a stronger scent, but too much can make them sticky. I usually start with 20 drops and then adjust based on preference.
- Storage: To maintain long-lasting aroma, store your finished stones in an airtight container when not in use.
- Refreshing the Scent: If the smell fades over time, you can simply reapply a few drops of essential oil to rejuvenate them.
Creative Variations
- Decorative Touches: Paint or embellish your stones with natural elements like dried flowers or glitters after drying.
- Gift Packaging: Arrange your aroma stones in a decorative box paired with a couple of mini essential oil bottles as a thoughtful gift.
Final Thoughts
Making DIY aroma stones is a rewarding project that not only spruces up your space but also fills it with your favorite scents. I hope you find joy in crafting these aromatic treasures as much as I do. They’re perfect for self-care, gifting, or simply adding a personal touch to your environment. Remember, crafting is all about exploration—don’t be afraid to try out your unique blends and shapes! Happy crafting, and may your home be filled with delightful fragrances!