Creating Your Beach Memory Jar Craft: A Timeless Keepsake of Sun and Sand
As an avid crafter and beach lover, I've always found a special magic in the sun, sea, and memories created during a day at the shore. One of my favorite ways to preserve those cherished moments is through a Beach Memory Jar. It’s a heartfelt craft that encapsulates the essence of summer, allowing us to revisit our beach adventures each time we glance at it. Whether you're visiting a sandy oasis, a secluded coastal hideaway, or even a picturesque lake, these memory jars serve as wonderful reminders of joyful days spent in nature. Today, I’m excited to guide you through the step-by-step process of creating your very own Beach Memory Jar!
Why the Beach Memory Jar is a Hit
The idea of a Beach Memory Jar is gaining popularity because it’s not just a craft; it’s a canvas for memories. Families can use it during vacations to store mementos like seashells, smooth stones, sand, and even photos. It's also a lovely way to unwind, reflecting on precious moments as we craft them. When filled with memories, these jars can transform into beautiful home decor, thoughtful gifts, or even shared treasures in family gatherings.
Whether you’re crafting solo, or looking for a delightful activity with kids or friends, making a Beach Memory Jar can unleash creativity and foster connection. So, let’s dive in!
Materials You Will Need
Before we can get started, gather the following materials:
- A clean, empty jar (Mason jars work brilliantly)
- Sand (You can collect beach sand or use craft sand)
- Seashells (Find small ones at the beach or purchase at a craft store)
- Small stones or pebbles
- Dried flowers or seaweed (optional)
- Photos from your beach day (prints or mini photos)
- Twine, ribbon, or string (for decoration)
- Labels or tags (to write down memories)
- Crafting glue (for sticking items down if needed)
- Scissors
- A small scoop or spoon (for layering sand and small items)
- A notepad and pen (for jotting down your memories)
Step-by-Step Guide
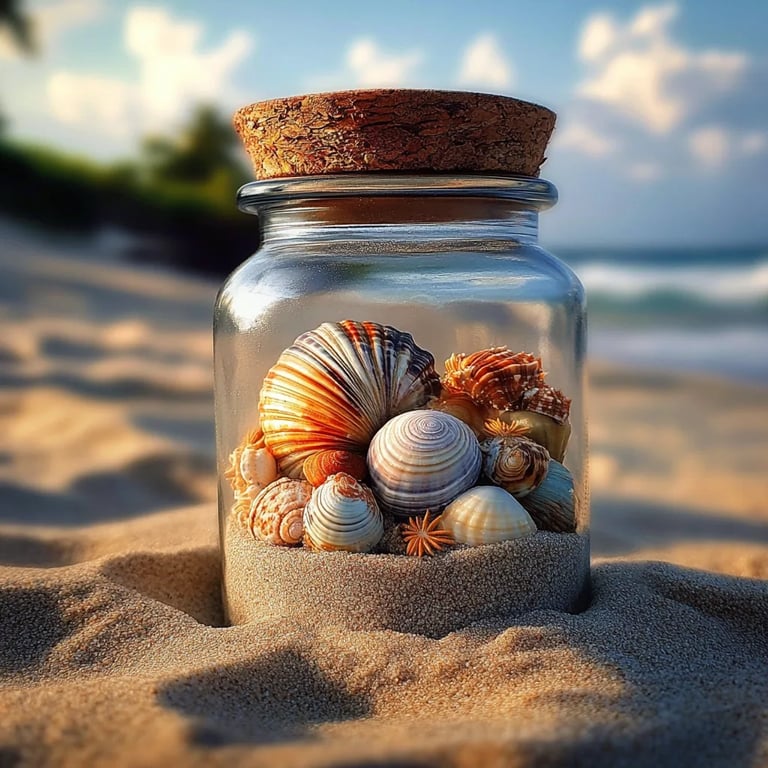
Step 1: Choose Your Jar
Selecting the right jar is the first step in your crafting journey. Opt for a clear glass jar that showcases the beauty of your beach treasures. As you place those delicate shells and grains of sand inside, you'll want them to catch the light and your eye. Wide-mouth jars tend to be easier to fill and arrange.
Tip: If you don’t have a Mason jar, any recycled glass jar will work amazingly well! Just make sure it’s clean and dry.
Step 2: Layering the Sand
Using your small scoop or spoon, start by adding a layer of sand to the bottom of your jar. This base layer is essential; it not only provides a foundation but symbolizes the beach experience.
Why It Matters: The sand represents the beach's essence, allowing you to reminisce when you look at it later.
What Could Go Wrong: If the sand is too wet, it can clump together, creating dense layers. Make sure it's dry for a more appealing aesthetic.
Step 3: Adding Shells and Stones
Once you have your sand base, it’s time to place your seashells and stones. Arrange them artfully or simply toss them in haphazardly – there is no right or wrong way! You might want to layer different types of shells, perhaps large ones at the back and smaller ones in the front.
Personal Anecdote: I like to collect quite a few unique shells and display them at varying angles to highlight their natural beauty. Sometimes, I even attach small photos of where I found them for a personal touch!
Safety Warning: If you're using broken shells or sharp stones, be cautious – they may have jagged edges that can cut if handled carelessly.
Step 4: Incorporating Memories
Now’s the fun part! If you’ve made notes about the beach day, if there are funny memories or sweet sentiments, write them down on your labels or tags. You can attach them with the twine or leave them tucked inside the jar alongside your shells.
Alternative Method: Instead of paper, consider using waterproof small tags for a more durable inclusion!
Step 5: Decorate the Jar
With your shells, stones, and memories arranged beautifully, it’s time to make your jar sparkle! Wrap twine or ribbon around the neck of the jar for an extra touch. You can even make a small bow for a cheerful appearance.
Creative Variation: If you want to change it up, use natural jute or colorful yarn to match your beach theme. Don’t be afraid to express your aesthetics!
Step 6: Finishing Touches
Consider adding dried flowers or beach-themed embellishments like miniature surfboards or beach balls. This is a chance to personalize it even further!
What to Do If Things Don’t Go as Planned
- If items shift: If your carefully arranged shells shift when you move the jar, a little bit of glue may help secure them in place.
- If you have leftover items: You can create several smaller jars or even a larger decor piece.
Final Thoughts and Additional Tips
Making a Beach Memory Jar is not only an enjoyable crafting project; it’s a keepsake that preserves joy and nostalgia. Embrace any imperfection; after all, it’s the journey of creation that’s truly meaningful.
As you share this craft with others or keep it within your family, remember to take notes on who was there, what the weather was like, and why the day was special. Over time, these details will enrich your memory jar with even greater depth.
In the spirit of community crafting, I encourage you to share your Beach Memory Jars with friends and family. Perhaps you’ll help inspire someone else to create their keepsake or turn this into a beloved tradition.
Let the adventures continue, and may each memory jar spark stories and laughter long after the tides have turned! Happy crafting, and may your memories be as endless as the ocean!