Creating Stunning Suncatcher Crafts: A Step-by-Step Guide
As an avid crafter, I’ve always been captivated by the magic of color and light that suncatcher crafts can bring into our homes. These delightful creations not only serve as beautiful decorations but also add a touch of joy and whimsy to any room. Whether hanging in a window to cast vibrant rainbows across your walls or dangling from a garden branch to catch the sun's rays, suncatchers are versatile and popular among people of all ages.
What is a Suncatcher?
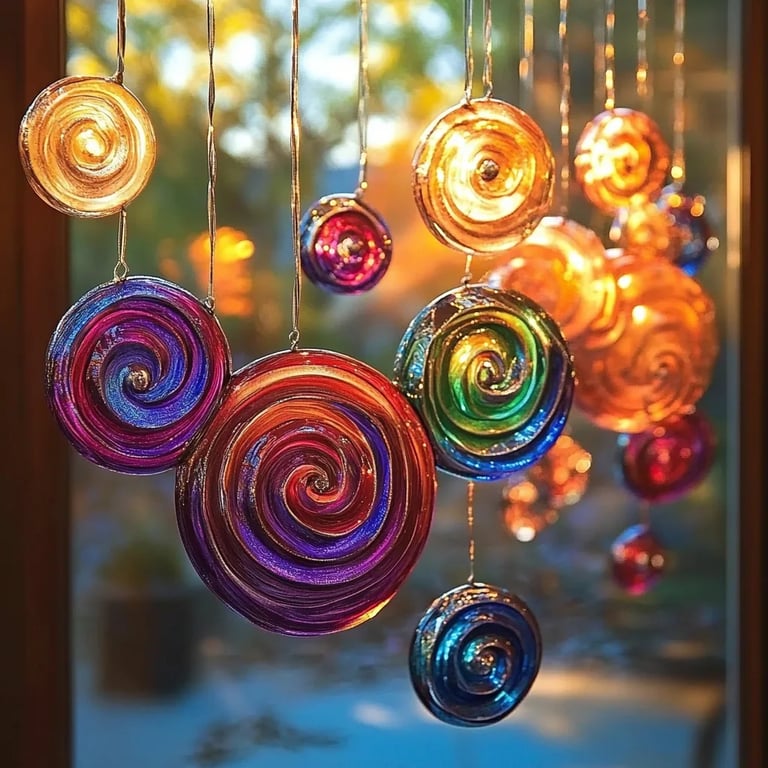
A suncatcher is a decorative object made of transparent materials that captures sunlight and transforms it into mesmerizing patterns of color. Traditionally seen in stained glass, suncatchers can be crafted from a variety of materials, including plastic, glass, and even beads. Their popularity stems from their simplicity and the joy they bring when the sun hits them just right.
You can use suncatchers to brighten up your home during dreary seasons, as personalized gifts for friends and family, or as colorful accents for special occasions like weddings and parties. I find that they add a touch of enchantment to everyday life and offer a wonderful opportunity for creative expression.
Materials You’ll Need
Before we dive into the step-by-step process, let’s gather our supplies. I recommend using accessible materials that you might already have at home, keeping the craft fun and easy.
Basic Materials:
- Parchment paper: This serves as your work surface and prevents the melted material from sticking to other surfaces.
- Wax crayon shavings or colored tissue paper: Both will work for the color part of your suncatcher. Use a sharpener for crayon shavings or simply tear up colorful tissue paper.
- Pencil or markers: For tracing your design.
- Scissors: To cut your parchment paper and any designs.
- Iron: This will be used to melt the crayons or tissue paper.
- String or fishing line: For hanging your finished suncatcher.
- Optional: Cookie cutters or templates for different shapes.
Step-by-Step Tutorial
Step 1: Choose Your Design
Begin by deciding what shape you want your suncatcher to be. You can go for simple circles or hearts, or you can use cookie cutters for other shapes like stars or flowers. I remember the first suncatcher I made was a simple heart shape, and it still hangs in my window today!
Step 2: Prepare Your Workspace
Make sure your workspace is clean and clear. Lay a piece of parchment paper down to protect your surface. This step is crucial because the melting crayons can be messy, and you don’t want to damage your table.
Step 3: Create Crayon Shavings or Tissue Paper Pieces
- For Crayon Suncatchers: Using a pencil sharpener, shave your crayon into thin curls. Aim for about half a cup of shavings for a medium-sized suncatcher.
- For Tissue Paper Suncatchers: Tear the tissue paper into small pieces or cut them into shapes.
While working with crayons, be mindful of your hands and the sharp edges of the sharpener. If you’re doing this with children, supervise closely to avoid any accidental nicks!
Step 4: Assemble the Suncatcher
Lay a piece of parchment paper on your workspace. Using a pencil or markers, lightly trace your chosen shape on one side of the paper. This serves as a guide for your crayon shavings or tissue paper.
Now, place a second piece of parchment paper on top of your design. Sprinkle the crayon shavings or arrange the tissue paper pieces in the shape you want within the traced outline.
Here’s where you can get creative! Feel free to mix colors or create patterns. Just be sure to leave some space around the edges for the melted material to spread out without overflowing.
Step 5: Iron the Suncatcher
This step requires adult supervision if kids are involved. Set your iron to a low heat (no steam), and gently glide it over the top layer of parchment paper. Keep the iron moving, and watch as the crayon shavings begin to melt and create a beautiful mosaic.
Tip: It’s essential to pay attention during this step. If the crayons melt too much, they can seep out, causing your suncatcher to lose its shape. If this happens, don’t worry! Simply trim the excess with scissors once it cools.
Step 6: Cool Down and Cut Out the Suncatcher Shape
Once the crayons are completely melted, remove the top layer of parchment paper, and let the piece cool for a few minutes. This step is vital, as handling the hot melted crayons can cause burns.
After it’s cooled, cut around your shape carefully, leaving a small border for support.
Step 7: Make a Hanging Loop
To hang your suncatcher, make a small hole at the top of your shape. Thread a piece of string or fishing line through the hole, tying a knot to secure it before hanging it in your window.
Final Thoughts and Creative Variations
Creating suncatcher crafts is not just about the end product; it’s also about enjoying the process. I cherish the moments spent crafting with friends and family. You can create themed suncatchers for holidays like Halloween, Christmas, or even spring.
You might also experiment with alternative materials. For example, consider using old CDs for a mirror-like effect, or try resin for a more permanent piece.
Safety Tips
- Be cautious with the iron; it can get very hot and should never be left unattended.
- Supervise children closely while they are crafting and using tools.
In Conclusion
Suncatcher crafts are a delightful way to brighten your space and express your creativity. Whether for yourself or as heartfelt gifts for loved ones, these colorful designs are sure to bring happiness to your home. So gather your supplies, unleash your creativity, and let the sunlight do the rest! Happy crafting!