Creating Beautiful Bubble Painting Art: A Step-by-Step Guide
Hello, fellow crafters! Today, I'm thrilled to take you on a colorful journey through the enchanting world of bubble painting art. This vibrant activity is not only a great way to unleash your creativity, but it also brings joy to children and adults alike. Whether you're an experienced artist or just someone looking for a fun project to dive into, bubble painting is a fantastic way to express yourself on canvas.
What is Bubble Painting?
Bubble painting is a playful art activity that combines simple ingredients to create mesmerizing, colorful designs. The technique involves blowing bubbles using a mixture of soap and water, which are tinted with food coloring or washable paint. As the bubbles rise, they burst onto a piece of paper, leaving behind beautiful, colorful splatters resembling abstract art. This activity is popular for various reasons: it’s easy to set up, engaging for all ages, and the results are always unique.
I’ve enjoyed bubble painting with my children during quiet afternoons, used it as an expressive art form during creative workshops, and even introduced it to friends at parties. The best part? You don’t need an arsenal of art supplies—just some basic materials you probably already have at home.
When Can You Make Bubble Painting Art?
Bubble painting can be done anytime! It’s perfectly suited for playful afternoons, art classes, birthday parties, or even as a lesson in science and color mixing. It’s a great way to enhance fine motor skills in young children while letting older kids and adults enjoy a relaxing and creative escape.
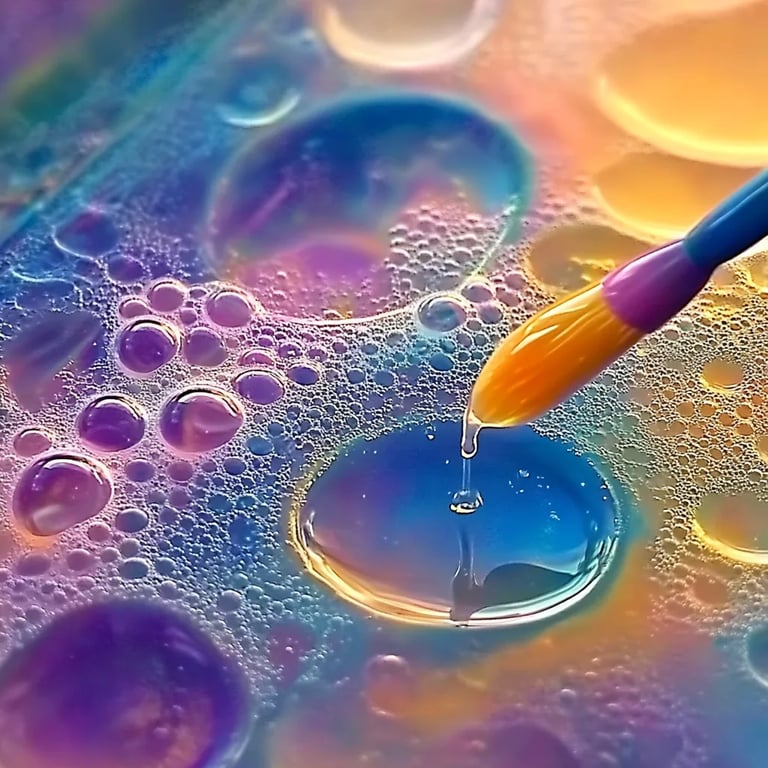
Materials You’ll Need
Before we dive into the step-by-step tutorial, let’s gather our materials. Here’s everything you’ll need:
- Liquid dish soap: This is the key ingredient for bubbles.
- Water: Used to dilute the soap and create an ideal bubble solution.
- Food coloring or washable liquid paints: For tinting the bubbles.
- Plastic cups, bowls, or containers: To mix your bubble solution and paint.
- Straws (optional, but I love using them for better control): This is how you’ll blow bubbles!
- Paper: Watercolor paper or thick drawing paper works best.
- Baking sheet or a flat tray: To contain the mess (trust me, this will save you some stress!).
- Aprons or old clothes: For protection against paint splatters.
- A blow dryer or heat gun (optional): To speed up the drying process.
Step-by-Step Tutorial for Bubble Painting
Step 1: Prepare Your Bubble Solution
In a plastic cup or bowl, mix together 1 part liquid dish soap, 3 parts water, and a few drops of food coloring or washable paint. I often start with the classic colors like red, blue, yellow, and green, but feel free to experiment with other colors too. The reason this step is crucial is that the concentration of soap will affect both the size of your bubbles and the vibrancy of the colors.
Tip: If your mixture is too watery, your bubbles will burst too quickly. If it’s too thick, you won’t get much bubble action. Aim for a consistency similar to that of shampoo!
Step 2: Set Up Your Painting Station
Cover the surface you’re working on with newspaper or a waterproof cloth to manage spills. Place your baking sheet or tray in the center, and lay the piece of paper on top. When the bubbles burst, they’ll leave beautiful marks without clinging to your surfaces.
Caution: This activity can get messy, so an outdoor space is ideal. If you’re crafting indoors, consider doing this in a space where splatters won’t be a concern.
Step 3: Create Bubbles!
Take your straw and dip one end into your bubble mixture. Bring it to your mouth and gently blow into it. You'll see bubbles start to form and float above the mixture. Controls are essential here: don’t blow too hard or you’ll send bubbles flying everywhere!
What Could Go Wrong? If bubbles don’t form, you may need to recheck your mixture’s consistency. A little more soap or water might do the trick!
Step 4: Paint!
Once the bubbles are high enough, carefully position your paper above the bubble cloud and let them pop! The colors will spread and create beautiful shapes. You can repeat this process, layering multiple colors to create depth and interest in your artwork.
Tip: Experiment with different blowing techniques—try blowing slowly for larger bubbles or quickly for smaller ones.
Step 5: Dry Your Artwork
After you finish painting, set your piece aside to dry. If you're impatient like me, you can use a blow dryer on a low setting to speed up the process. Just be cautious—too much heat might warp your paper!
Step 6: Display Your Masterpiece
Once your artwork is dry, proudly display it! You can frame it, use it as a colorful backdrop, or gift it to someone special.
Alternative Methods and Variations
One of the best parts about bubble painting is the vast array of possibilities it offers. Here are a few variations to consider:
- Adding glitter: Mix in a bit of glitter to the bubble solution for a sparkling effect when the bubbles burst.
- Patterns and colors: Try to control where the bubbles pop by blowing them in different directions or mixing colors on separate sheets of paper.
- Using natural dyes: If you're looking for a more eco-friendly approach, consider using plant-based dyes from fruits and vegetables.
Personal Anecdotes and Tips
I remember the first time I did bubble painting with my kids. We laughed as they blew bubbles wildly, sending paint splatters across the backyard. We ended up with a rainbow of colors, and their joy at seeing their artwork come to life was priceless.
One key insight I've learned over the years is that it's okay if things don’t go according to plan. Sometimes our most beautiful creations come from unexpected accidents. Keep the atmosphere lighthearted—remember that the process is as fun as the finished product!
Safety Warnings
- Be cautious with food coloring if you have young children or pets; it can stain.
- Always supervise young children, especially when using straws to blow bubbles.
Conclusion
Bubble painting art is a delightful and innovative way to express your creativity. Whether you’re having a quiet solo day, a lively family gathering, or a creative workshop with friends, this activity is sure to provide laughter, learning, and vibrant results. Don’t hesitate to experiment and make it your own.
So, gather your supplies, prepare for some colorful mess, and unleash your imagination! I can’t wait to see the unique masterpieces you create. Happy crafting!