Create Your Own Vibrant Layered Sand Art Bottles: A Comprehensive Guide
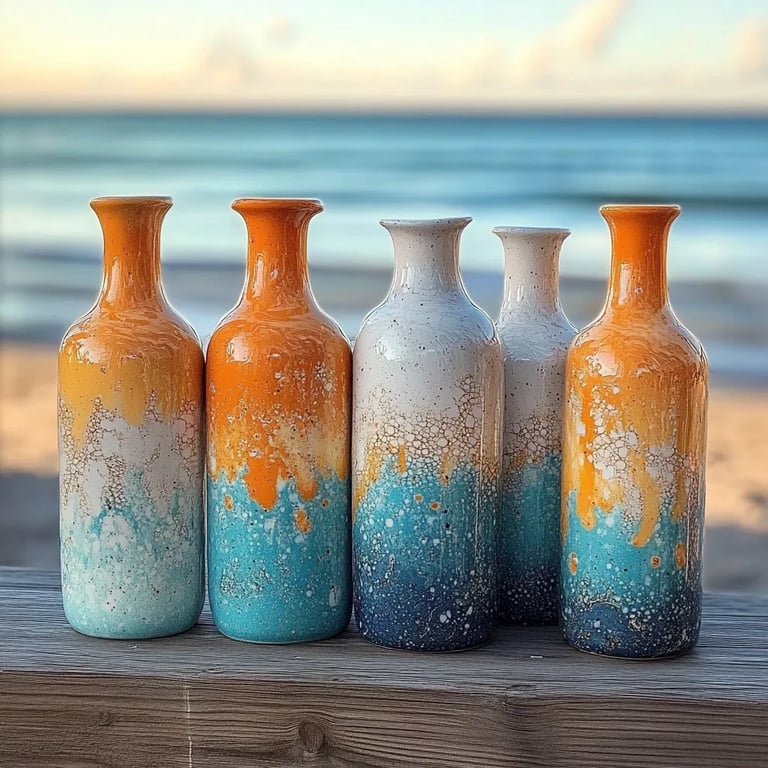
There’s something utterly mesmerizing about sand art. Maybe it’s the intricate designs, the vibrant colors, or the gentle way it catches the light as it sits on your shelf. Recently, I’ve become completely enamored with making vibrant layered sand art bottles, and I’m excited to share my process with you! Whether you’re looking for a fun activity to enjoy with friends, a thoughtful gift for a loved one, or a unique piece of decor for your home, layered sand art is a fantastic choice.
In this article, I’ll guide you step-by-step through the process of creating beautiful sand art bottles. With simple materials and a bit of creativity, you’ll be able to craft stunning keepsakes that capture the imagination. So, grab your supplies, and let’s dive in!
Why Layered Sand Art is So Popular
Layered sand art has gained popularity due to its vibrant visuals and the peaceful, meditative experience of creating it. It provides a sense of accomplishment as you transform ordinary materials into something beautiful. Plus, it’s versatile. You can create anything from small decorative bottles for your home to larger, eye-catching centerpieces for events.
Perfect Occasions for Sand Art
Layered sand art is not just a hobby—it's an activity for any occasion! Here are a few ideas for when to craft your own:
- Rainy Days: Perfect for indoor creativity.
- Kids' Parties: A fun, hands-on craft that children will treasure.
- Home Decor: Personalized decor that reflects your style.
- Gifts: A meaningful present for birthdays, holidays, or housewarmings.
Materials You Will Need
Essential Supplies
- Sand: Choose various colors. Craft stores carry colored sand, or you can make your own by mixing regular sand with non-toxic food coloring.
- Bottles or Jars: Clear glass or plastic bottles work well. I love using small vintage-style bottles for a unique touch.
- Funnel: A small funnel makes pouring sand into the bottles easy and mess-free.
- Spoon or Scoop: For transferring sand.
- Vibrant Glitter (optional): Adds a whimsical touch to your art.
- Glue (optional): For a more permanent finish to layers.
- Craft Paper or a Tray: To catch any spilled sand.
Safety Precautions
- Choose Non-Toxic Materials: Ensure that the sand and any colorants are non-toxic, especially if kids are involved.
- Ventilation: If you’re working with glue or spray finishes, ensure that your crafting area is well-ventilated.
- Cleaning Up: Sand can make quite a mess, so prepare a clean-up plan in advance.
Step-by-Step Tutorial: Making Your Sand Art Bottles
Step 1: Prepare Your Workspace
Creating your layered sand art in a tidy area is crucial. Lay down craft paper or use a tray to catch the inevitable spills. Organize your materials so you can easily access them while crafting.
Step 2: Choose and Prepare Your Sand Colors
Colors are the soul of your layered sand art. Select colors that contrast well to create defined layers. If you’re mixing your own colors, add food coloring to wet sand and let it dry completely before using it.
👉 Tip: Test your colors by layering them in a small cup first! This way, you can visualize how they'll look in your final piece.
Step 3: Fill the Bottles with Sand
Using a funnel, begin filling your bottle or jar with sand. Start with your chosen base color, pouring a layer about half an inch thick. Press it down gently with your fingers or a spoon to eliminate air gaps, which can cause imperfections in your layers.
Why This Matters: Compacting the sand helps create a clear distinction between layers. If too porous, the layers will blend into each other.
Step 4: Create Layers
Continue adding sand, alternating colors. To achieve a smooth transition, consider using a spoon to gently push the edge of the sand layer into the previous layer, creating a neat separation.
Common Mistakes and Fixes:
- Too Much Sand at Once: If you find your layers are spilling over, it’s a sign to slow down. Pour smaller amounts next time.
- Blending Layers: If layers are blending too much, wait a few moments before adding the next color to allow the previous layer to settle.
Step 5: Adding Glitter (Optional)
For a fun twist, you can sprinkle glitter between layers for extra sparkle. Use a small pinch—too much can overwhelm your colors!
Step 6: Final Layer and Sealing
As you reach the top of your bottle, ensure your last layer is well-defined. If desired, you can apply a thin layer of glue on top to keep everything secure.
Step 7: Finishing Touches
After filling, consider adding a cork or cap to top off your bottle. Personalize your creation by tying a ribbon or twine around the neck and attaching a small tag.
Creative Variations and Personal Anecdotes
One of my favorite ways to customize my layered sand art is by incorporating small shells or pebbles. I once created a beach-themed bottle using sand from a local beach, incorporating tiny shells collected during my last trip. This added a personal touch and made for a conversation starter!
Alternative Methods
- Painted Sand: Instead of layering colored sand, try painting your layers with acrylic paint mixed with sand, allowing for unique textures.
- Repurposed Containers: Use mason jars, wine bottles, or even old light bulbs for a modern twist on classic sand art.
Final Thoughts and Encouragement
Creating layered sand art bottles is an engaging and fulfilling craft that anyone can enjoy! Don't worry if your first few attempts don’t turn out exactly how you envisioned; crafting is all about experimentation and expression. Embrace your creativity, make mistakes, and remember—each piece is a reflection of you!
I hope this guide has inspired you to dive into the joyous world of sand art. Gather your supplies and let your imagination take flight. I’d love to hear about your creations and any tips you might discover along the way. Happy crafting!