Create Your Own DIY Cardboard Robot: A Step-by-Step Guide
Hello, fellow crafters! Today, I'm excited to take you on an imaginative journey where we’ll transform simple cardboard into a fantastic, charming robot. This DIY cardboard robot project has become increasingly popular among both children and adults due to its simplicity, accessibility, and the endless possibilities for creativity. Whether you're a seasoned crafter or a complete novice, this tutorial will guide you through every step of the process. So, gather your materials, and let’s dive in!
Why Make a Cardboard Robot?
Creating a cardboard robot not only allows for playful exploration of design and engineering but also opens up a world of imaginative play. You can use these robots as decorative pieces, toys for children, or even as part of a themed party decoration. Personally, I've found that they make excellent gifts for birthdays or holidays, filled with a touch of nostalgia for the creators and fun for the recipients.
Materials You'll Need
Before we begin, let’s gather our supplies. The beauty of this project is that you likely already have many of these materials at home:
Basic Materials
- Cardboard: Any cardboard will do—pizza boxes, old shipping boxes, or even cereal boxes can all be repurposed.
- Scissors or a craft knife: Ensure that you have adult supervision if children are involved.
- Glue: White school glue or a glue gun works best for quick and sturdy bonding.
- Paints or markers: Get creative with colors and designs!
Optional Decorations
- Foil or shiny paper: These can add metallic details to your robot.
- Buttons, bottle caps, or other small items: Perfect for eyes, buttons, or control panels.
- Pipe cleaners: These can create arms or antennas in a fun and flexible way.
- Googly eyes: Always a hit with kids!
Step-by-Step Tutorial: Crafting Your Cardboard Robot
Step 1: Design Your Robot
First and foremost, sketch out your robot's design. What will it look like? You could go for a simple humanoid shape or something more abstract and quirky. It’s critical to visualize what you want before you start cutting!
Tips:
- Keep it simple for your first robot. A rectangular box for the body and simpler geometric shapes for limbs are perfect.
- Remember, there are no mistakes in crafting—only opportunities!
Step 2: Cut the Cardboard
Using the scissors or craft knife, start cutting out the shapes based on your design. Don’t rush; precision matters here to get a clean look. Here’s what to make:
- Body: A large rectangular piece (approximately 8×12 inches).
- Head: A smaller square or rectangle (about 6×6 inches).
- Limbs: Four rectangular strips (about 2×6 inches). You can also make them more whimsical by cutting them into different shapes.
Safety Warning:
Be cautious while using cutting tools. If you're a beginner or working with kids, it's wise to have an experienced adult help out.
Step 3: Assemble the Robot
Now comes the fun part! Using your glue, attach the head to the body first. Hold it briefly to ensure a firm bond. Then, glue the arms and legs onto the sides and bottom of the robot’s body.
Fixing Common Issues:
If the limbs fall apart later, that often means they weren't attached securely. Be generous with glue and make sure the surfaces are clean before applying.
Step 4: Let It Dry
Patience is a virtue. Allow your glued robot to dry completely, which typically takes about 30-60 minutes depending on the type of glue used.
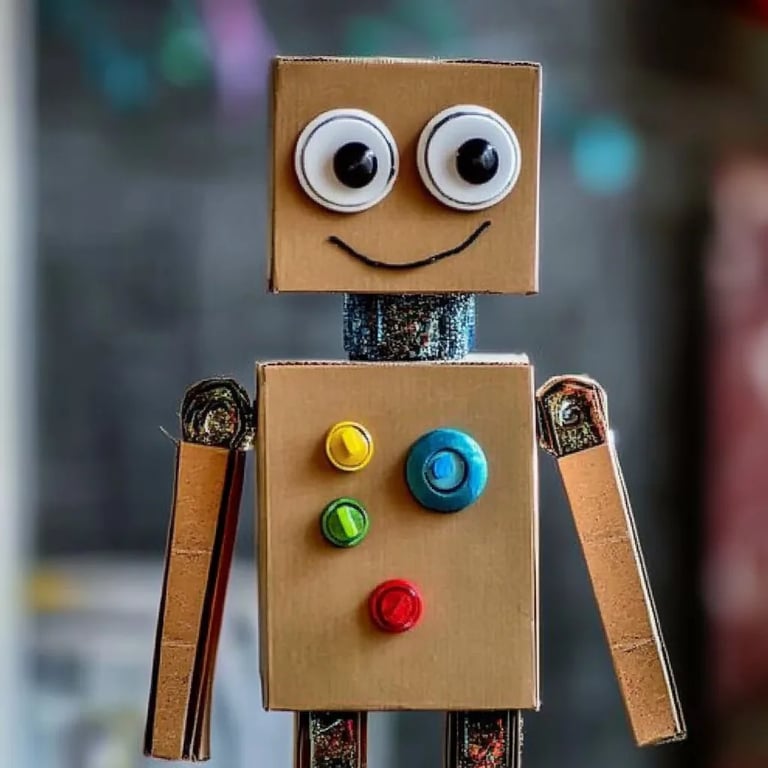
Step 5: Add Personal Touches
Here’s where your robot really comes to life! Start decorating:
- Paint the body: Choose vibrant colors or go for a metallic finish for a futuristic look.
- Add facial features: Use buttons for eyes or paint a smiling face on the robot.
- Detailing: Use pipe cleaners for arms, add foil for metallic accents, or sprinkle some glitter for extra sparkle.
Step 6: Play Time and Variations
Once the robot is dried and decorated, it’s time for play! You can create multiple robots, each with its own personality. If you're feeling adventurous, challenge yourself to make a theme—like robot superheroes or a whole robot family!
Alternative Methods and Creative Variations
Feeling like pushing the limits? Here are a few creative extensions to make your robot even more special:
- Light-up robots: Incorporate small LED lights using battery packs to create a glowing effect.
- Moving parts: Use brads or paper fasteners to attach arms or legs making them moveable.
- Sound: Attach sound chips to make noise when your robot is touched or moved.
Final Thoughts
Crafting a DIY cardboard robot is not only an enjoyable process but also an enriching experience filled with creativity and imagination. Embrace the learning moments, especially when things don't go exactly as planned. Each robot will carry a bit of your unique personality and story with it.
I hope this guide has inspired you to unleash your creativity! Remember, the best part about crafting is the journey—so enjoy every step, and happy crafting!