Create Your Own Beach Memory Jar Craft: A Step-by-Step Guide
As an avid crafter, I can’t express enough how much joy the Beach Memory Jar has brought to my life—and to the lives of friends and family who join me in creating these beautiful keepsakes. This simple yet meaningful craft captures the essence of sun-soaked vacations, lazy beach days, and cherished memories, making it a popular DIY project for beach lovers and crafters alike. Whether you want to preserve memories from a summer getaway, celebrate a special beach event, or simply keep a slice of the ocean at home, creating a Beach Memory Jar is an engaging and heartwarming project.
In this article, I'll be your crafting guide as we delve into the delightful process of making your very own Beach Memory Jar. We’ll cover everything from material selection to decoration, along with tips, tricks, and invaluable insights drawn from my personal crafting experiences. Let's dive in!
What is a Beach Memory Jar?
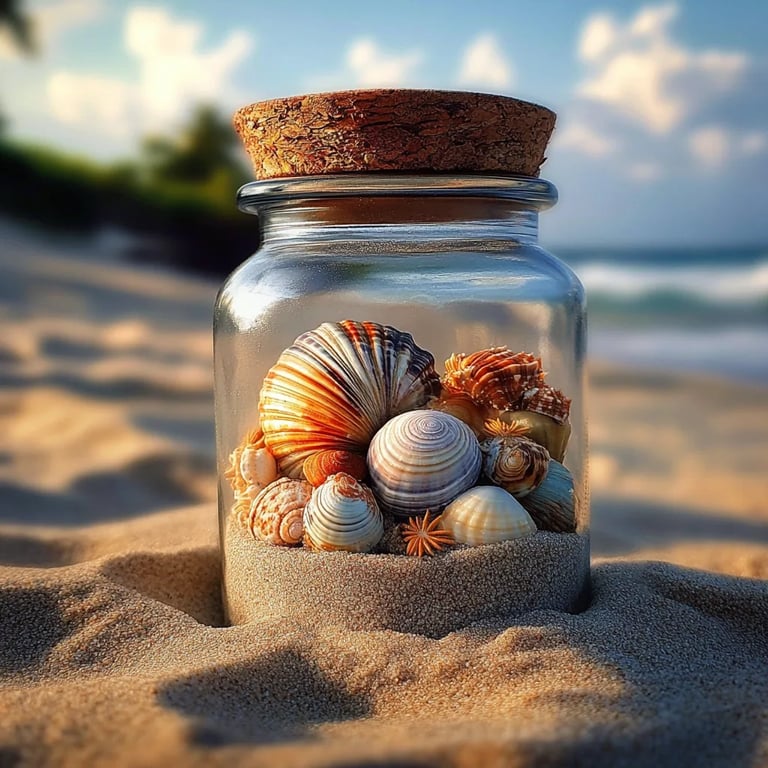
A Beach Memory Jar is essentially a decorative container that holds mementos from beach trips—think sand, seashells, pebbles, bits of sea glass, and photographs. This project not only serves as a lovely decoration but also as a tangible reminder of joyful moments spent by the shore. I remember well the first jar I made after a summer trip to the Outer Banks. Every time I pass by it, I’m instantly transported back to those beautiful days filled with laughter and ocean waves.
When to Use Your Beach Memory Jar
While these jars are particularly popular during the summer months when families flock to the beach, they can be a heartfelt gift for birthdays, anniversaries, or even as home décor year-round. These jars can encapsulate events like beach weddings or family reunions, serving as a beautiful centerpiece or conversation starter.
Materials Needed
Before we get started, let’s gather all the materials you’ll need:
- A Clear Glass Jar: Mason jars, apothecary jars, or even recycled glass containers work well—choose a size that fits your style and the amount of mementos you have.
- A Selection of Beach Items: Sand, shells, sea glass, pebbles, dried seaweed, or any other suitable beach treasures.
- A Photo (Optional): Consider adding a small photo of your beach trip to evoke those memories.
- Twine or Ribbon: For decoration and an added personal touch.
- Scissors: For cutting twine or ribbon.
- Adhesive (Optional): Craft glue may come in handy for securing items.
- A Funnel (Optional): This will help when adding sand or small items to your jar without creating a mess.
Step-by-Step Tutorial
Step 1: Gather Your Cherished Mementos
As you know, the heart of your Beach Memory Jar lies in the items you collect. Grab a Ziploc bag to store your treasures when you return from a trip or while collecting them at the beach. Remember to keep it simple—select items that have personal significance to you, such as shells that remind you of specific locations or sand from your favorite beach.
* Tip: Make sure to avoid taking sand or shells from protected beaches or wildlife reserves, as these can be illegal or harmful to local ecosystems.
Step 2: Prepare Your Jar
Once you’re back from your beach trip, it’s time to prepare your jar. Clean it thoroughly to avoid any dust or remnants that might spoil the look of your creation. This is an important step to ensure your jar remains a cherished keepsake for years to come.
* What could go wrong: If your jar has residue, it could spoil the visual effect and lead to permanent damage. Clean jars are essential.
Step 3: Layer Your Mementos
Now, we’re moving to the fun part—layering your mementos inside the jar! Begin with a base layer of sand, as this will provide stability for the shells and other items.
- Use the funnel (if needed) to pour in your sand easily. Make it about an inch thick, depending on the size of your jar.
- Add your shells and other treasures. This is where creativity blooms! Arrange them in a way that strikes your fancy. You might mix larger shells with smaller pieces for visual interest; try to avoid overcrowding to keep the display clear. If you’d like to highlight a specific shell, consider placing it at the front.
* Tip: Experiment with different textures! Layering smooth pebbles with rough seashells creates a pleasing visual contrast.
Step 4: Add Personal Touches
This step is crucial as it transforms your jar from a simple craft to a treasured memory holder. If you have a photo or a small note, consider placing it between some of the layers or on top of the sand.
- Fold your photo to fit and place it either at the front or behind the shells.
- If you like, use craft glue to secure heavier items like a particularly large shell.
Step 5: Seal and Decorate
Once you’re happy with the arrangement, it’s time to seal the jar. If your jar has a lid, you might leave it off for an open display or secure it. Consider wrapping the jar’s neck with twine or ribbon to add a touch of warmth and rustic charm.
* What could go wrong: Make sure your items are securely in place before sealing; you don’t want your layers to shift. If using twine, ensure it’s not too tight to avoid cracking the glass.
Step 6: Style and Display
Now that your Beach Memory Jar is complete, find the perfect spot to display your handiwork! Whether it's a shelf in your home, a desk, or your dining room table, let this jar remind you of the happy times spent at the beach.
Safety Warnings and Tips
- Handling Glass: If you’re using glass jars, be cautious while handling to avoid cuts.
- Kid-Friendly Crafting: Involve kids in this project with supervision. They can help collect items (with guidance) and decorate, but ensure they’re cautious with glass and potentially sharp shells.
- Substitutions: If sand is hard to come by or you're concerned about transporting it, consider using fine desiccant beads for a similar look.
Creative Variations
There are countless ways to personalize your Beach Memory Jar! Here are a few inspiring suggestions:
- Beach-Themed Labels: Create a label with the date and location of your beach trip using scrapbooking supplies.
- Seasonal Decorations: Adapt your jar seasonally with themed decorations—think small pumpkin decorations for fall or festive shells for summer.
- Miniature Quotes: Roll up small notes with quotes about the beach and tuck them into your jar for future inspiration.
Personal Anecdotes
One of my fondest crafting memories involves hosting a beach memory jar creation night with friends. Each of us brought our collected treasures and shared stories behind them. Watching my friends’ eyes light up as they held a piece of their past—like a tiny shell that reminded them of their first beach vacation or a piece of glass that represented a special milestone—made the experience unforgettable.
Conclusion
Crafting a Beach Memory Jar is more than just creating a decorative item; it’s about capturing and preserving the essence of special moments in our lives. It allows us to reflect on our experiences and share stories with others, creating deeper connections. So, whether you’re a seasoned crafter or just starting, I encourage you to embark on this creative journey. Gather your beach treasures and transform them into a beautiful memory jar that you'll cherish for years to come. Happy crafting!