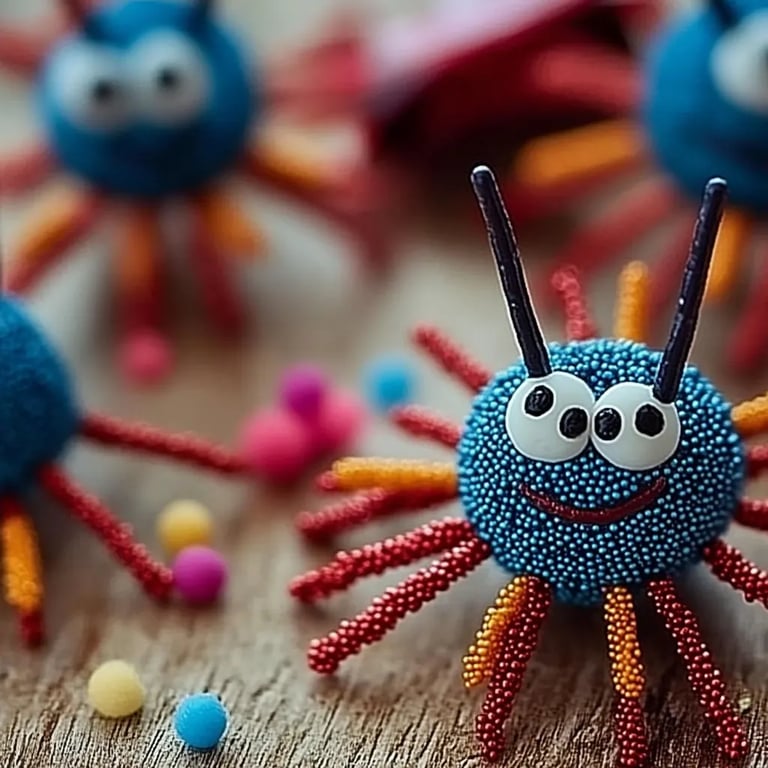
Create Whimsical 4th of July Bugs: A Fun DIY Experience
As an avid crafter and someone who loves to celebrate the 4th of July, I’ve found that creating 4th of July bugs has become a delightful tradition in my household. These charming decorations are not only whimsical but also embody the vibrant spirit of independence and creativity. Whether you’re planning a festive barbecue, a family gathering, or simply looking to brighten up your home, these adorable bugs—complete with red, white, and blue colors—are the perfect addition to your 4th of July celebrations.
Why 4th of July Bugs?
So, what exactly are 4th of July bugs? In essence, they are playful, decorative creatures made from simple materials and designs, often inspired by classic insect shapes like ladybugs, butterflies, and bees. Their cheerful colors symbolize patriotism and add a handmade touch to your holiday decor.
These delightful critters are popular during the summer because they allow crafters of all ages to tap into their creativity while celebrating our nation's independence. Plus, the act of crafting brings families together, fostering a sense of unity and joy as we prepare for the festivities. I love to invite my kids to participate, making it a true family affair.
In this step-by-step guide, I’ll share my tried-and-true process for making these charming 4th of July bugs, along with tips, tricks, and variations that you can explore. Let’s get crafting!
Materials You'll Need
Before diving into the crafting process, let’s gather some accessible materials:
- Painted Rocks or Smooth Stones: These serve as a sturdy base for your bugs. Pick stones that are around the size of your palm.
- Acrylic Paints: Go for red, blue, white, and black. These colors will help us represent the American flag and create fun bug patterns.
- Paintbrushes: A variety of sizes will help achieve different decorative effects.
- Googly Eyes: These playful eyes add personality to your bugs.
- Craft Glue: A strong adhesive that works on multiple surfaces.
- Scissors: For cutting any additional decorations.
- White Glue Variation: Optional for a glossy finish.
- Pencil and Paper: For sketching designs beforehand.
- Glitter or Decorative Stickers: Optional, but they add extra flair.
- Sealant Spray (Outdoor Version): To protect your masterpieces if they will be placed outdoors.
Step-by-Step Tutorial
Step 1: Pick Your Rocks
Why This Matters: The size and shape of your rocks will dictate how you design your bug. A smooth surface is ideal for painting.
Tip: When selecting rocks, try to choose those with flatter surfaces, as they are easier to paint. If the stones have a rougher texture, don’t worry; just keep your layers of paint thinner.
Step 2: Clean the Rocks
Gently wash your stones with soap and water to remove any dirt. Pat them dry with a towel.
What Could Go Wrong: If you skip this step, your paint might not adhere properly.
Step 3: Sketch Your Bug Design
With a pencil and paper, sketch out your bug designs. Consider classic insect shapes that lend themselves well to vibrant color and patterns—think ladybugs with spots or butterflies with wings.
Personal Anecdote: I remember when my daughter first sketched a butterfly, she made it have an extra-large left wing! It ended up being one of our favorites because of its uniqueness and charm.
Step 4: Paint Your Base Coat
Once your rocks are clean and dry, apply a base coat of your chosen color. For a ladybug, a bright red is perfect; for a butterfly, consider blue or white.
Why This Matters: The base coat acts as a foundational layer, making other colors pop.
Tip: Use lighter colors underneath and darker colors on top to create a more visually appealing layered effect.
Step 5: Add Details
Once the base coat dries completely, it's time to add details. This is where your sketch comes to life—paint on wings, spots, stripes, or antennae using smaller brushes.
What Could Go Wrong: If you rush this step, you might smudge your designs.
Fix It: If you make a mistake, let the paint dry, then paint over it with your background color. Layers can even create depth!
Step 6: Attach Googly Eyes
Once all of your paint is dry, use craft glue to attach googly eyes to your bugs. This step adds a whimsical personality that kids and adults alike love.
Step 7: Add Final Touches
This is where creativity can shine! Use glitter or stickers to add extra details. Perhaps add a touch of sparkle with glitter applied over wet paint, or give your bug some patterns with small stickers.
Step 8: Seal Your Creations
If you’re displaying them outdoors, lightly spray them with a sealant to protect them from the elements. Ensure you do this in a well-ventilated space.
Variations and Alternate Methods
Feel free to explore different materials! Instead of using rocks, you can make paper mache bugs, or transform plastic bottles into colorful critters.
If you want a thematic twist, consider using materials like scraps of fabric to give your bugs a more textured appearance.
Creative Tips
- Create a Bug Family: Make bugs of different sizes together, and let them interact with each other.
- Involve Your Friends: Host a crafting party where everyone brings their own materials. You can even have a friendly competition for the most creative bug!
- Have Fun with Colors: Don’t feel restricted to traditional bug colors or patterns. Experiment with unconventional combinations—it’s perfect for a creative mindset!
Safety Warnings
Always keep crafting supplies out of reach of small children when not in use. Be cautious with scissors, and ensure proper ventilation when using spray paints or sealants.
Conclusion: Celebrate with Creativity
Making 4th of July bugs is a delightful craft experience that encapsulates the joyous spirit of the holiday. With just a few simple materials, you can create charming decorations that light up your gathering or serve as great conversation starters. As you embark on this crafting adventure, remember the essence is not just in the final product but in the joyful process of creating. Happy crafting, and may your 4th of July be as vibrant and lively as the bugs you create!