Create Stunning Stained Glass Glue Window Art: A Comprehensive Guide
Welcome to the vibrant world of stained glass glue window art! There’s something truly magical about transforming ordinary glass into a mesmerizing display of color and light, and today, I’m excited to share my personal journey and insights into creating your very own stained glass art using glue. This DIY project is not only immensely satisfying, but it’s also a beautiful way to add a splash of color to your home, especially during sunny days when the light streams through the panes, casting colorful shadows around the room.
What Is Stained Glass Glue Window Art?
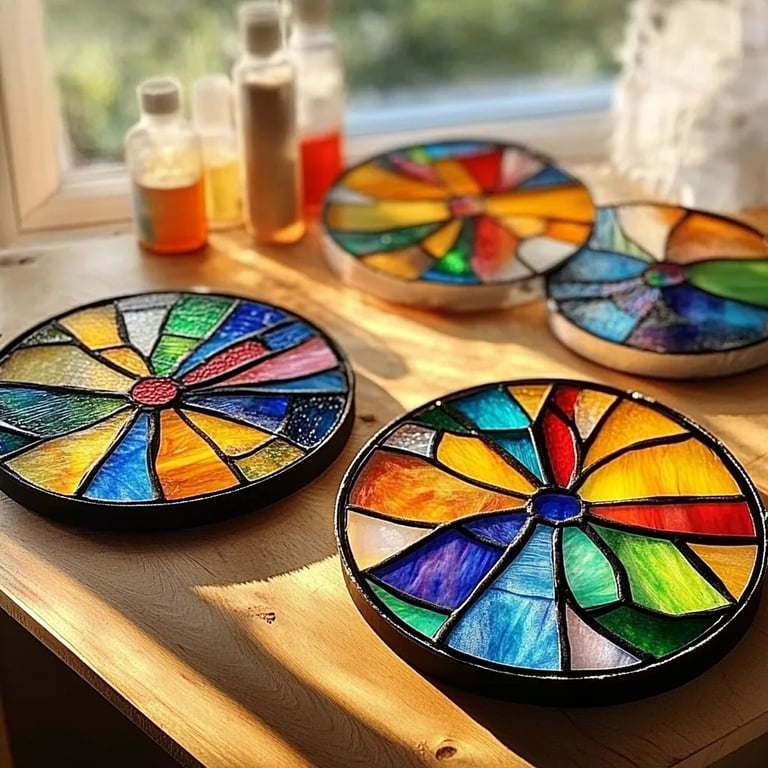
Stained glass glue art is a craft that utilizes a special glue to create colorful designs on glass surfaces, mimicking the appearance of traditional stained glass windows. Often seen in churches and historic buildings, this art form has made a soulful return to homes, classrooms, and creative spaces. Popular for its accessibility and affordability, stained glass glue art is a fantastic way to engage in a creative project alone or with friends and family. From enhancing the aesthetics of your home to gifting personalized artwork, this craft can be adapted for various occasions, including holidays, special events, or just for the sake of creativity.
Gathering Your Materials: What You’ll Need
To get started on your stained glass glue window art project, here's a list of materials you'll need:
- Glass Surface: You can use a piece of clear glass, a glass window, or even a glass plate.
- Stained Glass Glue: Look for a clear-drying adhesive made specifically for stained glass projects.
- Glass Paints: These can be acrylic-based, enamel paint, or specialized glass paints.
- Paintbrushes: A variety of sizes from fine to medium will allow for details and larger areas.
- Pencil and Ruler: To sketch your design beforehand.
- Palette or Mixing Tray: For blending paints.
- Digital Painter’s Tape or Masking Tape: To section off areas while you work.
- Paper Towels: For quick clean-ups.
- Safety Gear: Gloves and safety glasses to protect your hands and eyes while working.
Step-by-Step Tutorial: Crafting Your Stained Glass Glue Window Art
Step 1: Design Your Artwork
Before applying any glue or paint, I always start with a clear vision of what I want to create. Whether it's a simple geometric pattern or a blooming sunflower, sketching it out on a piece of paper helps. I use a pencil and ruler for geometric designs to ensure neatness.
Tip: If you’re unsure where to start, consider looking for inspiration online. This is a welcoming project for intricate patterns or freeform designs alike!
What Could Go Wrong: Inspiration overload can lead to confusion; keeping your design simple for your first project can alleviate this.
Step 2: Prepare Your Glass Surface
Once the design is sketched, it's time to prepare the glass. Make sure the glass is clean and free from any smudges or fingerprints, as these can affect the adhesion of the paint and glue. A quick wipe-down with rubbing alcohol is usually sufficient.
Step 3: Tape Off Your Sections
Using your painter’s tape, tape around the areas you will not be painting. This step helps maintain crisp lines, especially if you are creating segmented designs.
Step 4: Apply Stained Glass Glue
Using your paintbrush, carefully apply the stained glass glue to the areas where you will place your colors. Work in small sections to avoid the glue drying before you paint over it. The glue will create a “lead” effect, reminiscent of traditional stained glass.
Why It Matters: The glue’s texture can enhance the finished look, creating a raised effect similar to lead came used in traditional stained glass.
Step 5: Mix and Apply Glass Paints
Now for the fun! Begin mixing your glass paints on your palette to achieve the desired shades. When ready, slowly fill in the areas where you’ve applied glue.
What Could Go Wrong: If you overload your brush, paint might spill out of the sections, so use a lighter touch and build up intensity gradually.
Alternative Methods: If you don’t have glass paints, you can use regular acrylic paints mixed with a medium that makes them suitable for glass. Check your craft store or online for solutions.
Step 6: Allow the Paint to Dry
After you have filled in all your sections, it’s important to allow the paint to dry thoroughly. I usually wait at least 24 hours to ensure everything is solid.
Personal Anecdote: I once attempted to rush this step, and regrettably, I smudged my design! Patience really pays off in stained glass art!
Step 7: Remove the Tape
Once the paint is completely dry, carefully peel off the painter’s tape. This is a gratifying moment where you see your hard work come to life.
Step 8: Seal Your Artwork (Optional)
Although it isn’t always necessary with stained glass glue unless the artwork is outdoors, sealing it with a clear acrylic spray can add an extra protective layer.
Step 9: Enjoy!
Hang your beautiful artwork in a location where natural light can play through the colors. Enjoy how the stained glass seems to glow when the sun shines through!
Troubleshooting: Common Issues and Fixes
- Paint Blends into Glue: If you notice colors are bleeding into each other, you likely applied too much paint or didn’t wait long enough for the glue to dry. In this case, you can carefully clean the area with a damp cloth and reapply.
- Uneven Colors: If some sections appear too transparent or dull, consider adding a second coat once the first is dry.
- Air Bubbles in Glue: If air bubbles form while applying, don’t panic! A gentle poke with a toothpick can help release the trapped air.
Creative Variations
Once you’ve mastered the basic technique, consider trying out variations like:
- Layering Different Colors: Create depth by letting one color dry before applying the next.
- Embedding Natural Elements: Incorporate dried flowers or leaves into your designs.
- Themed Designs for Holidays: Create artwork linked to the seasons or holidays—think snowflakes for winter or blossoms for spring!
Final Thoughts
Creating stained glass glue window art can be a wonderfully fulfilling experience. Not only do you channel your creativity, but you also create a piece of art that can brighten your space and joyfully catch the eye of anyone who passes by. It’s a practical skill that’s also an avenue for self-expression, allowing you to leave behind a piece of your personality wherever it is displayed.
With patience, practice, and a little bit of love, your stained glass creations will evolve from simple designs to stunning displays of color that infuse any space with warmth and charm. Grab your supplies, unleash your imagination, and let’s paint the world—one pane at a time!