Create Stunning DIY Crayon Sun Catchers: A Step-by-Step Guide for Beginners
As an avid crafter, I'm always on the lookout for fun and creative projects that not only bring a splash of color into my home but also allow me to engage younger crafters in the process. One of my favorite crafts—and one that seems to resonate with both kids and adults alike—is making DIY crayon sun catchers. These beautiful artworks effortlessly transform sunlight into a vibrant display of colors, capturing the essence of warmth and creativity right in your window.
Why have crayon sun catchers become such a popular DIY project? Perhaps because they are easy, affordable, and lend themselves to a broad spectrum of creativity. Perfect for brightening up a dreary day, these sun catchers can be customized in countless ways. They’re excellent for seasonal decorations, as gifts for loved ones, or simply for adding a touch of whimsy to your living space.
What You'll Need
Before diving into the process, let's gather our materials. You don’t need fancy tools—just some staples you probably already have at home! Here’s what you’ll need:
Materials:
- Old crayons (in a variety of colors)
- A baking sheet or oven-safe pan
- Parchment paper or aluminum foil
- A cutting board and knife (for adult supervision)
- An oven
- Cookie cutters (optional for shaping)
- String or fishing line (for hanging)
- Scissors (for cutting string)
Safety Warning: Always supervise children when using a knife or working in the kitchen, especially when the oven is involved.
Step-by-Step Tutorial
Step 1: Preheat Your Oven
Start by preheating your oven to 200°F (about 93°C). This low heat is essential for melting the crayons without burning them. If the temperature is too high, you’ll end up with a burnt smell and that’s no fun!
Step 2: Prepare Your Crayons
Now comes the fun part—selecting your colors! I like to use old, broken crayons for this project, which makes it not only eco-friendly but also budget-friendly. Each color will contribute to the beautiful hues of your sun catcher.
- Tip: Remove any paper wrappers on the crayons before chopping them. I recommend using a cutting board and carefully slicing the crayons into small pieces, about 1/4 inch thick—to ensure even melting. The more variation in size, the more interesting your pattern will be!
Step 3: Line Your Baking Sheet
To avoid a sticky mess, line your baking pan with parchment paper or aluminum foil. This step makes removing your sun catchers a breeze and keeps your baking sheet clean.
Step 4: Arrange the Crayon Pieces
Spread the crayon pieces evenly across the lined pan. You can create abstract patterns or even spell out some words if you’re using cookie cutters, but remember to leave some space; they will expand as they melt.
Step 5: Melt the Crayons
Carefully place the pan in your preheated oven. Keep a close eye on them, as melting times vary—generally, they take about 10-15 minutes. You’re looking for a glossy, fluid-like state. If you notice any burning, drop the temperature and keep an eye on it!
Fix It: If they seem to be taking too long, give the pan a gentle jiggle to check that they’re melting evenly. If not, redistribute them after checking.
Step 6: Cooling and Set-Up
Once melted, carefully remove the pan from the oven (remember to use oven mitts!). Allow the mixture to cool at room temperature until completely hard. Patience is key here! If you’re in a hurry, you can set them in the fridge for a faster cool down.
Step 7: Remove the Sun Catchers
Once solid, gently peel back the parchment paper or foil. If they don't come out easily, pop them back in the oven for a minute to soften slightly before removing again.
Step 8: Add String for Hanging
Drill a small hole through the top of your sun catcher (if you're using cookie cutters, a pre-made hole should suffice). Cut a length of string or fishing line, thread it through, and tie a knot. Your sun catcher is now ready to hang!
Creative Variations and Tips
Being the crafty person that I am, I love exploring variations of this project. Here are a few ideas to inspire you:
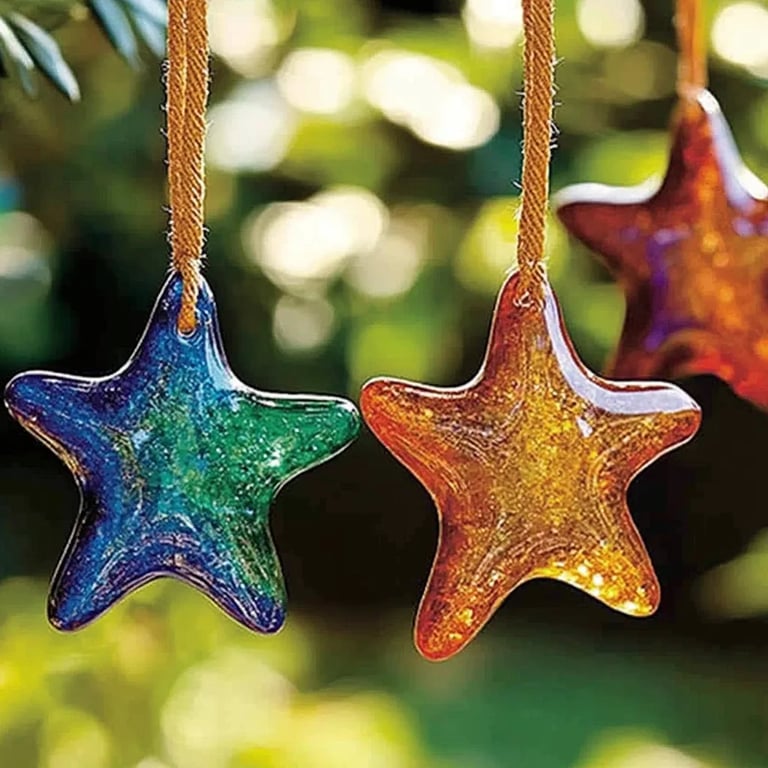
- Shape Customizations: Use themed cookie cutters for various holidays. Think hearts for Valentine’s Day, bunnies for Easter, or stars for the Fourth of July!
- Layered Designs: You can layer colors by allowing one layer to cool slightly before adding another color on top. This technique creates stunning depth in your sun catcher.
- Translucent Additions: Experiment by adding small pieces of leaves or flower petals between the crayon layers for a more intricate design—just make sure they are completely dry to prevent mold.
Troubleshooting Common Issues
While this project is fairly straightforward, there are a few hiccups you might encounter:
- Crayons Not Melting Evenly: This could be due to crayon piece sizes being inconsistent. Try to keep them uniform in size for even melting.
- Brittle Sun Catchers: If they crumble easily, it may be a sign of using low-quality crayons or not enough crayon material. Make sure to fill the molds adequately!
Personal Anecdotes
One of my first experiences making crayon sun catchers was with my niece. She was so proud of her creations, and we spent an afternoon hanging them in her window together. The amazement on her face when the sunlight hit the catchers was priceless—it truly lit up her world, and ours! It’s moments like these that turn a simple craft into a cherished memory.
Conclusion
Making easy DIY crayon sun catchers is not just a fun and engaging craft; it's an opportunity to unleash your creativity and share beautiful moments with others. Whether for a personal touch in your home, a thoughtful gift, or an entertaining weekend project with the kids, this colorful craft is sure to brighten your day and your space!
I hope this guide was helpful in inspiring you to take the plunge into making your very own crayon sun catchers. Don't hesitate to experiment and let your creativity shine; after all, crafting should be as boundless as your imagination! Happy crafting!