Create Spook-tacular Spider Decorations: An In-Depth Craft Tutorial
As we inch closer to the spookiest season of the year, many of us begin to feel that familiar itch to decorate our homes. If you’re looking for a compelling craft that strikes a balance between fun, fright, and creativity, allow me to introduce you to one of my favorite projects—DIY Spider Decorations!
These delightful eight-legged critters are not only a feast for the eyes; they’re also perfect for Halloween parties, haunted houses, or simply adding an eerie touch to your living space. The combination of imagination and hands-on craftiness makes spider decorations a popular choice among crafters of all ages. In this blog post, I’ll guide you through making these adorable—but slightly creepy—creatures, sharing tips and techniques that I’ve learned over countless crafting sessions.
Why Spider Decorations?
Spider decorations are a hit during the Halloween season due to their classic association with the holiday; they evoke spooky atmospheres akin to haunted houses and creepy corners. Not only are they versatile decorations that can be used both indoors and outdoors, but they can also be tailored to suit your personal style—whether that’s cute and cartoonish or dark and frightful.
When and How to Use Spider Decorations
These crafts are perfect for:
- Halloween parties: Create a chilling atmosphere with hanging spiders from the ceiling.
- Haunted houses: Incorporate them into your spooky set design for an authentic touch.
- Everyday décor: Put them in unexpected places to surprise your guests year-round.
Let’s dive into this crafting adventure!
Materials You'll Need
Before we jump into the crafting process, gather these accessible materials:
- Black yarn: This will form the body and legs of your spider.
- Craft foam or felt: Ideal for creating the spider’s body and other embellishments.
- Googly eyes: These will add character and fun!
- Scissors: A good pair of crafting scissors will do.
- Glitter (optional): For a sparkle effect!
- Hot glue gun: Essential for assembling pieces (use with caution).
- Wire (optional): To give legs structure if you want to create 3D spiders.
Step-by-Step Tutorial
Step 1: Create the Body
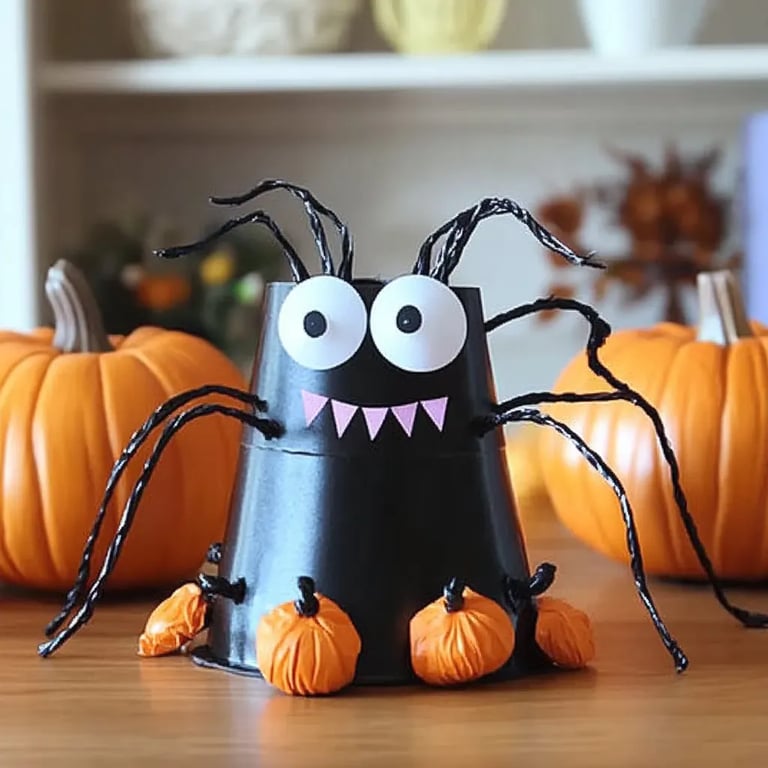
The body is where the magic starts!
- Cut a piece of craft foam or felt into a circle (or an oval shape) about 3-4 inches in diameter. This will be the main body of your spider.
- If you want a more fluffy spider, you can create a “ball” by wrapping yarn into a tight sphere about the same size.
Why this step matters: The body offers a solid foundation for your spider and determines its overall appearance.
What could go wrong: If your pieces are too large or uneven, your spider might look disproportionate. Fix it: Just trim the foam or felt down until you achieve a balanced look!
Step 2: Cut the Legs
Next, we bring our spider to life with its legs.
- Cut four lengths of yarn, each around 8-10 inches long. These will serve as the legs of your spider.
- If you want to add extra dimension, bend some wire into an “L” shape, attaching yarn to represent each leg.
Why this step matters: The legs give your spider its creepy crawliness! The number and style of legs can change the spider’s personality from friend to foe.
What could go wrong: Cutting legs too short can make your spider look awkward. Fix it: Measure and cut extra lengths if necessary.
Step 3: Assemble the Spider
Now, it’s time to piece everything together!
- Using the hot glue gun, attach the legs to the underside of the spider body. Ensure they are evenly spaced for balance.
- Attach the googly eyes to the front of the body—two are ideal, but you can get creative with how many you use!
Why this step matters: Proper assembly is crucial for stability and appearance.
Step 4: Add Finishing Touches
Make your spider your own by personalizing it!
- Add a sprinkle of glitter to give it a magical glow.
- Consider using additional craft materials to embellish—think wings, a web, or funky patterns on the body.
What could go wrong: Overgluing can lead to messy finishes. Fix it: Use a light hand and allow layers to dry before adding more.
Step 5: Find the Perfect Spot
Now that your spider is complete, it’s time to showcase your work!
- Hang the spider from the ceiling, place it on a bookshelf, or attach it to a Halloween wreath.
Creative Variations
If you want to step outside the traditional bounds of spider décor, consider these creative twists:
- Glow in the Dark: Use glow-in-the-dark paint or yarn for a nighttime surprise.
- Spider Webs: Create a spider web using white yarn or cotton batting as a backdrop for your spider.
- Different Sizes: Create a mini spider army or large spiders as statement pieces.
Tips for Success
- Safety Precautions: Always be careful while using hot glue. Allow it to cool slightly before touching.
- Child-Friendly Option: If crafting with children, consider using non-toxic craft glue instead of a hot glue gun for safety.
- Alternative Materials: If you don’t have yarn, try using strips of black fabric! It adds a unique texture to your spider.
Final Thoughts
Throughout this crafting journey, my hope was to provide you with all the tools and insights necessary to make your spider decorations a reality. Embrace the imperfections; crafting is an art, and each spider you create is uniquely yours!
As you embark on this fun project, don’t hesitate to explore your creativity! Whether it’s your first time crafting or you’re a seasoned pro, making spider decorations is a wonderful opportunity to let loose, have fun, and celebrate the spirit of Halloween. Happy crafting!