Create Adorable Pom-Pom Love Bugs: A Step-by-Step Guide
Hello, fellow crafters! Today, I’m excited to share with you one of my all-time favorite projects—Pom-Pom Love Bugs. These delightful little creatures are playful, colorful, and perfect for bringing a touch of whimsy to any occasion. Whether you’re decorating for Valentine’s Day, a birthday party, or just want to brighten up your space, these love bugs are the perfect DIY to put a smile on anyone’s face.
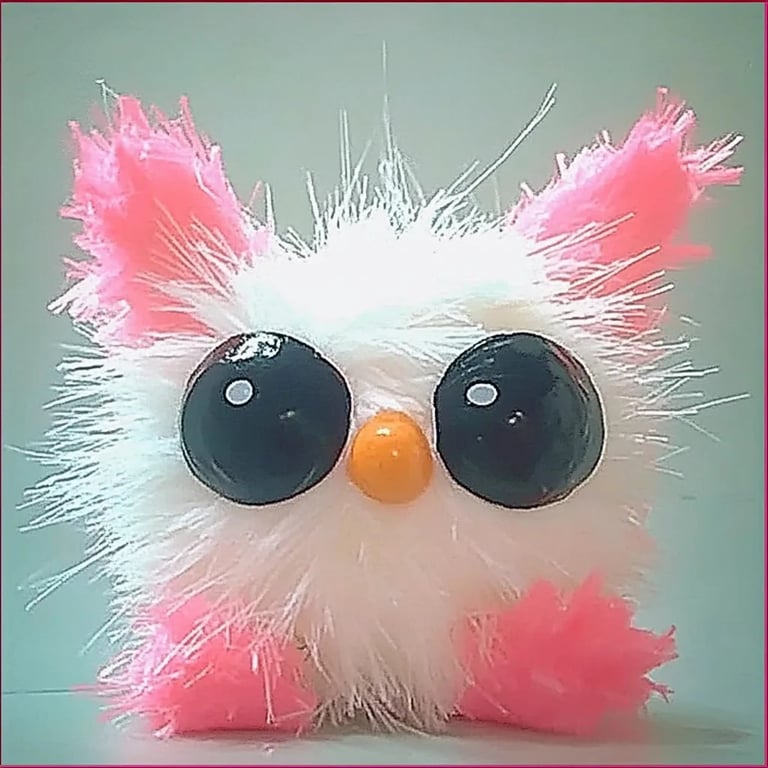
What Are Pom-Pom Love Bugs?
Pom-Pom Love Bugs are cute little critters made predominantly from fluffy pom-poms. With just a few additional materials, you can easily transform these pom-poms into adorable bugs complete with antennae and cute little features. They are especially popular among kids and crafters alike, as they are simple to make and can be customized to suit any color scheme or style.
Not only are these love bugs visually appealing, but they also encourage creativity and fine motor skills in children. They make fantastic gifts, party favors, or decorative accents for any occasion. Plus, crafting is an excellent way to bond with loved ones while unleashing your inner artist!
Materials You Will Need
Before we dive into the step-by-step instructions, let’s gather our materials. Here’s what you’ll need:
- Yarn: Choose vibrant colors—red, pink, purple, yellow—whatever you desire for your love bugs.
- Pom-Pom Maker or Cardboard: If you don’t have a pom-pom maker, don’t worry! You can easily create one using cardboard.
- Scissors: Sharp and sturdy scissors are essential for trimming your pom-poms.
- Googly Eyes: These will add personality to your love bugs.
- Pipe Cleaners: Choose colorful ones to craft the antennae.
- Glue: I recommend a hot glue gun for a quick bond, although white craft glue will work, too.
- Optional: Small felt pieces for wings, glitter for added sparkle, or paint to customize your bugs even further.
Step-by-Step Tutorial
Step 1: Making the Pom-Poms
Why This Step Matters:
The pom-pom is the heart of your love bug! A well-made pom-pom will ensure your love bug looks fluffy and adorable.
Instructions:
- Cut the Yarn: Snip a length of yarn about 10-12 inches (25-30 cm) long and place it aside for later.
- Wrap the Yarn: Using your pom-pom maker or cardboard, start wrapping yarn around until you reach a desired thickness. If you’re using cardboard, make a loop by wrapping yarn around and around both sides.
- Tie It Off: Once you've reached the desired thickness, cut the yarn. Take the 10-12 inches piece you set aside and slide it between the yarn layers. Tie it tightly in a knot. This creates the center of the pom-pom.
What Could Go Wrong:
If you cut the yarn too short or tie it too loosely, your pom-pom might fall apart. To fix this, just make sure to use a longer piece of yarn to secure your knots tightly.
Step 2: Trimming the Pom-Pom
Why This Step Matters:
A well-trimmed pom-pom gives your love bug a neat and fluffy appearance.
Instructions:
- Cut the Loops: Use your sharp scissors to cut through the yarn loops to create a fluffy ball.
- Shape It: Trim the pom-pom into a rounded shape, making sure it’s even all around.
What Could Go Wrong:
If you accidentally trim too much, your pom-pom may become sparse. Don’t fret; just stick more yarn together to create a smaller pom-pom to add next time!
Step 3: Assembly Time
Why This Step Matters:
Putting together your love bug is where the magic happens, turning simple pom-poms into whimsical creatures.
Instructions:
- Attach the Eyes: Use hot glue to attach two googly eyes onto the front side of your pom-pom.
- Make the Antennae: Cut two pieces of pipe cleaner (about 6 inches long). Bend them into an “L” shape and poke them into the top of your pom-pom.
- Add Wings (Optional): If you'd like your love bug to have wings, cut out heart or oval shapes from felt. Secure them with glue on the back side.
What Could Go Wrong:
The eyes might not stick if you use the wrong glue. Always ensure your glue is suitable for the materials you are using.
Step 4: Final Touches
Why This Step Matters:
Final touches elevate your love bugs from basic to absolutely charming!
Instructions:
- Add Embellishments: Feel free to embellish with glitter, small beads, or other crafty bits and bobbles you may have on hand.
- Naming Your Bugs: Give each love bug a personality by naming them! This is where the fun truly begins.
Tips, Variations, and Creative Inspirations
- Use Different Textures: Mix up your yarn by using a fluffy or sparkly variety. You can even add a little tinsel for a festive flair!
- Color Themes: For holidays, choose colors that suit the theme—reds and whites for Valentine’s or orange and black for Halloween.
- Interactive Love Bugs: Consider creating a mobile of love bugs that children can hang in their rooms, or add a base and make them into garden decorations!
- Safety Warnings: If crafting with young kids, supervise their use of scissors and hot glue to prevent any accidents.
- Practice Patience: If you don’t get them right the first time, that’s completely okay! Crafting is all about experimenting and having fun.
Personal Anecdote
I remember the first time I created these love bugs with my daughter. We spent an entire afternoon crafting together, and she took pride in naming each one. They ended up as decorations for her school Valentine's party, much to her delight. Seeing her share them with friends was one of those precious moments that made the hours spent crafting so worth it!
Conclusion
And there you have it! Your very own Pom-Pom Love Bugs, ready to bring joy to your home or to give as gifts. I hope this tutorial inspires you to take on this fun project, whether it’s for a special occasion or just because. Happy crafting, and may your days be filled with love—just like these delightful little bugs!