Crafting Your Own Coffee Filter Chromatography Butterflies: A Fun and Colorful Activity
As an experienced crafter and passionate teacher, I often find joy in sharing creative projects that blend art and science. One such delightful endeavor is creating Coffee Filter Chromatography Butterflies—a vibrant and educational craft that’s perfect for kids and adults alike. This project not only dazzles the eyes with its beautiful colors but also introduces basic scientific concepts that are foundational in understanding the world around us.
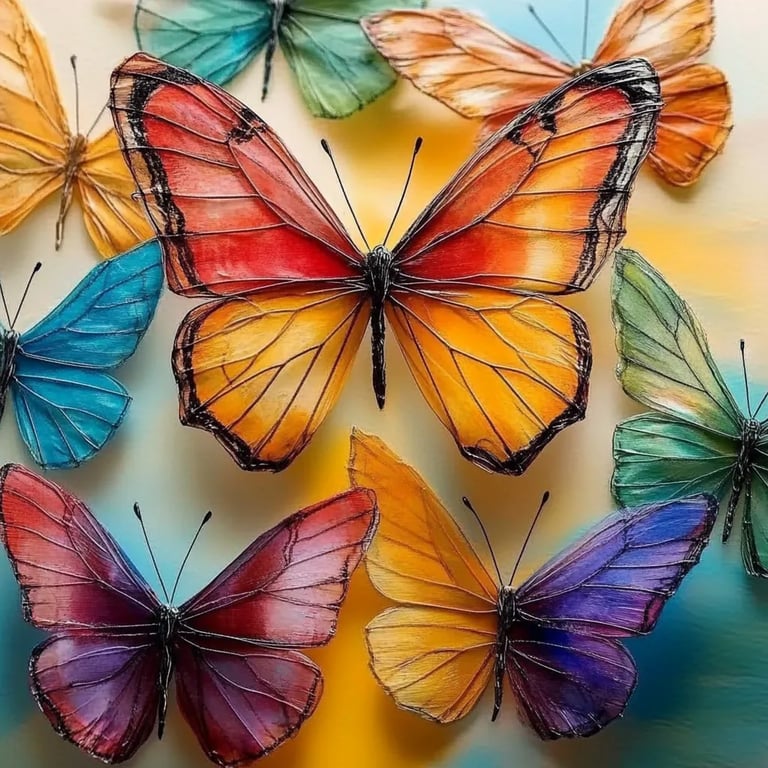
What Are Coffee Filter Chromatography Butterflies?
Coffee filter chromatography butterflies are beautiful paper creations that utilize the principles of chromatography—the technique of separating mixtures into their individual components. This project employs simple materials to explore color separation while engaging in the hands-on experience of making art. It's particularly popular in classrooms, at home with families, and during summer camps, either as a standalone craft or as part of a larger science project.
When you complete this craft, you’ll have a stunning butterfly that is perfect for decorating your space or for sharing with friends and family. Plus, it’s a fantastic conversation starter about science and art!
What You’ll Need
Before we dive into the step-by-step process, gather the following materials. I promise, they are very accessible!
Materials:
- Coffee Filters – Plain, unbleached filters work best.
- Water-based Markers – Feel free to pick a variety of colors to make your butterflies pop!
- Spray Bottle with Water – This is essential for creating the magical color blending effect.
- Pipe Cleaners – To give your butterflies antennae and make them three-dimensional.
- Scissors – For cutting the coffee filters.
- Paper Towels – To catch any excess liquid or for cleanup.
- Optional: A tray or shallow dish to contain any mess.
Safety Tip:
While the materials are mostly safe, always supervise younger children when using scissors or spray bottles.
—
Step-by-Step Instructions
Step 1: Prepare Your Work Space
Find a flat surface to work on, and lay down a layer of paper towels to protect it from any water or marker stains. A clutter-free zone will allow your creativity to shine without distractions.
Step 2: Shape the Coffee Filters
Take a coffee filter and lay it flat on the table. Draw a circle on the filter to signify where the middle will be. The circles cut from the filters will dictate the overall shape of your butterflies. You can use your scissors to create a perfect circle, or if you’re comfortable, simply fold the filter in half and cut into a wing shape.
What Could Go Wrong?
If you cut the wrong shape, don’t fret! You can easily tape or glue it together to form a butterfly shape, which can lead to unique results.
Step 3: Add Your Color
Using your water-based markers, decorate the coffee filter with various colors, focusing on the center of the filter. The more vibrant and varied your colors, the more beautiful the final result will be!
Tip: For a blended effect, use multiple colors close together.
Step 4: Spritz with Water
Now comes the fun part! Using your spray bottle, gently mist the decorated filter with water. You want to see the colors begin to bleed and spread, creating a beautiful watercolor effect. Be careful not to oversaturate—just enough to see the blending happen.
Why This Matters: The water activates the dye in the markers, allowing them to spread and create new shades. This step is crucial for achieving the chromatography effect.
What Could Go Wrong?
If you oversaturate the filter, it may tear or become too muddy in appearance. If this happens, simply allow it to dry before proceeding and try again with a lighter hand next time.
Step 5: Let Them Dry
Place your colorfully designed filters flat on a dry paper towel or a tray and allow them to dry completely. This may take a little while, but the anticipation will be worth it!
Step 6: Assemble Your Butterflies
Once dry, take your dried coffee filter and gently pinch the center to create the body of the butterfly. Wrap a pipe cleaner around the center just beneath where you’ve pinched to secure the wings.
Variations: You can twist the ends of the pipe cleaner to form antennae. This step personalizes your butterfly, allowing for lots of fun shapes.
Step 7: Display Your Creations!
Find a place to display your beautiful butterflies. You can hang them from the ceiling, use them as decorations for a party, or simply enjoy them on your crafts shelf.
—
Troubleshooting Common Issues
- Bleeding Too Much: If your colors run together too much, try using less water next time or experiment with different markers.
- Tearing Filters: Handle the filters gently, especially when wet. A gentler touch will prevent tears.
Creative Variations
- Garden of Butterflies: Use a variety of colors and shapes to create a whole garden display.
- Combination Crafts: Glue your butterflies to a cardboard tube for a stunning mobile or attach them to a headband for a costume.
- Theme-Based Designs: Use specific colors to match seasonal themes—such as pastels for spring or vibrant shades for summer.
Final Thoughts
Learning how to make Coffee Filter Chromatography Butterflies can be a joyful adventure filled with creativity and discovery. More than just a craft, it’s a fun way to explore coloration and separation in a straightforward, engaging manner. Whether you are crafting solo or with friends and family, this project will leave you with memorable butterflies and delightful conversations about the science behind them.
I recommend trying this project on a sunny day, perhaps outside, where you can lay out and let colors blend under the open sky! Don't hesitate to share your creations and experiences with others. Crafting is meant to be enjoyed, learned from, and shared. Happy crafting!